← All case studies

Apartment · 82 m² · Łódź, Bałuty · 2024

82 m² apartment renovation in Bałuty, Łódź — from wood panelling to a bright interior

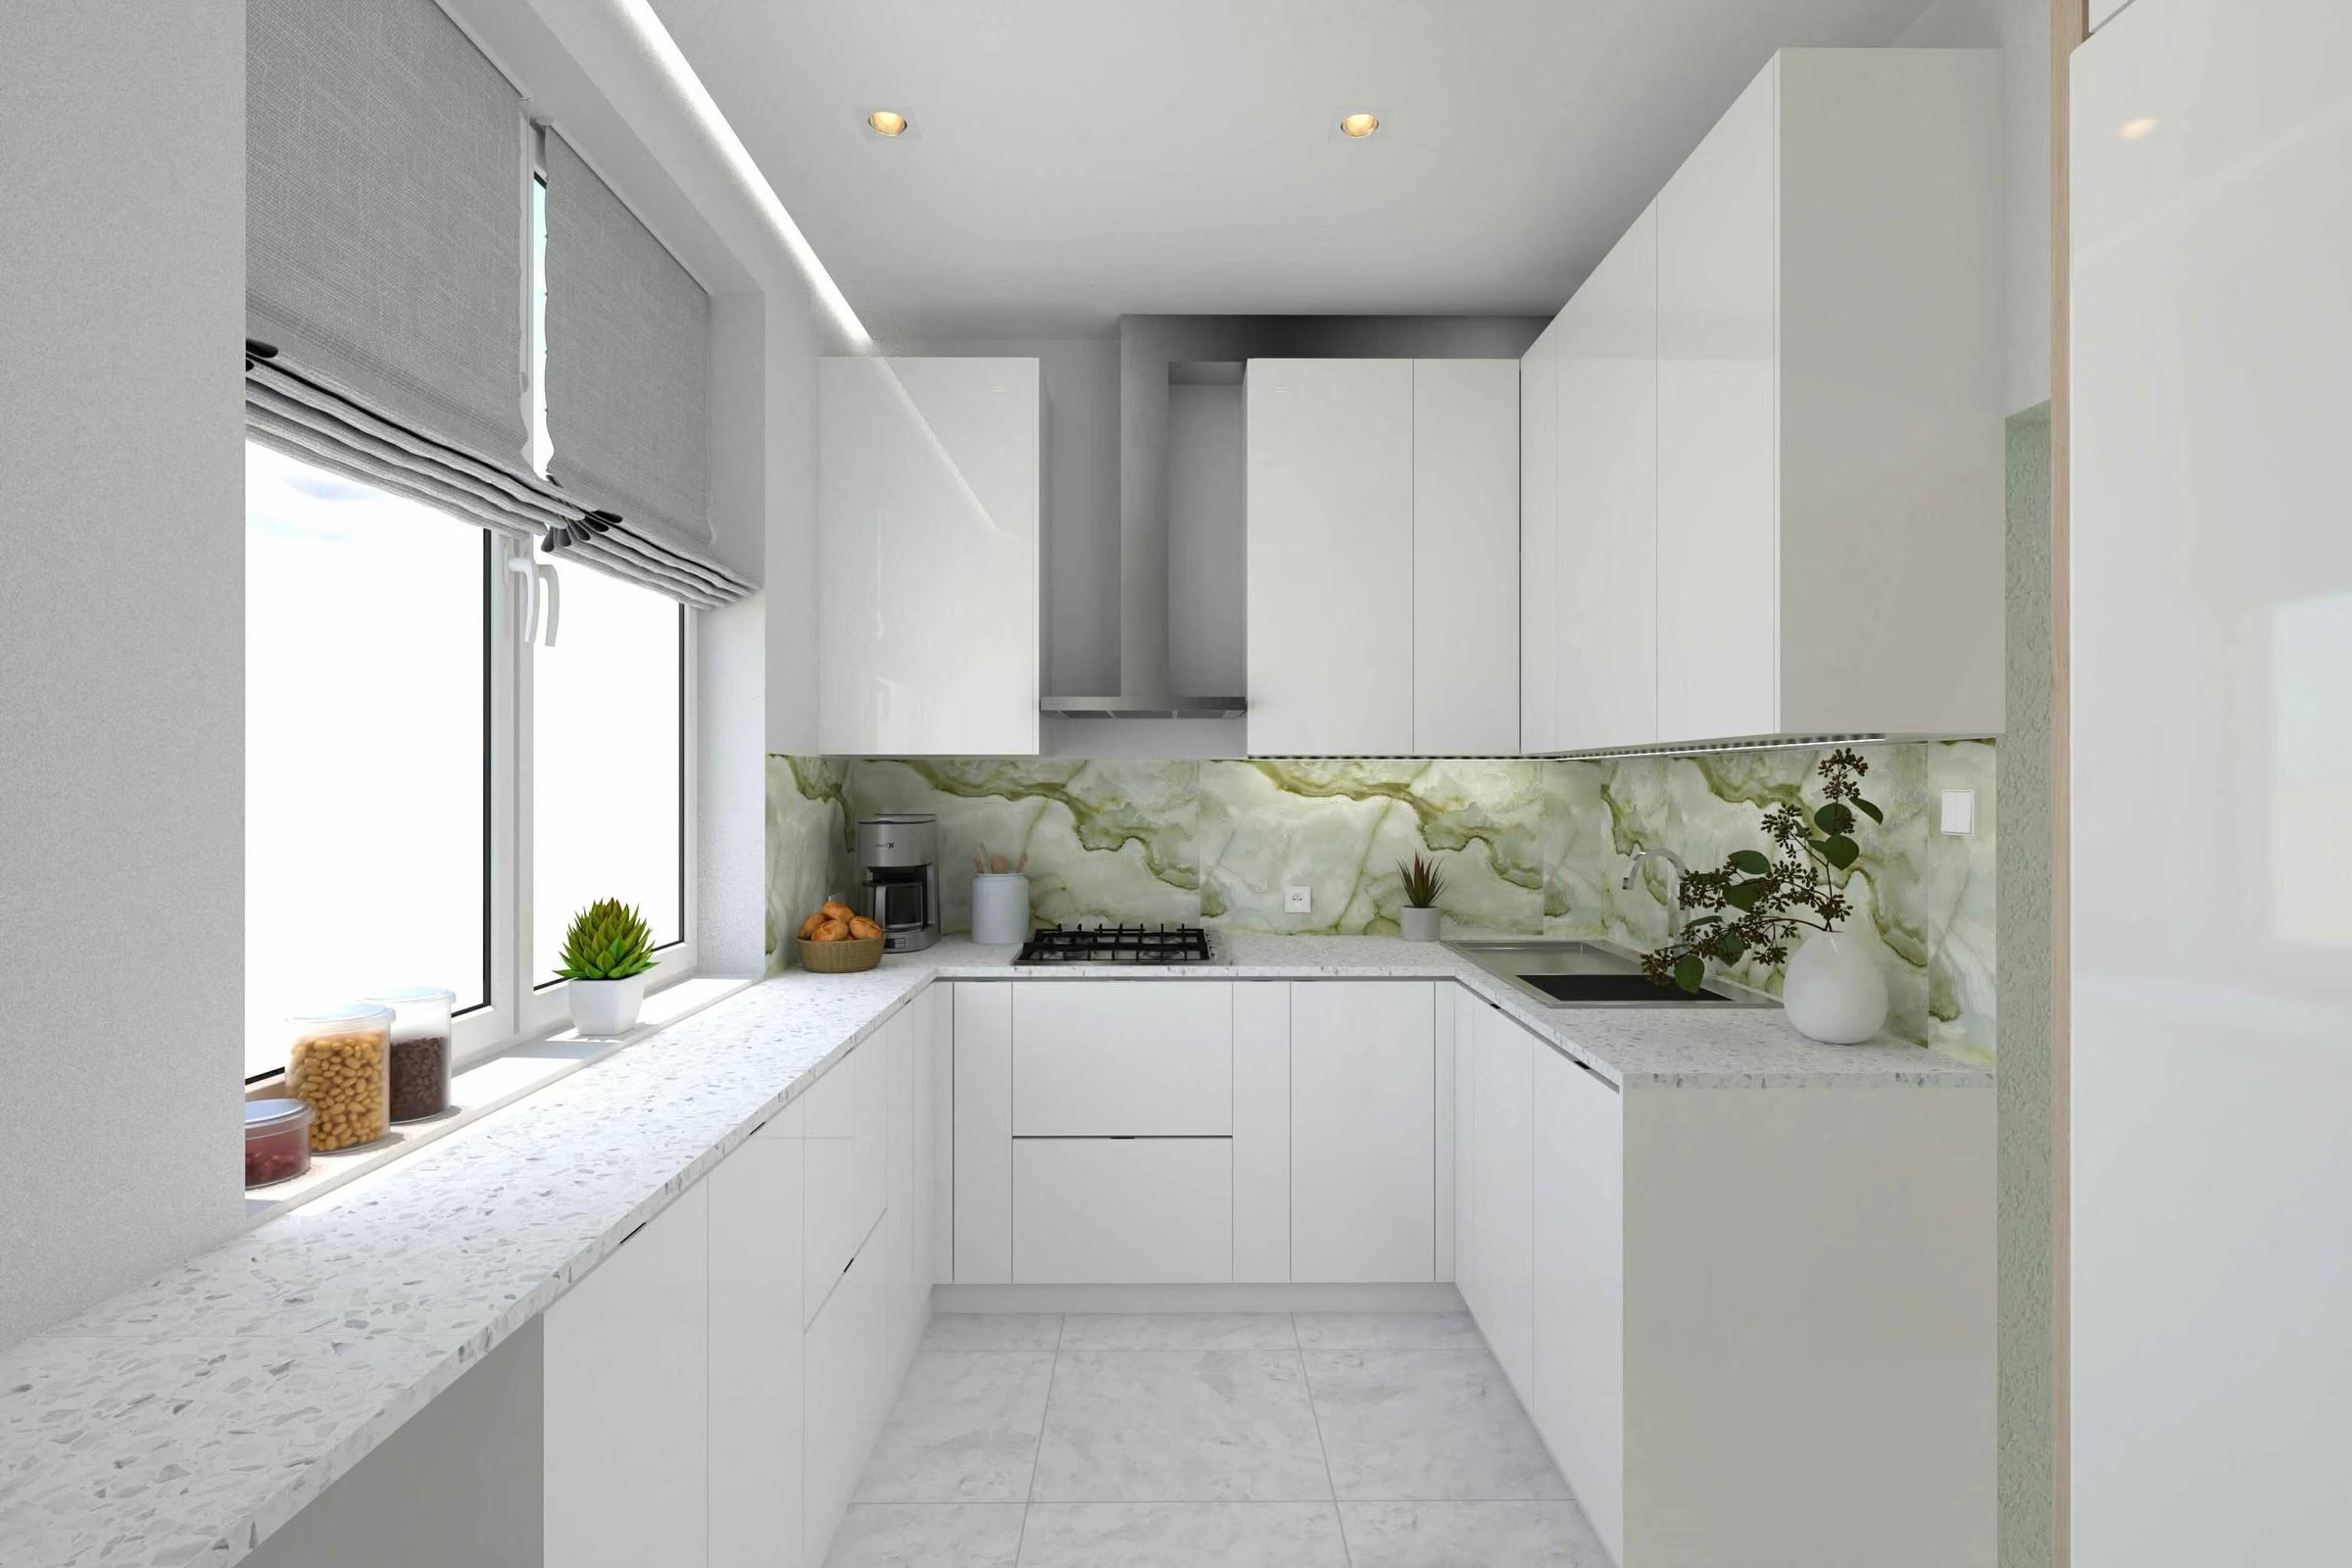
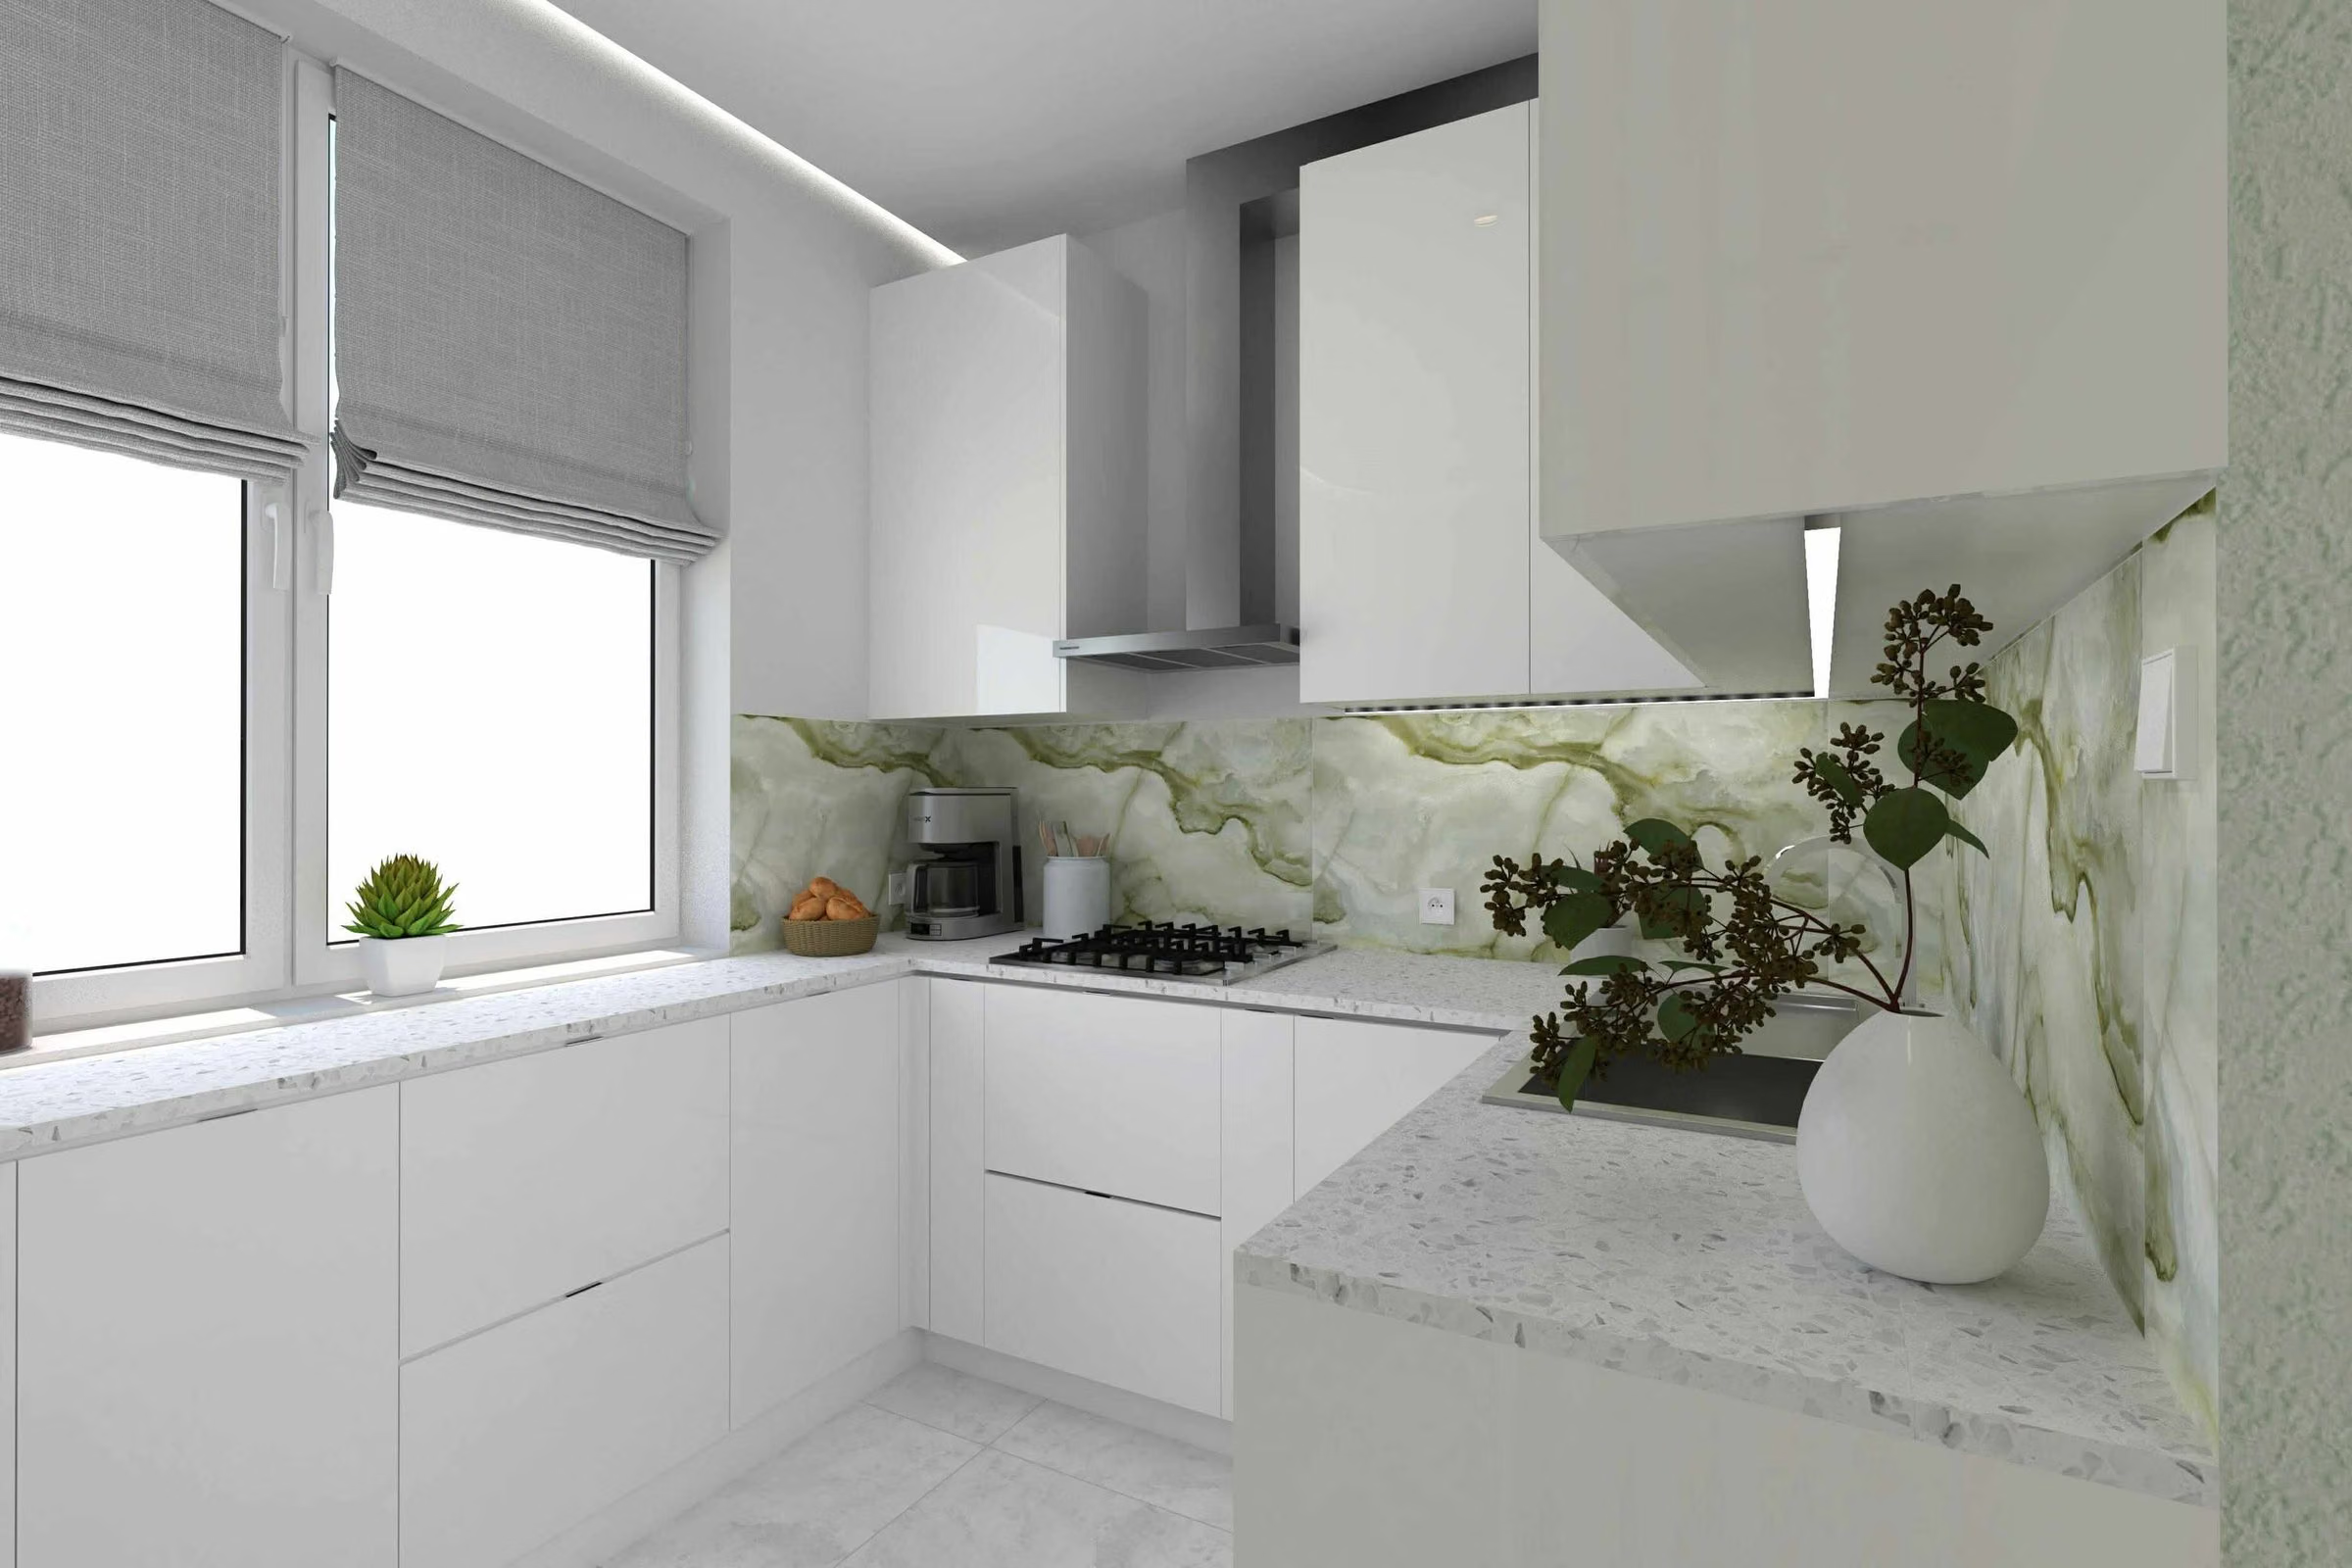
Kitchen visualisation: white units up to the ceiling, worktop under the window and green accents.
Design visualisation
01Result

How the interior looks

Completed
Łódź, Bałuty

This 82 m² flat in a Bałuty block was clad in wooden panelling — walls, ceilings, the hall. Underneath were several layers of old floors and crumbling walls, so the renovation covered everything, including the installations. I designed a universal interior: bright, easy to keep, with made-to-measure storage and the original parquet brought back.

82 m²

floor area

Renovation

110–150

thousand PLN · estimated renovation cost

Estimate based on Łódź market rates (2026) for a renovation with new installations and made-to-measure joinery. Not the client's bill.

02Starting point

What the clients came with

Renovation · 82 m² · Łódź, Bałuty. The main needs and problems the project started from.

  1. 01

    Wood panelling on walls, ceilings and in the hall, plus an old kitchen and bathroom to replace.

  2. 02

    Nobody knew what lay under the panelling and floors — and the scope depended on it.

  3. 03

    The interior had to suit both renting out and the owner, so nothing too personal.

03Before and after

How it was and how it is

The same rooms before the renovation, in the design and after it.

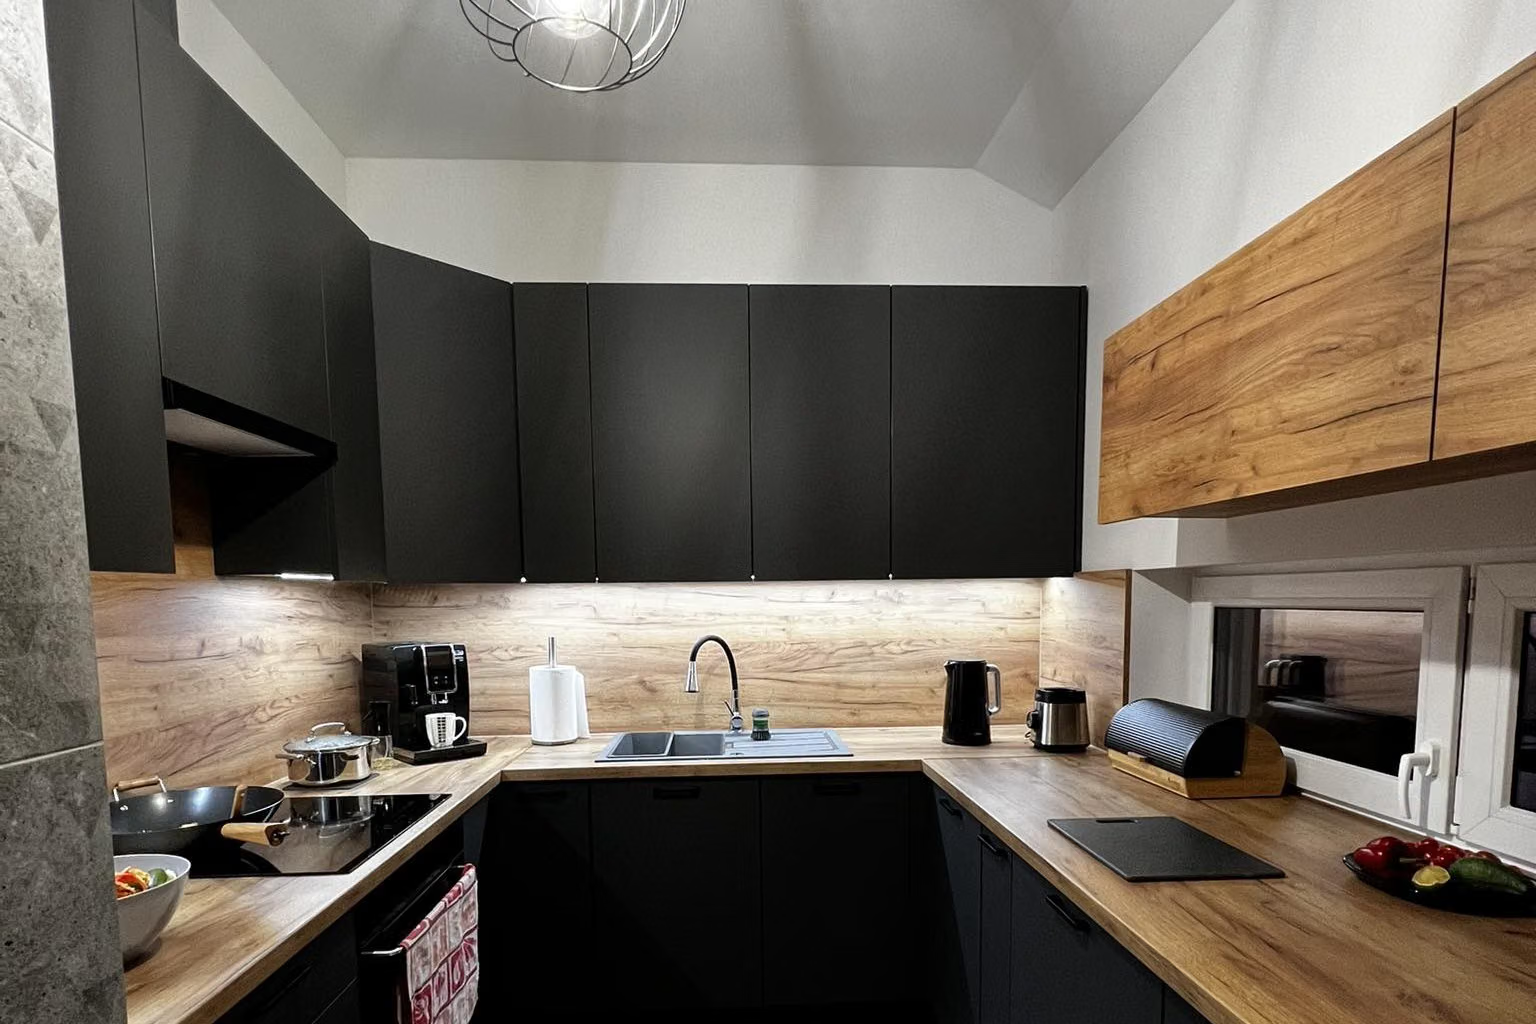
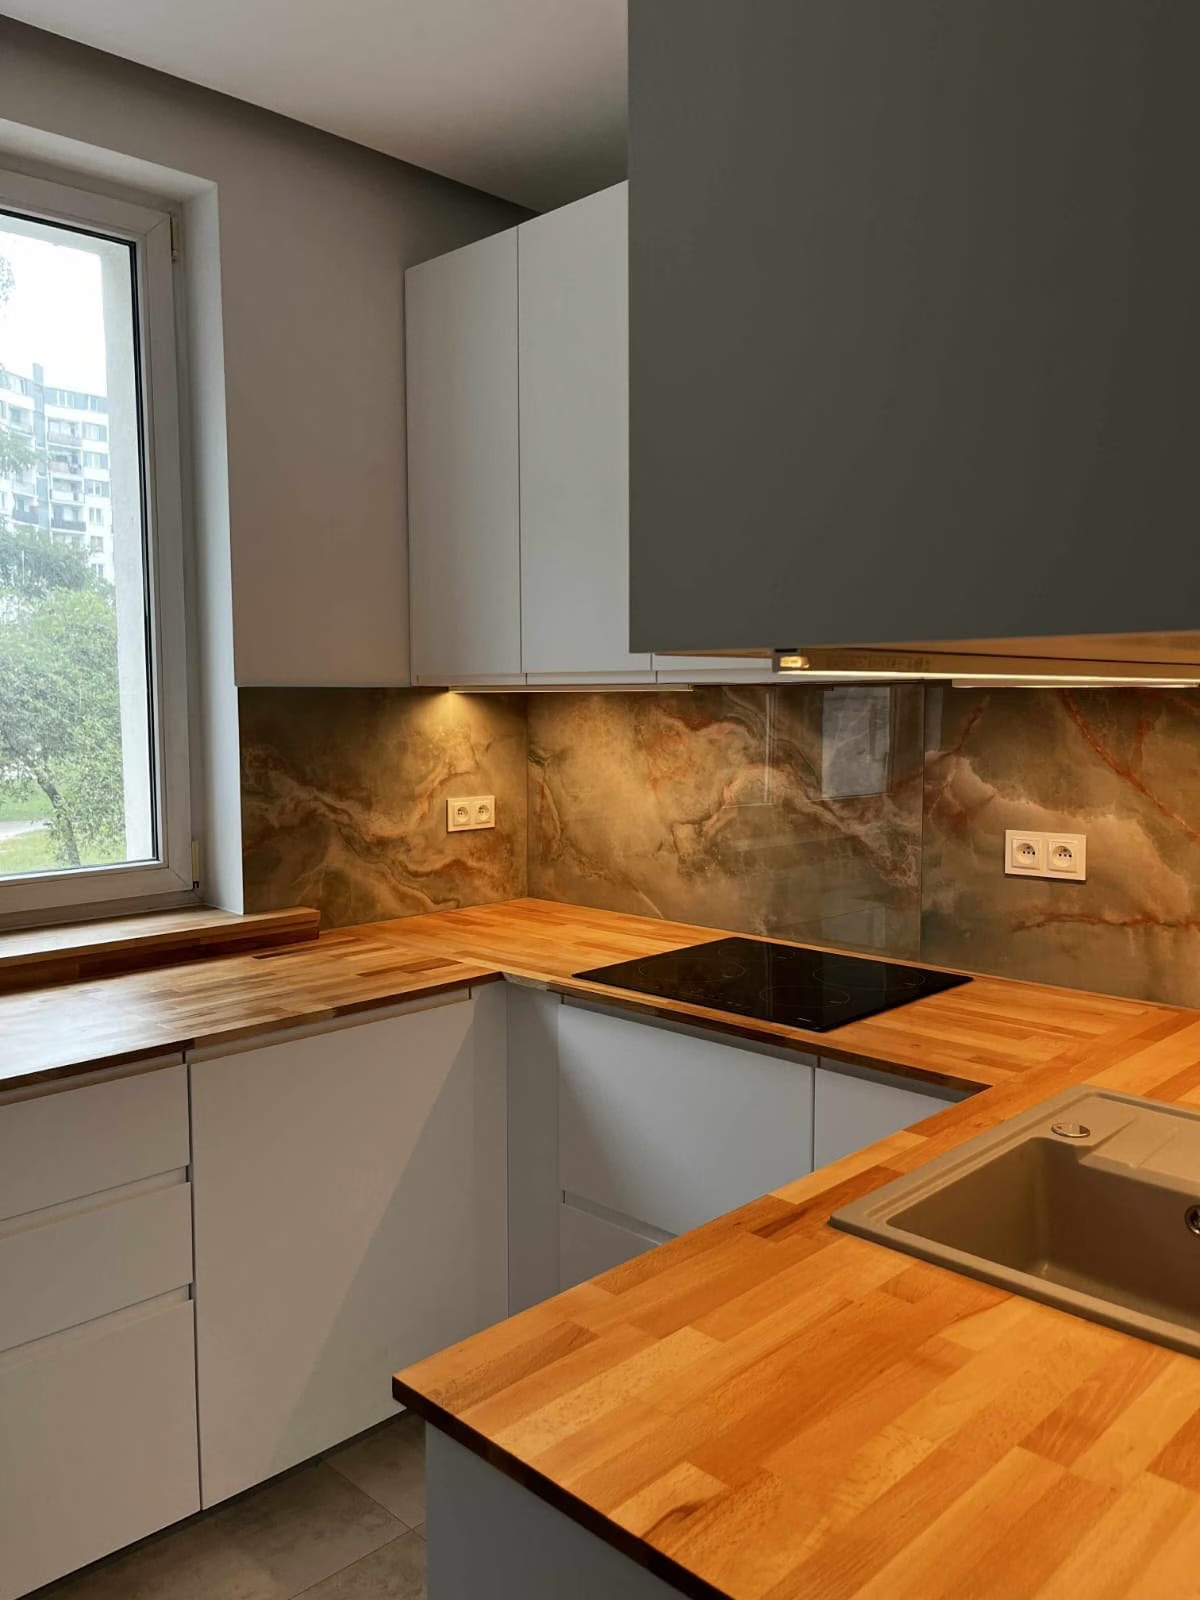
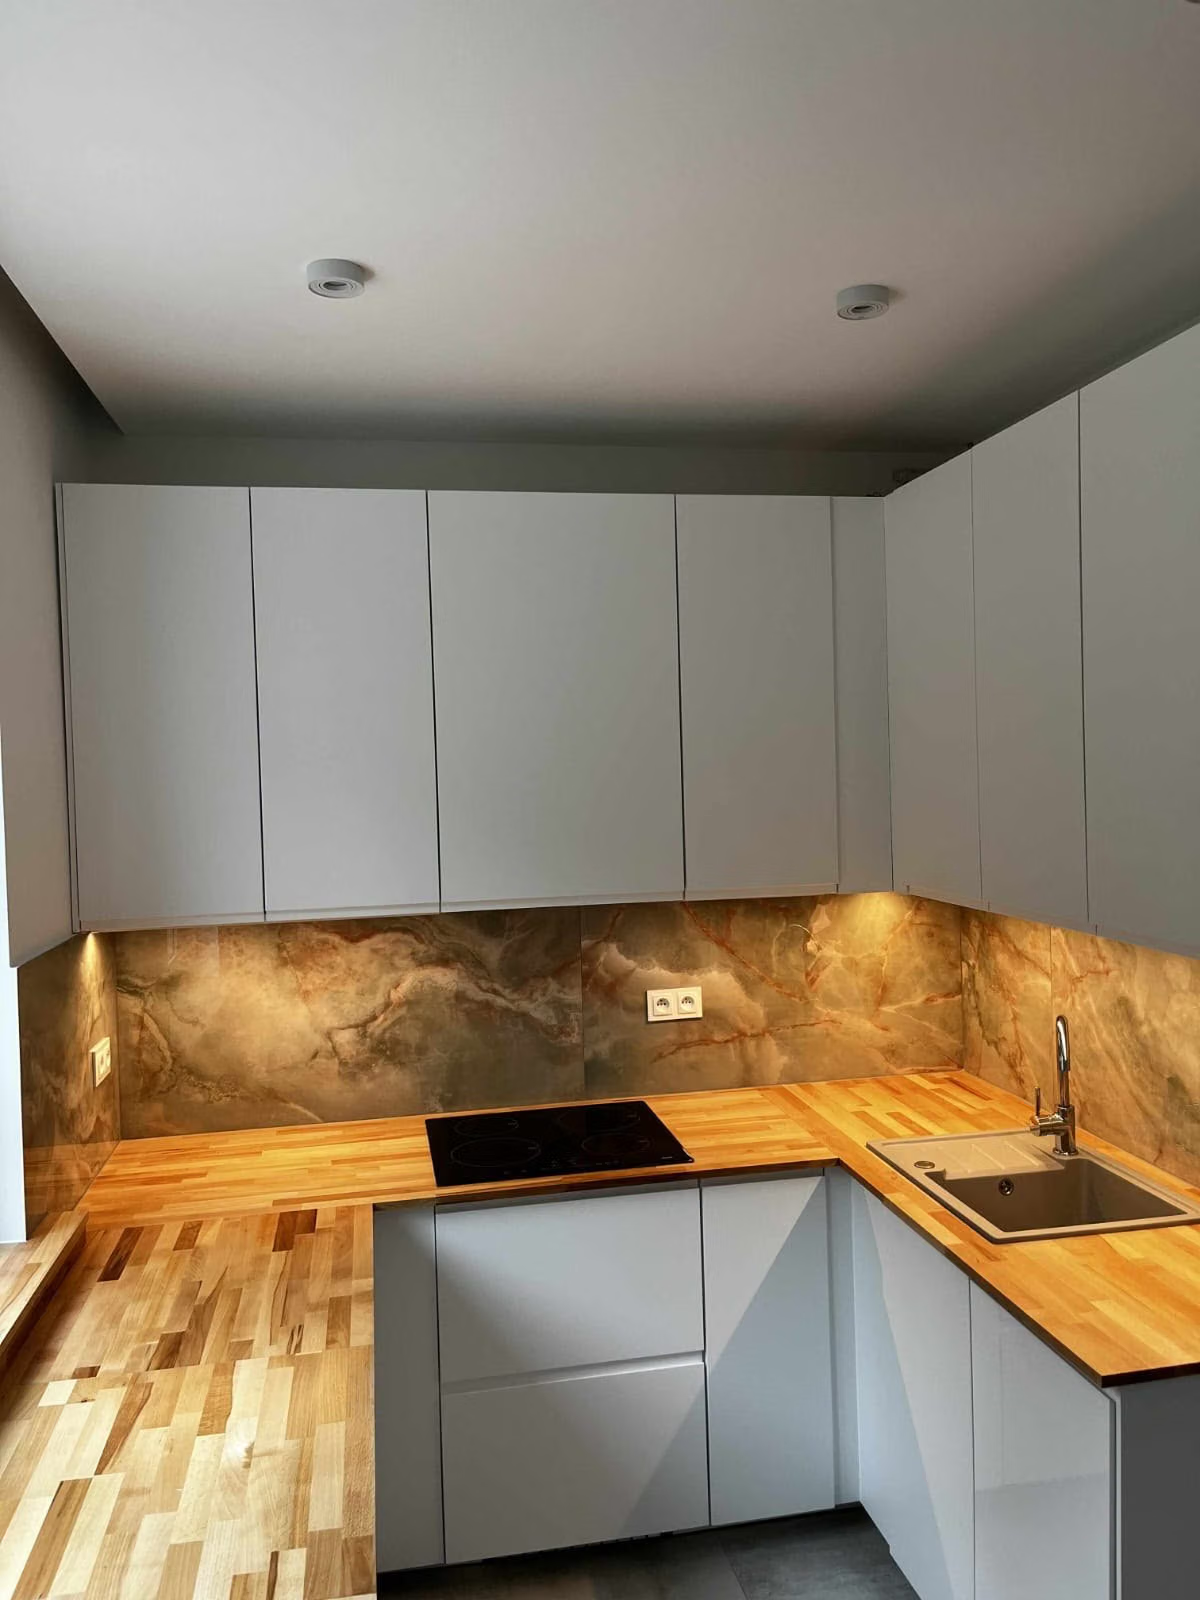
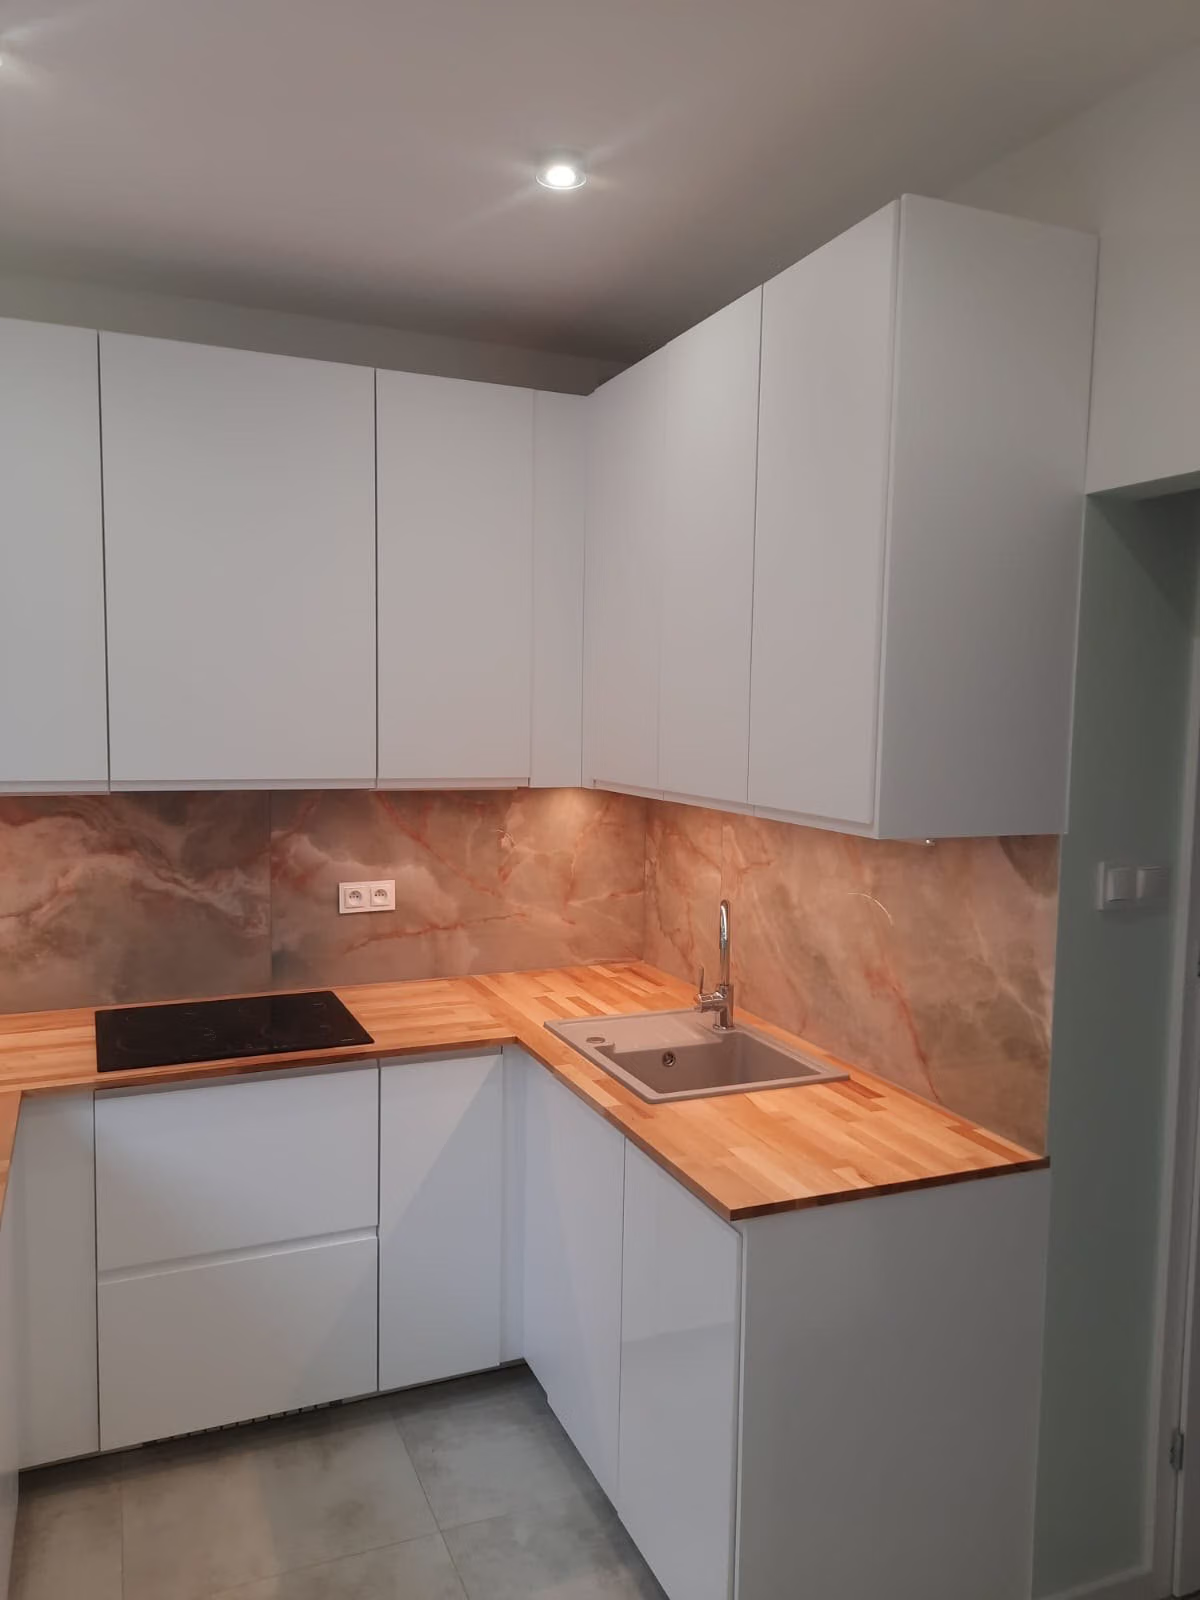
The same kitchen after: handleless white fronts, wooden worktop and stone-pattern slabs.
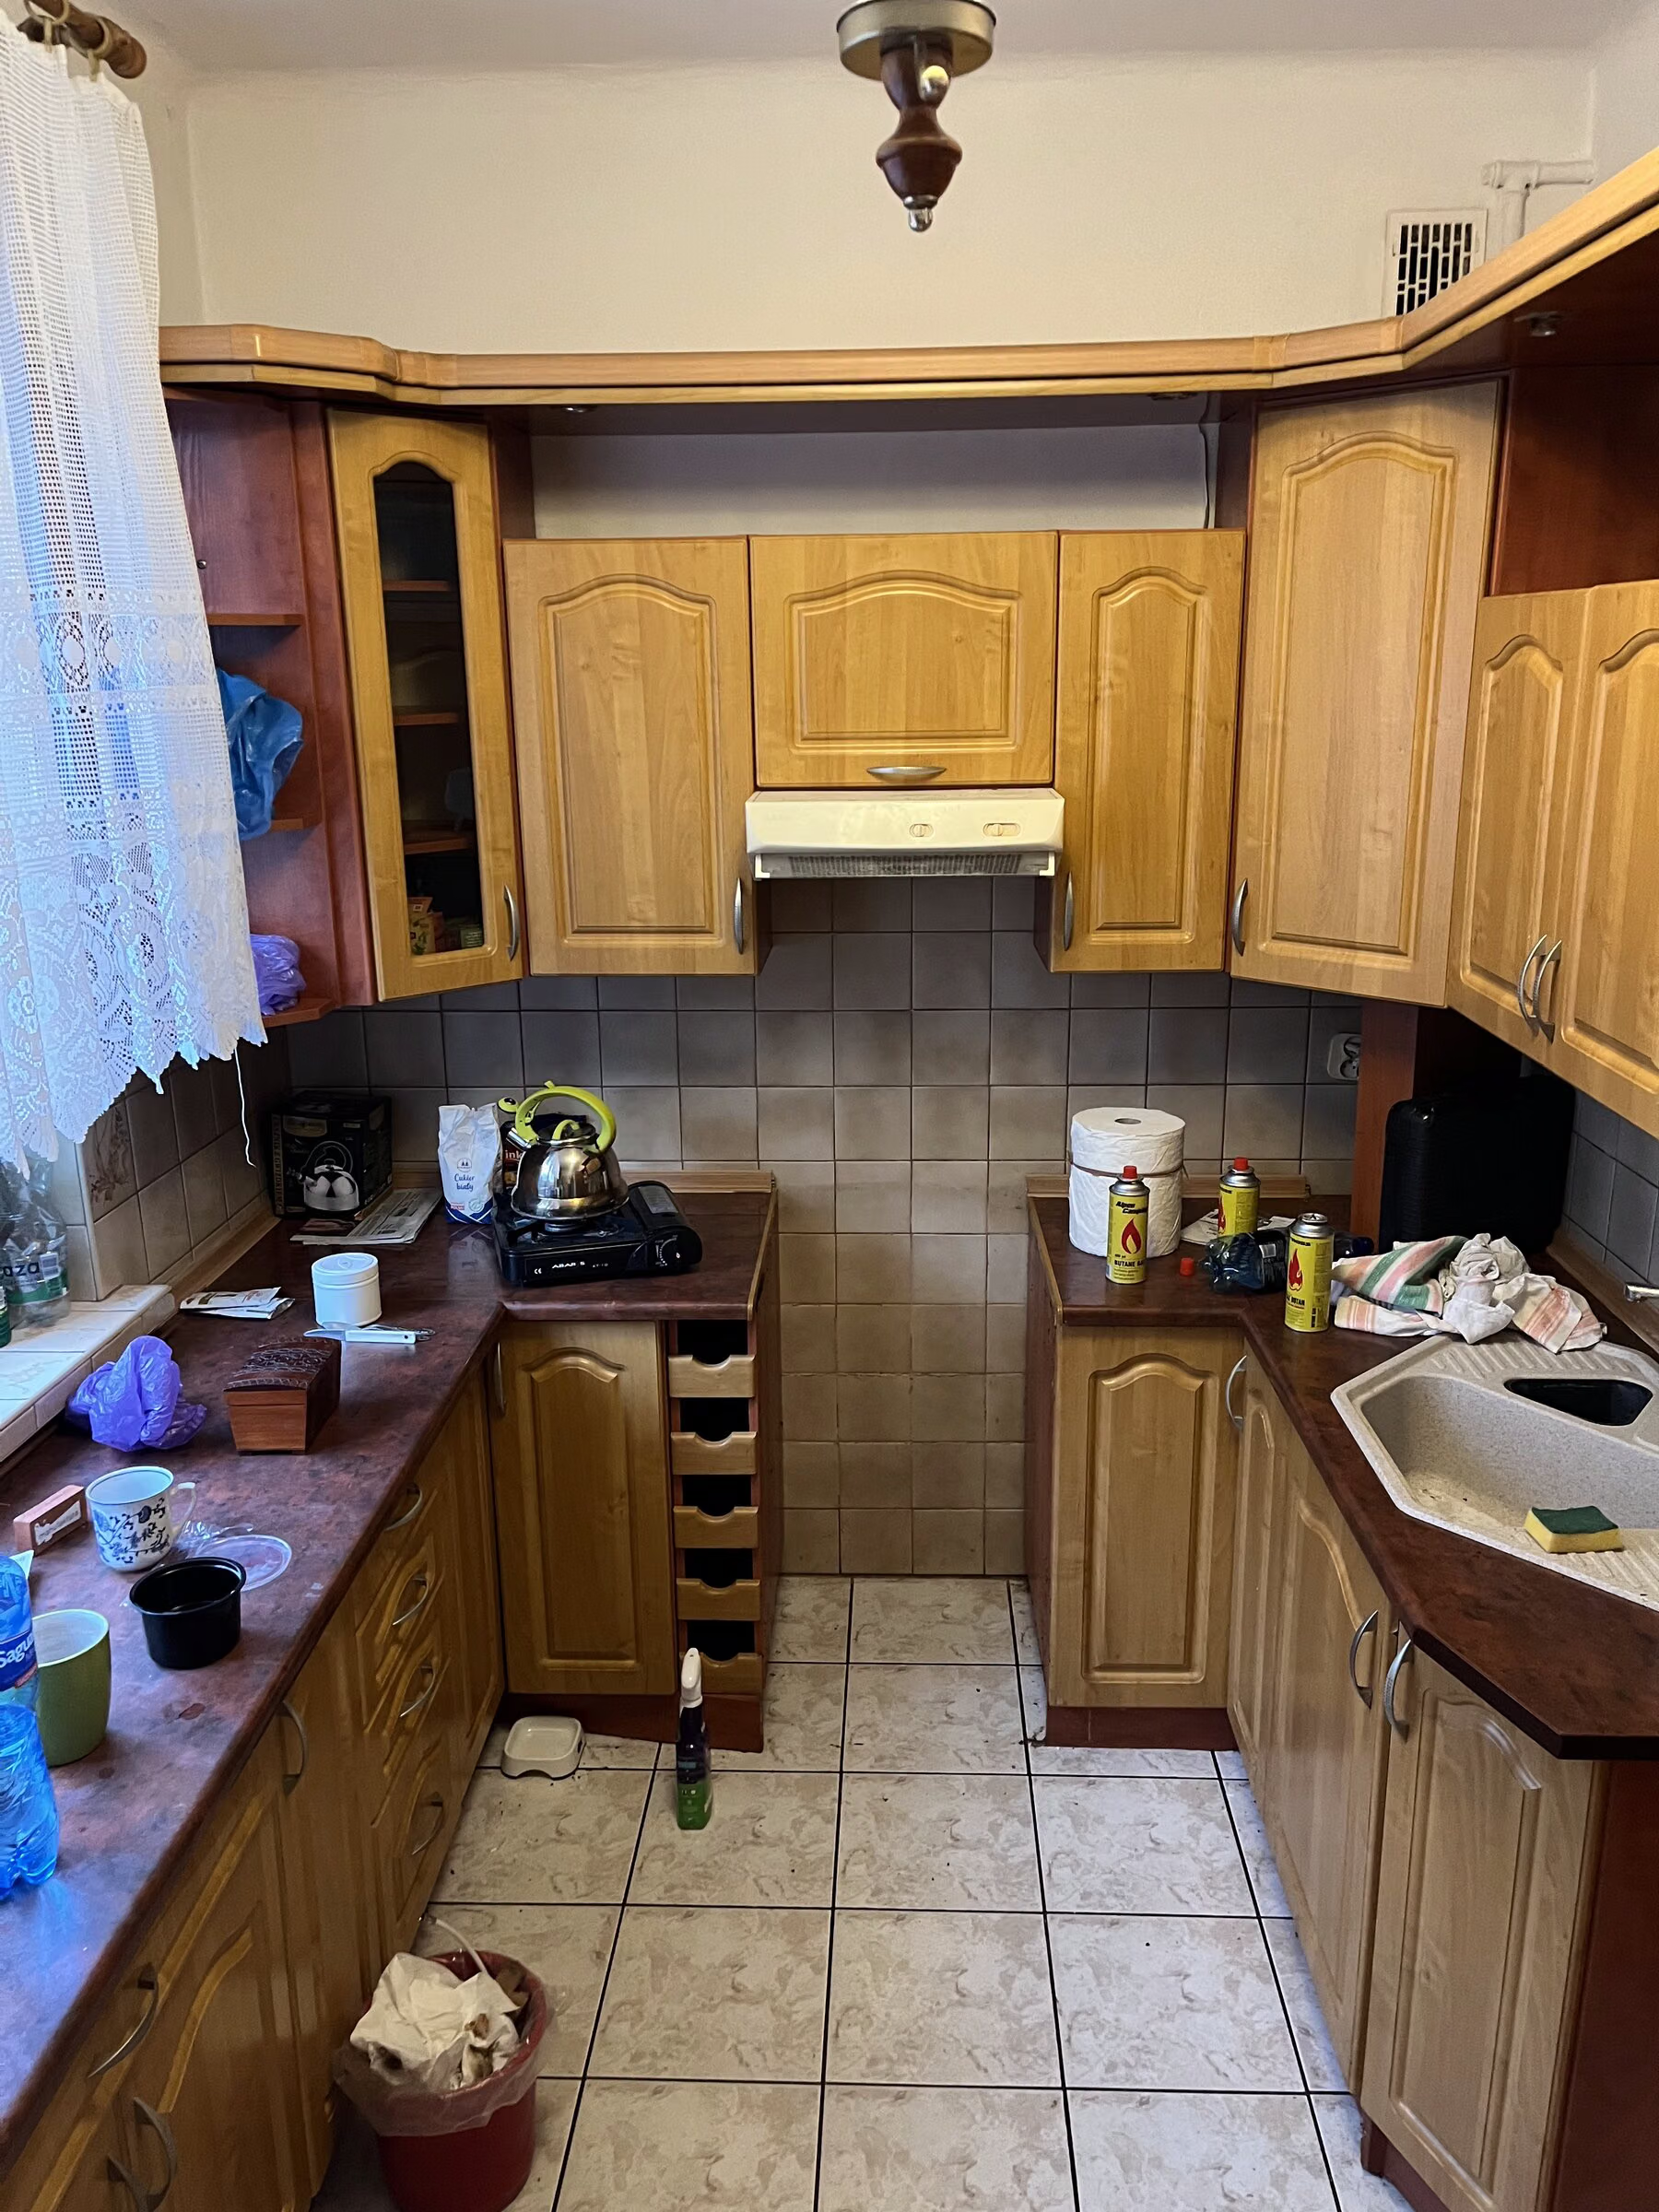
Kitchen before: arched wooden fronts, wall tiles and a ceiling lamp.
BeforeAfter
KitchenDrag to compare
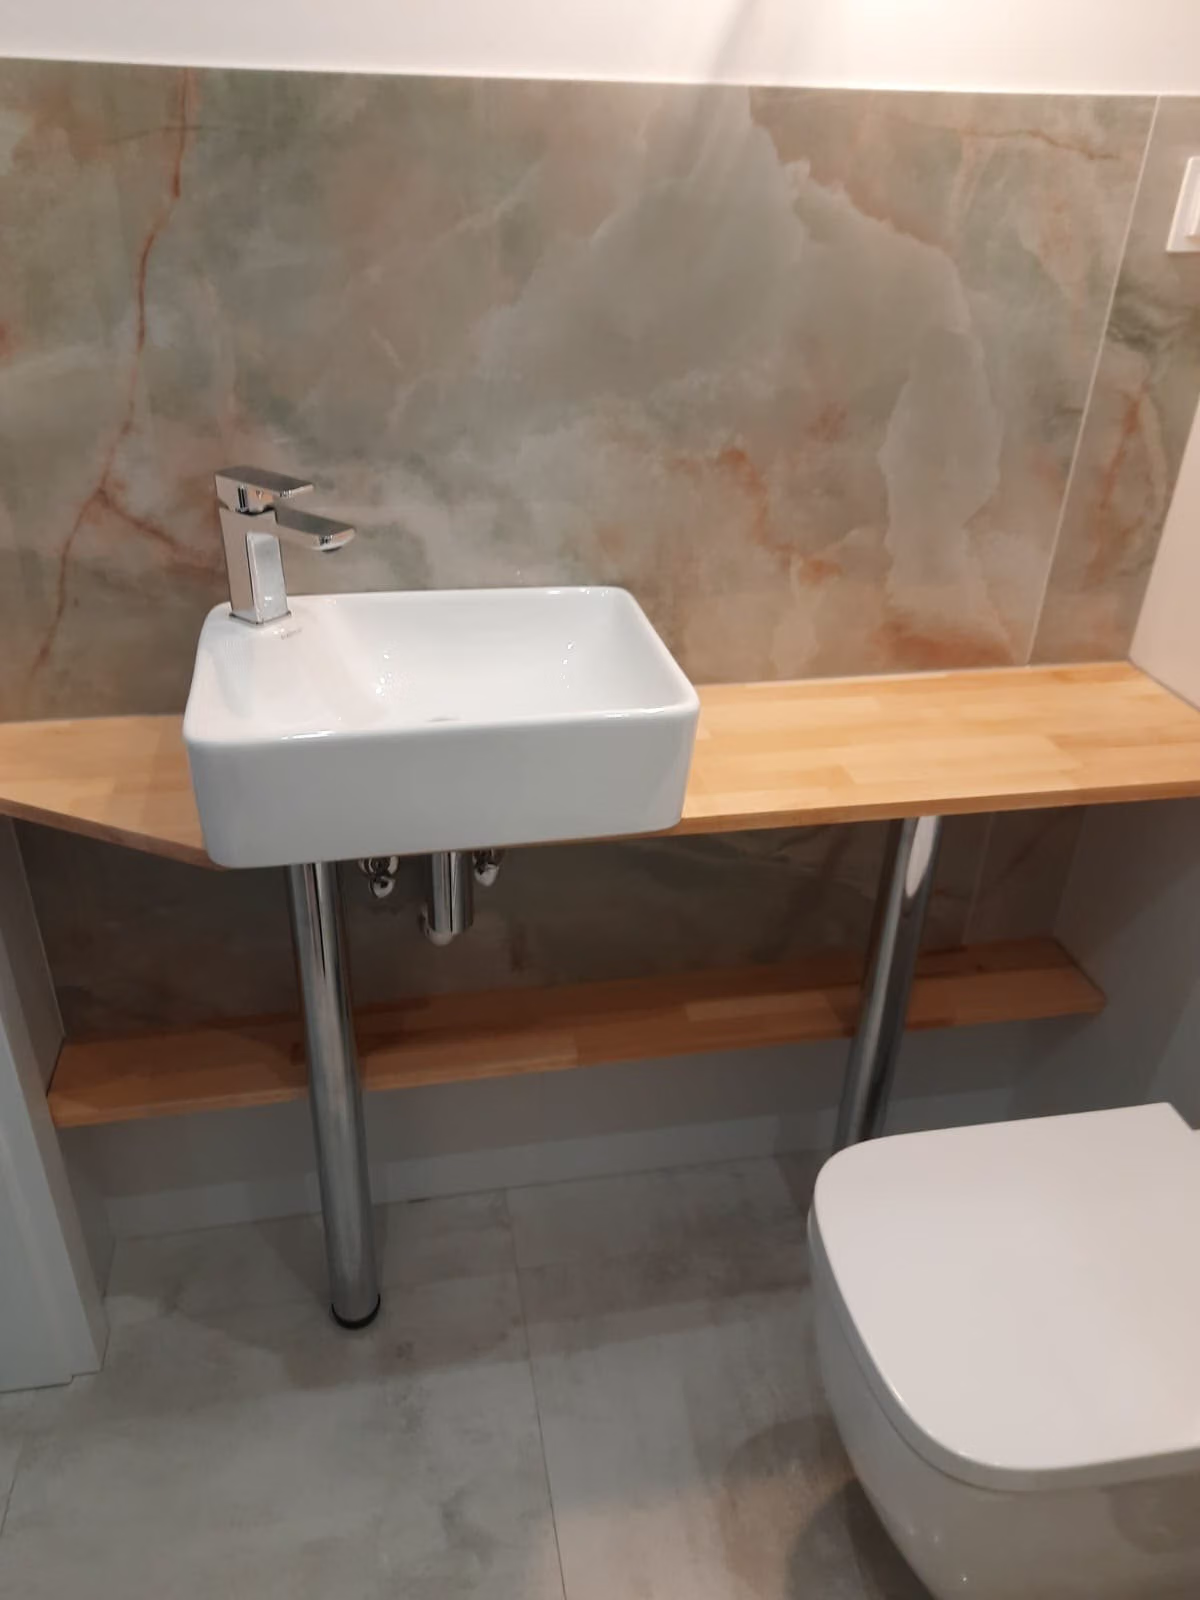
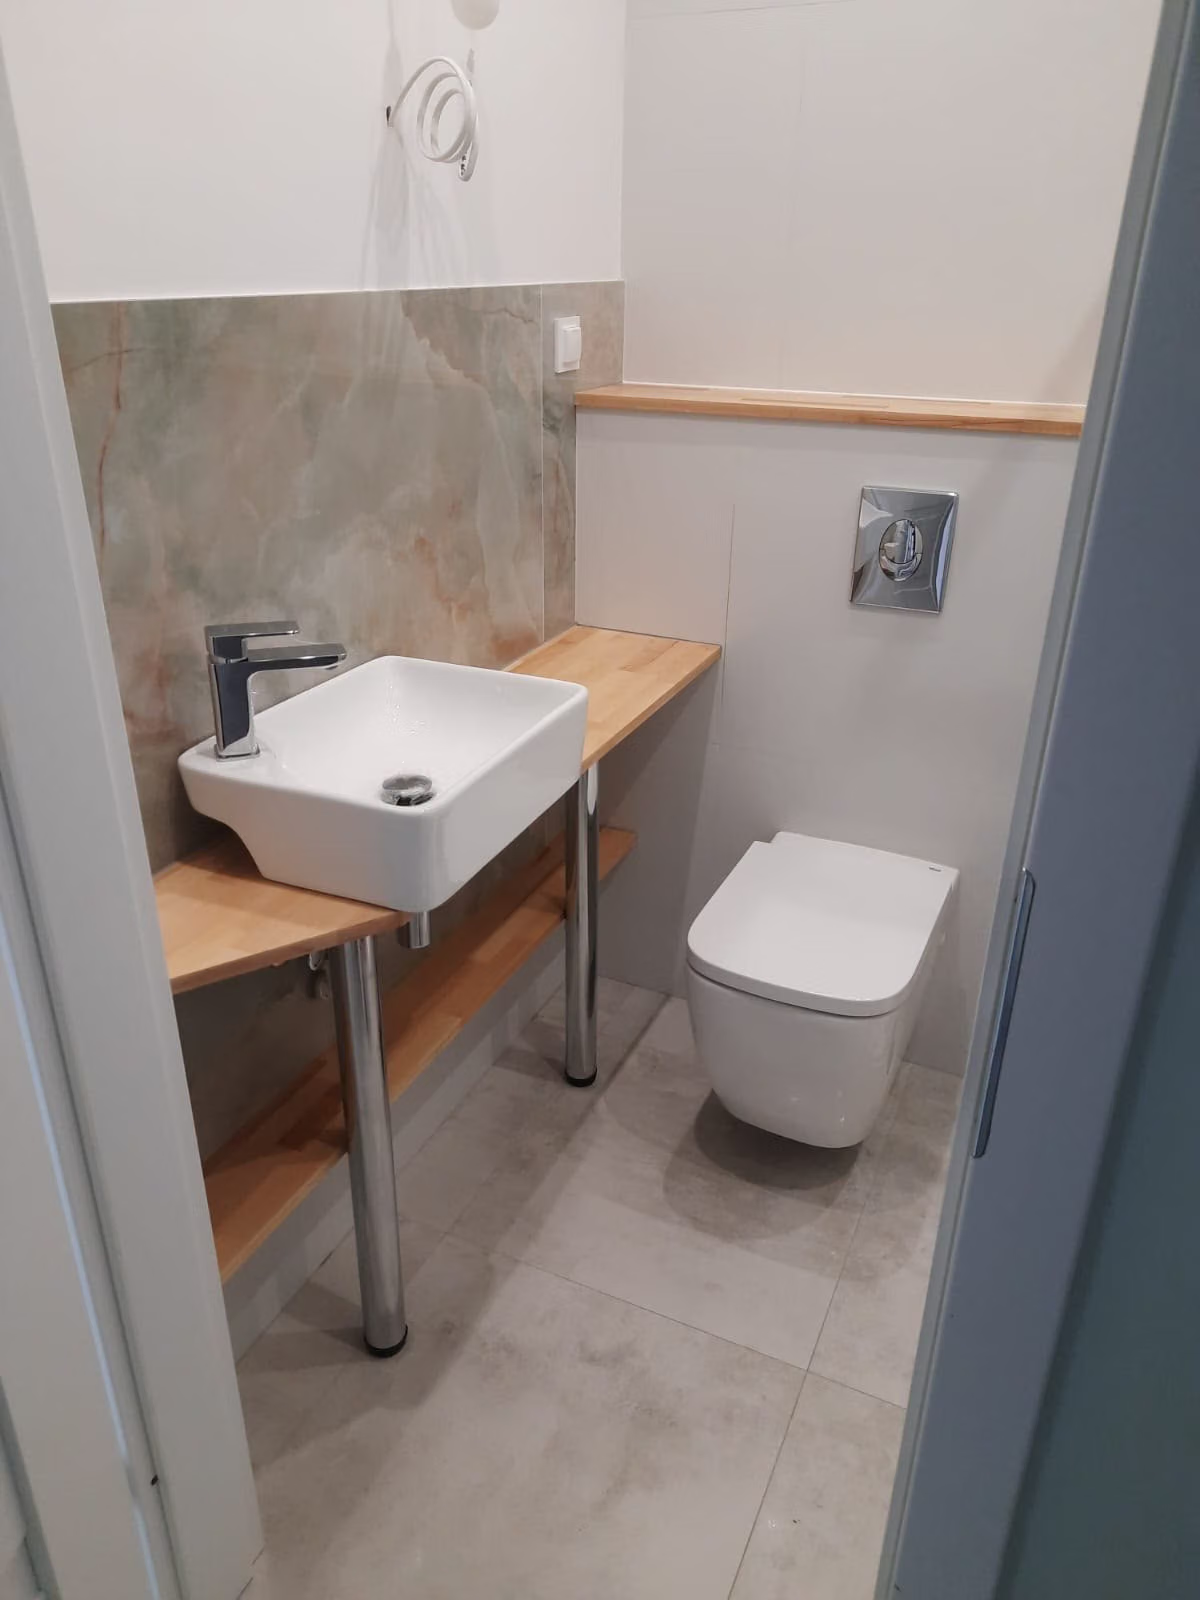
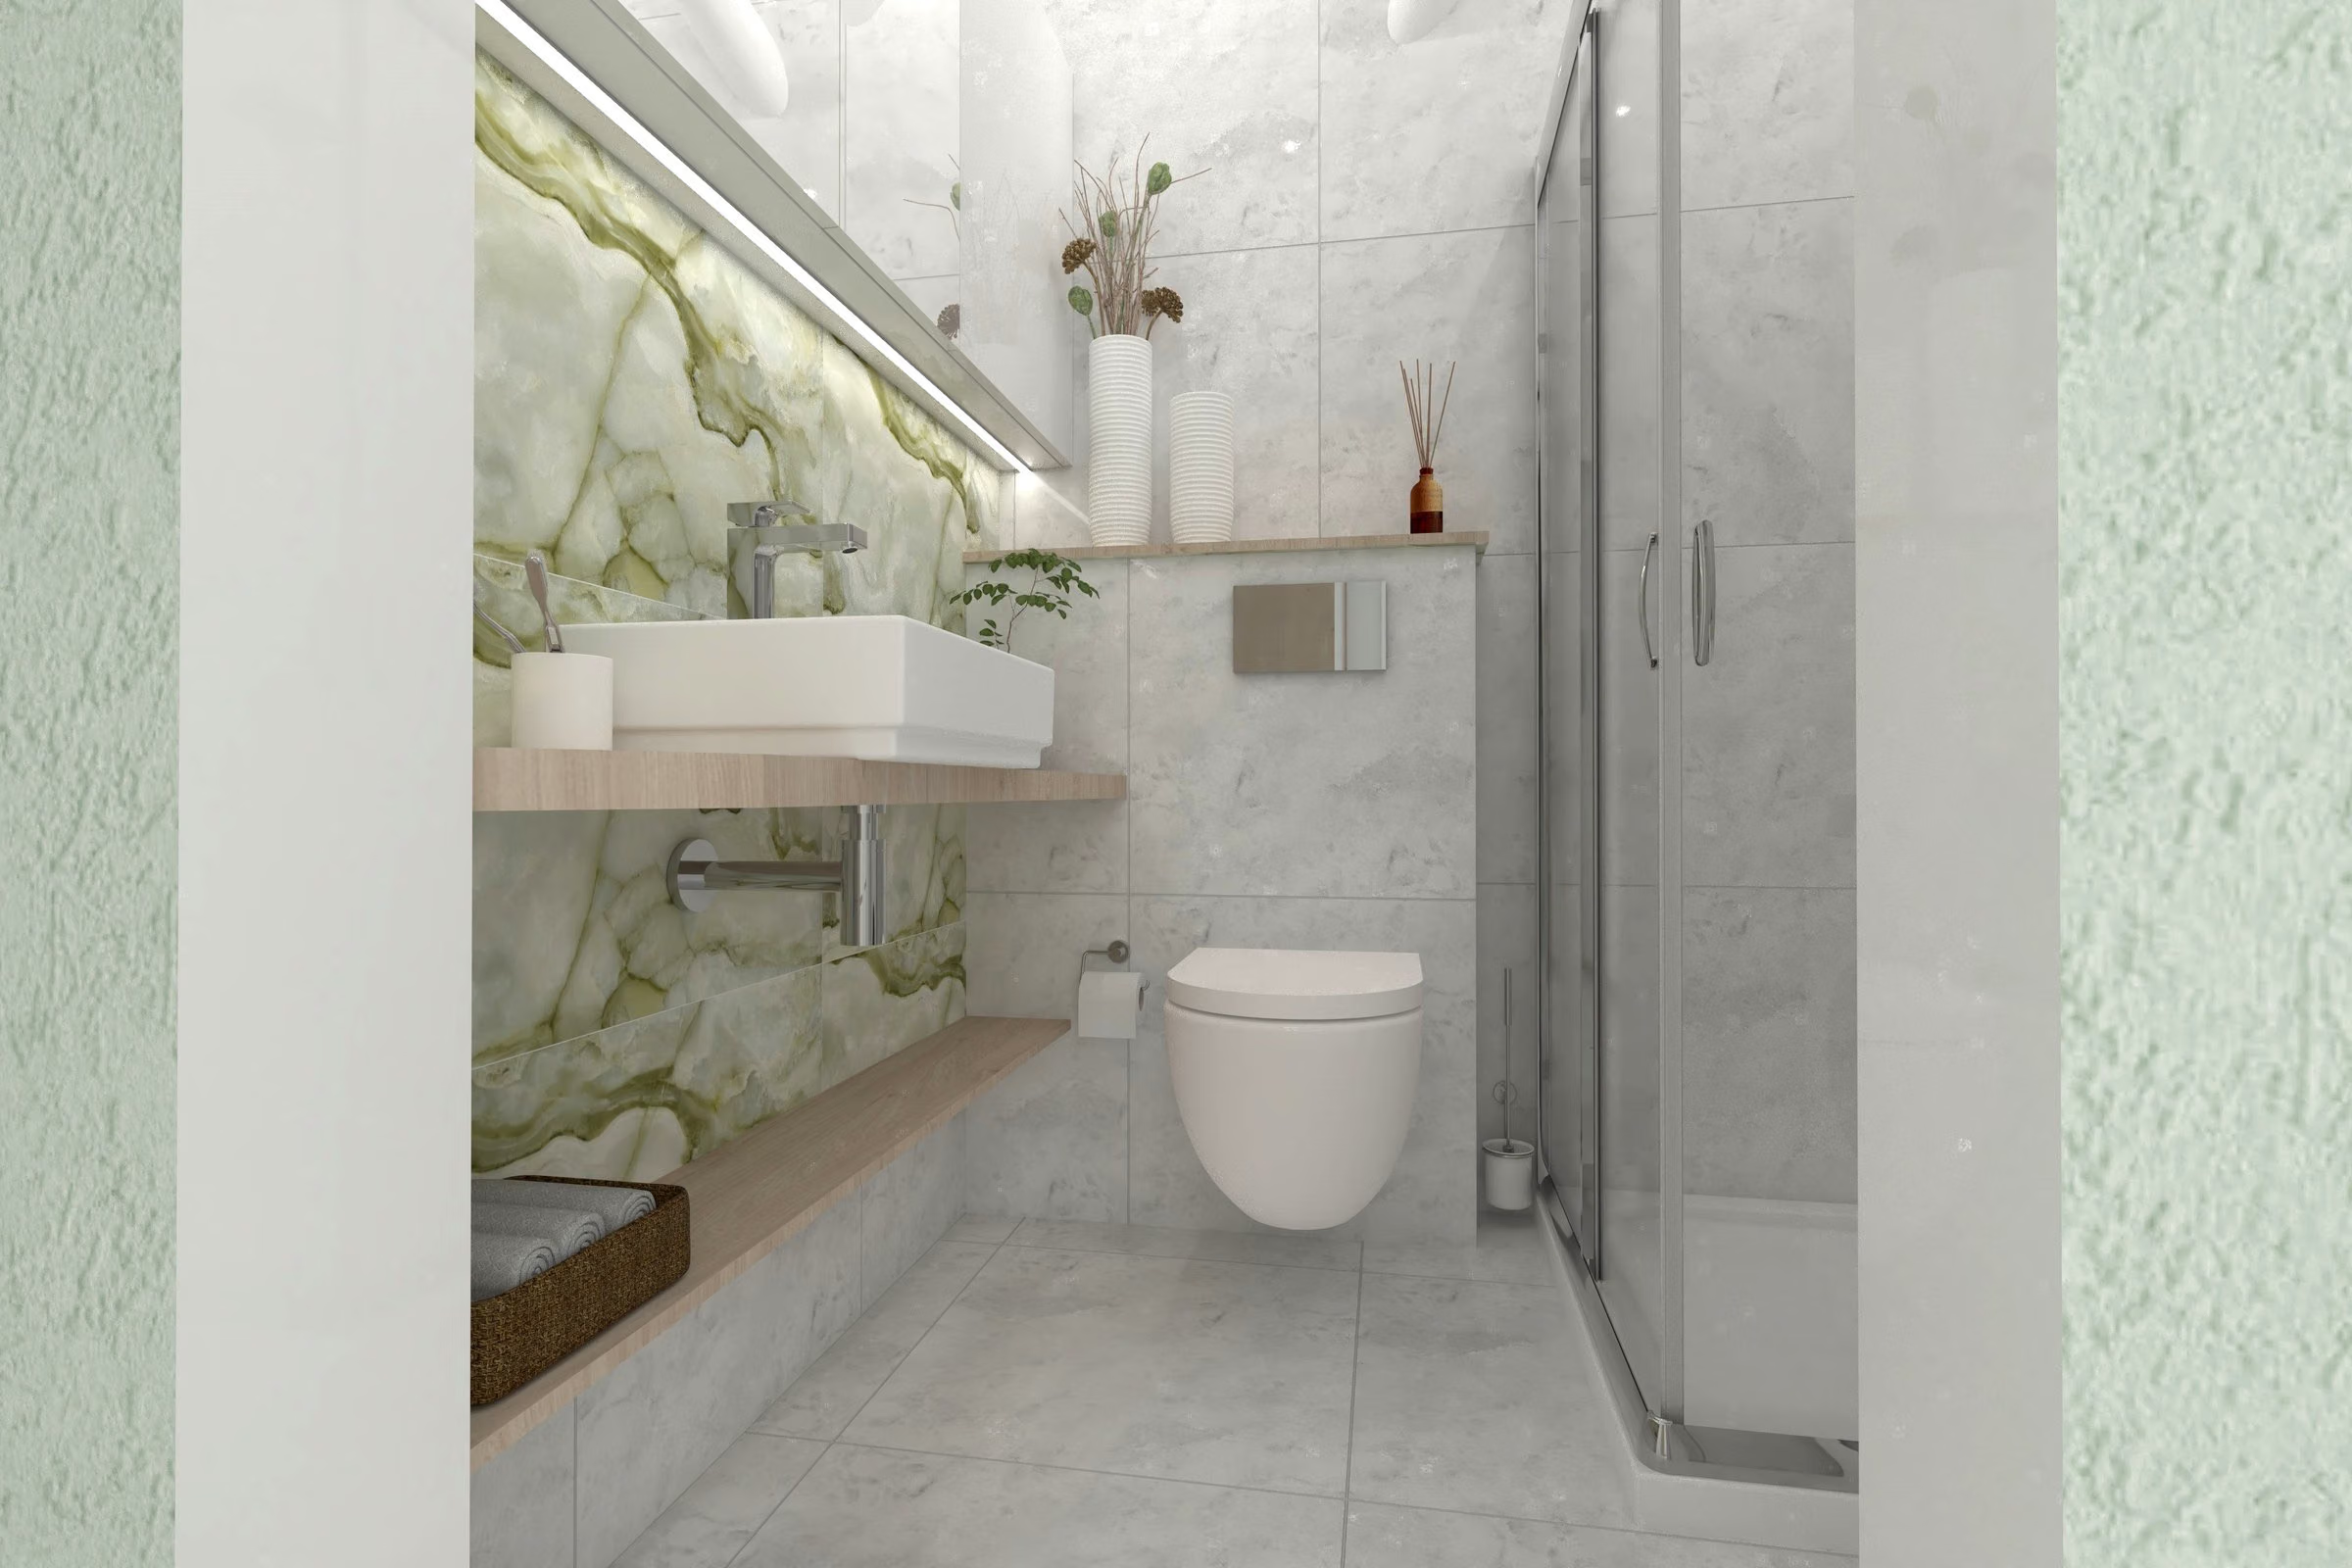
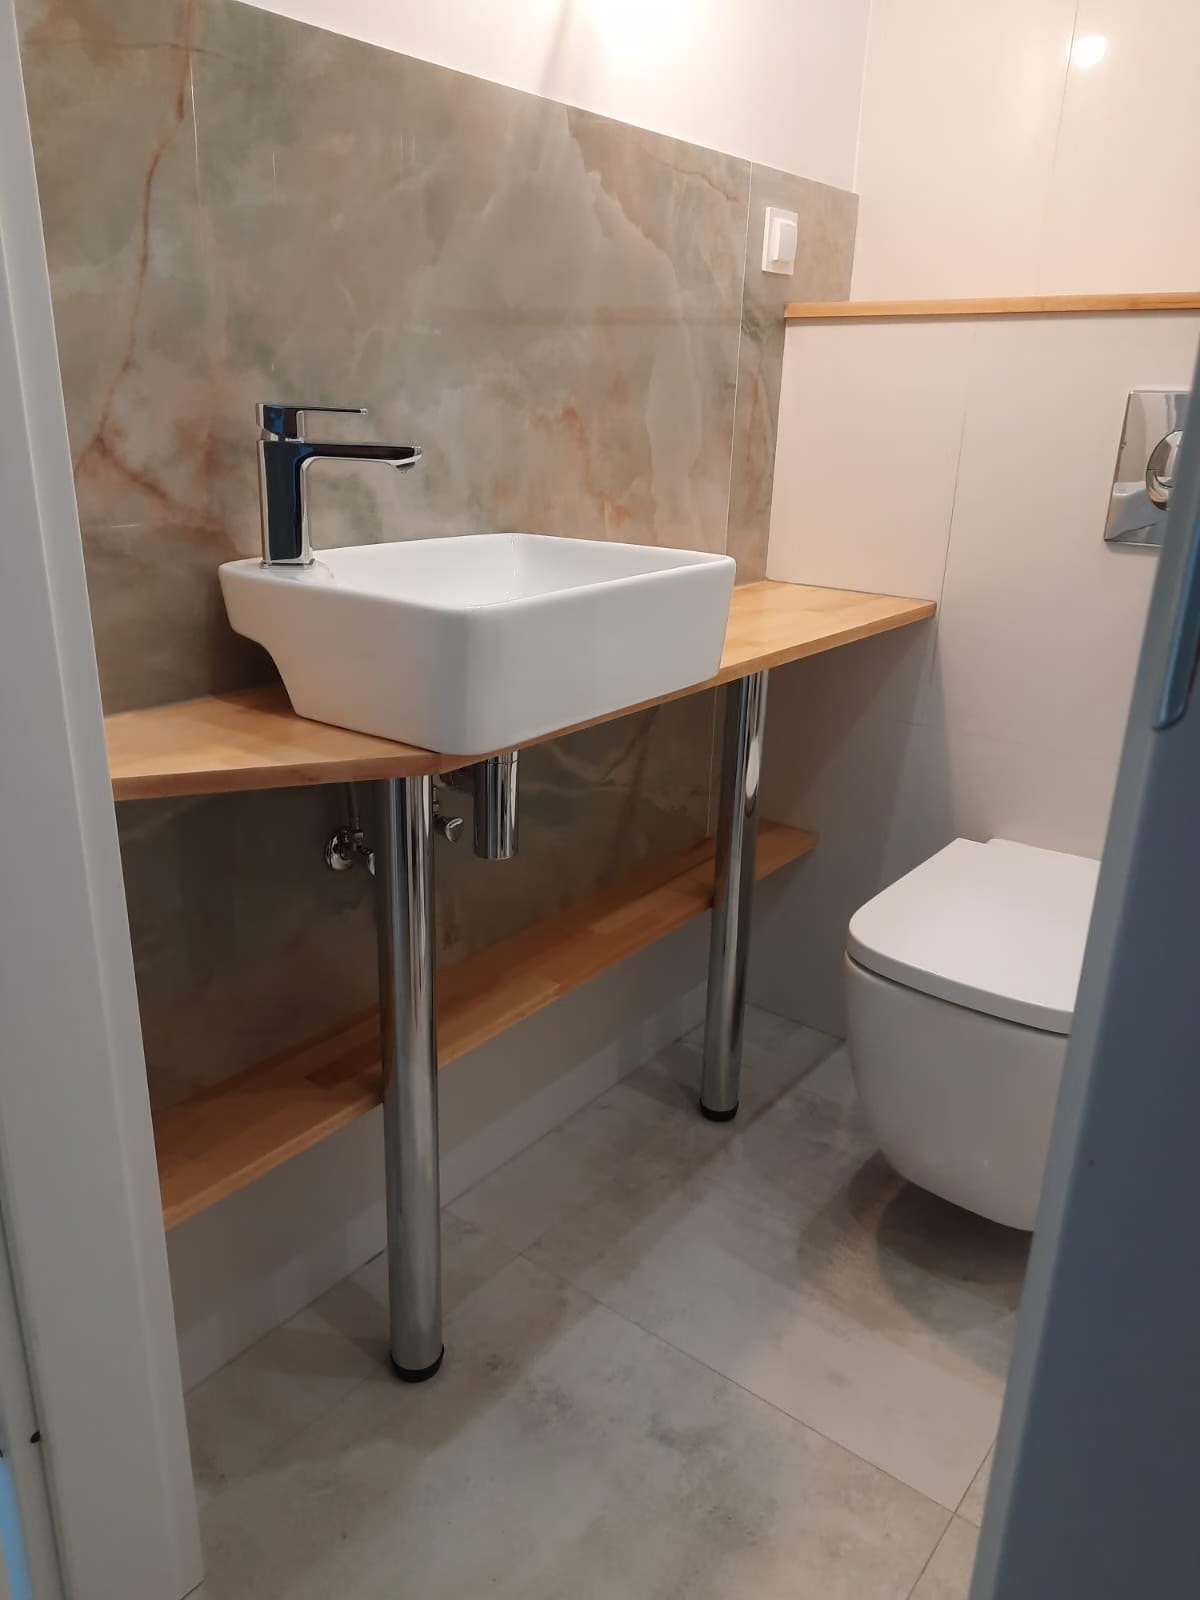
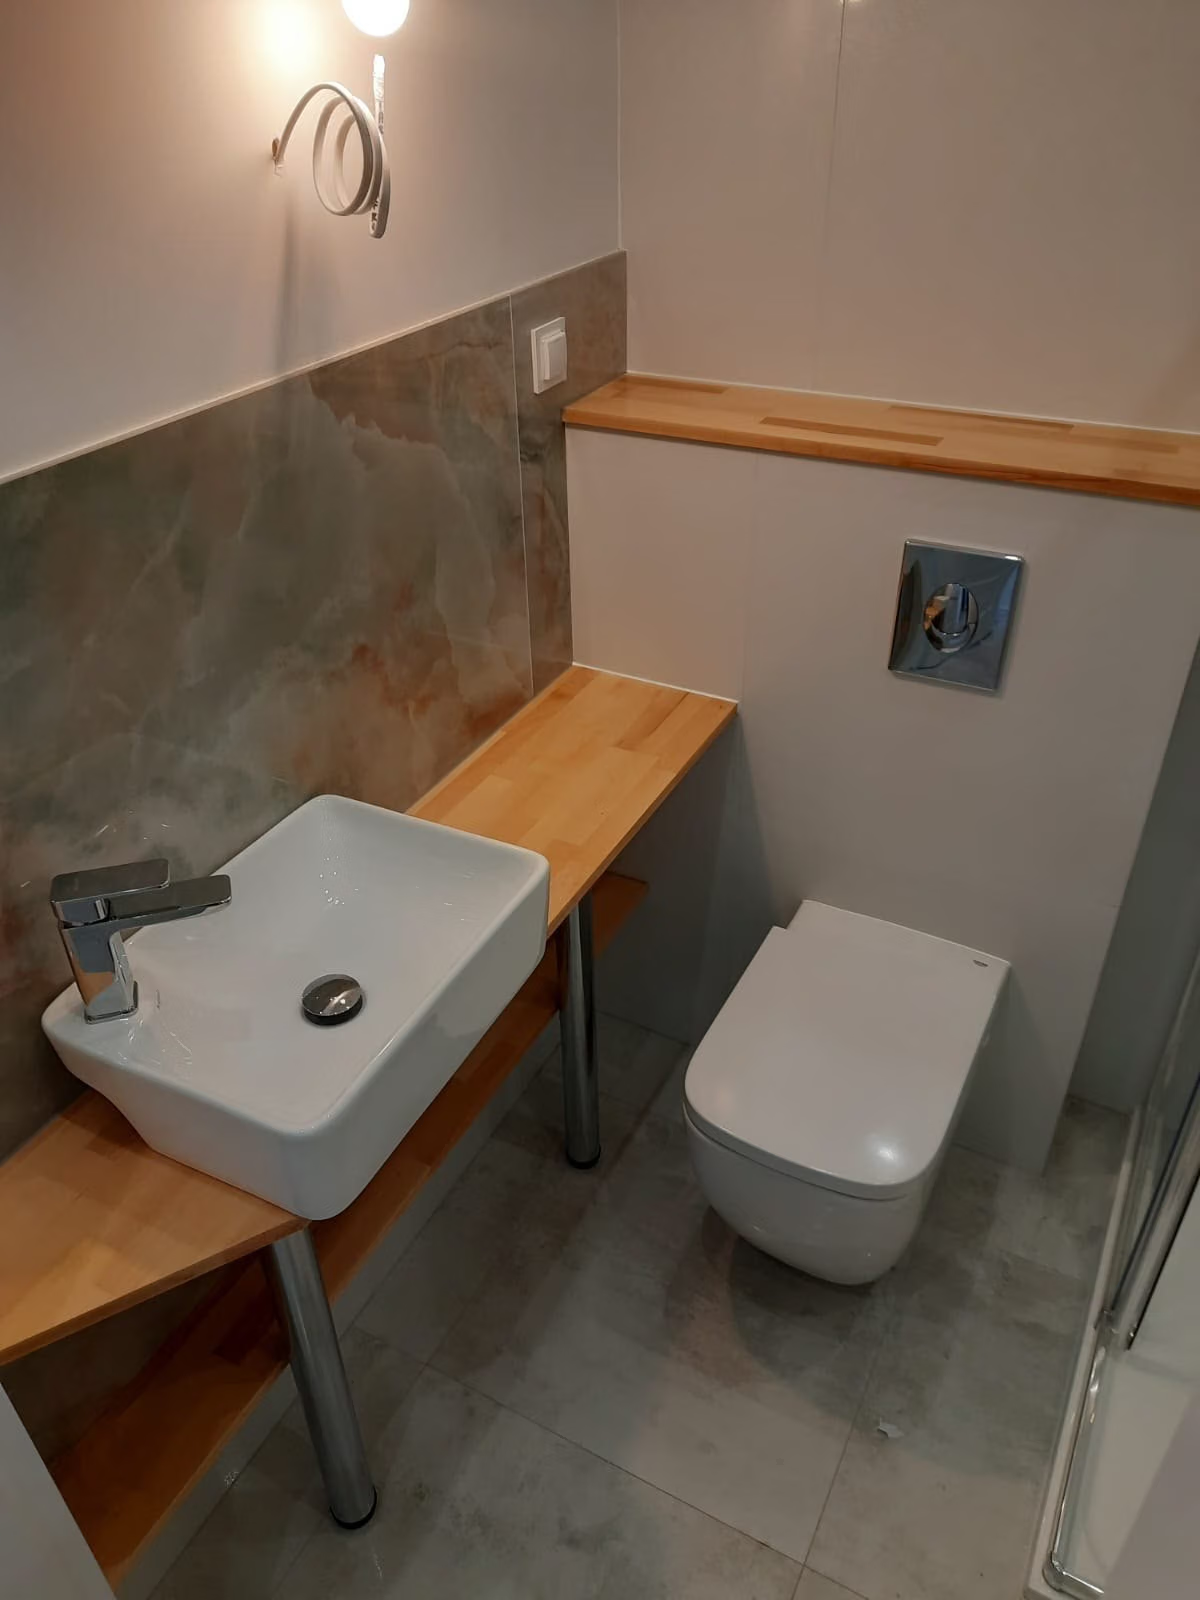
The same bathroom after: countertop basin on a wooden top, wall-hung toilet and onyx-pattern slabs.
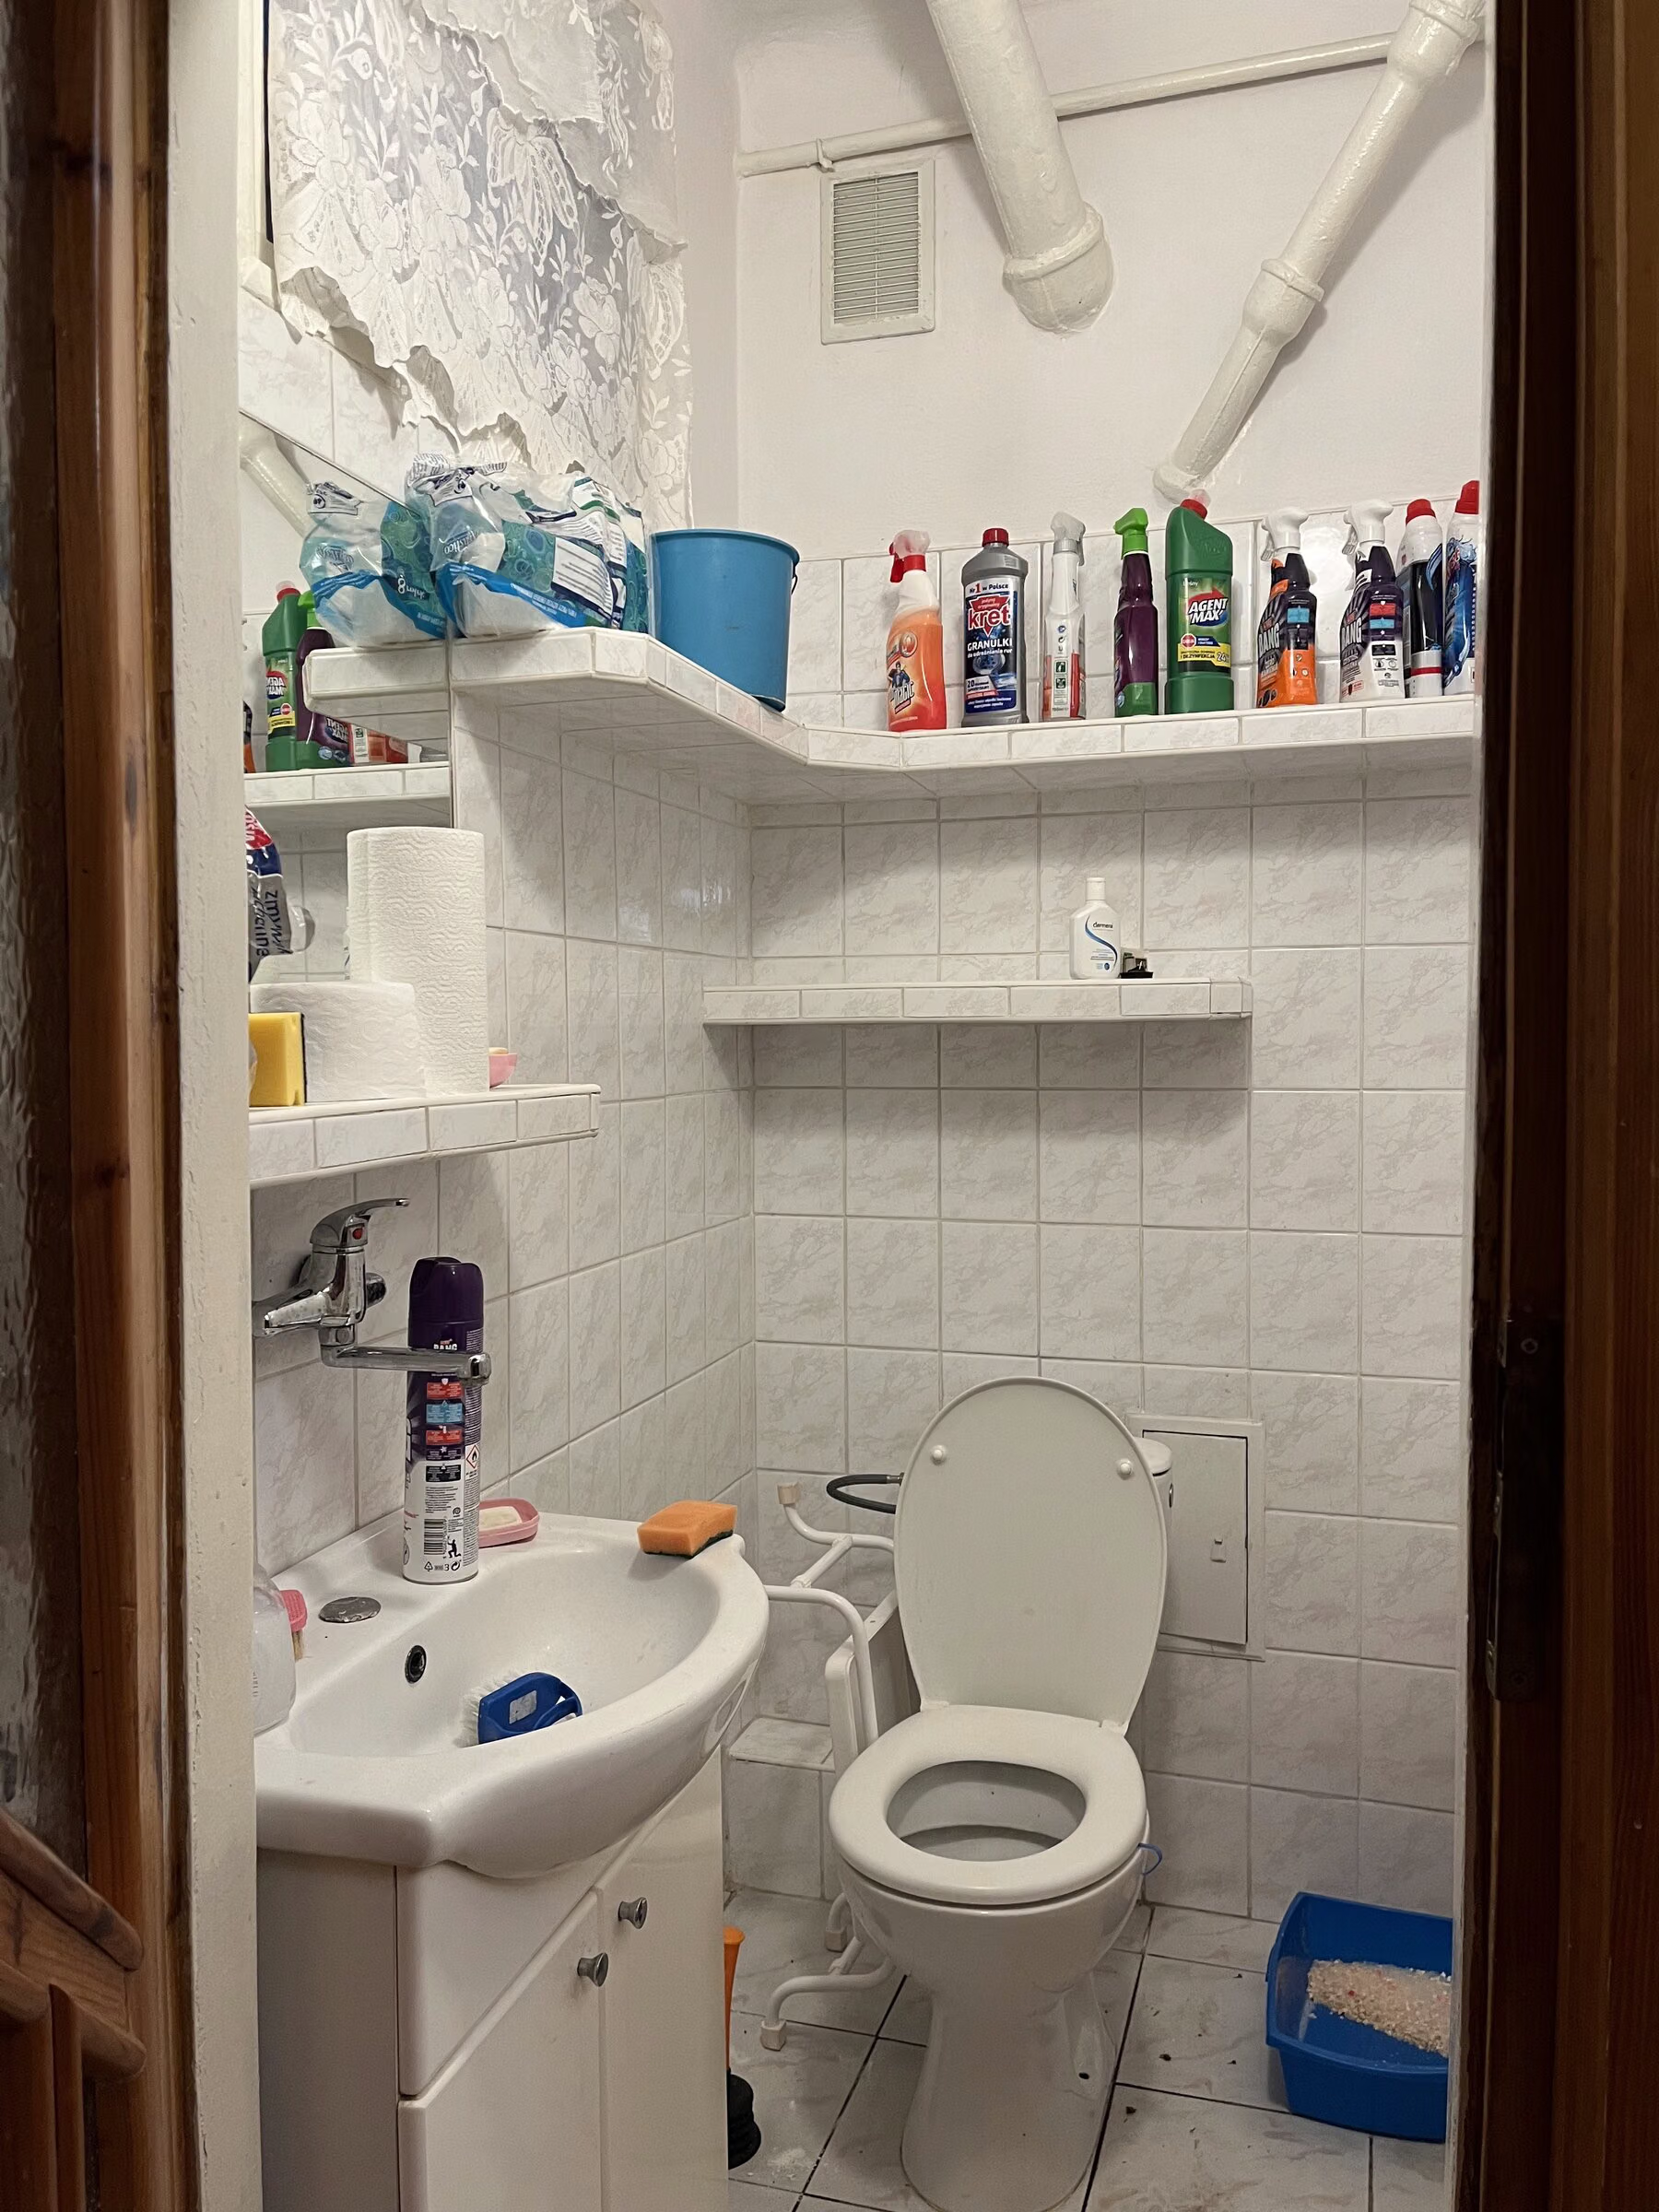
Bathroom before: white tiles, a small basin in a cabinet, a toilet and a bath.
BeforeAfter
BathroomDrag to compare
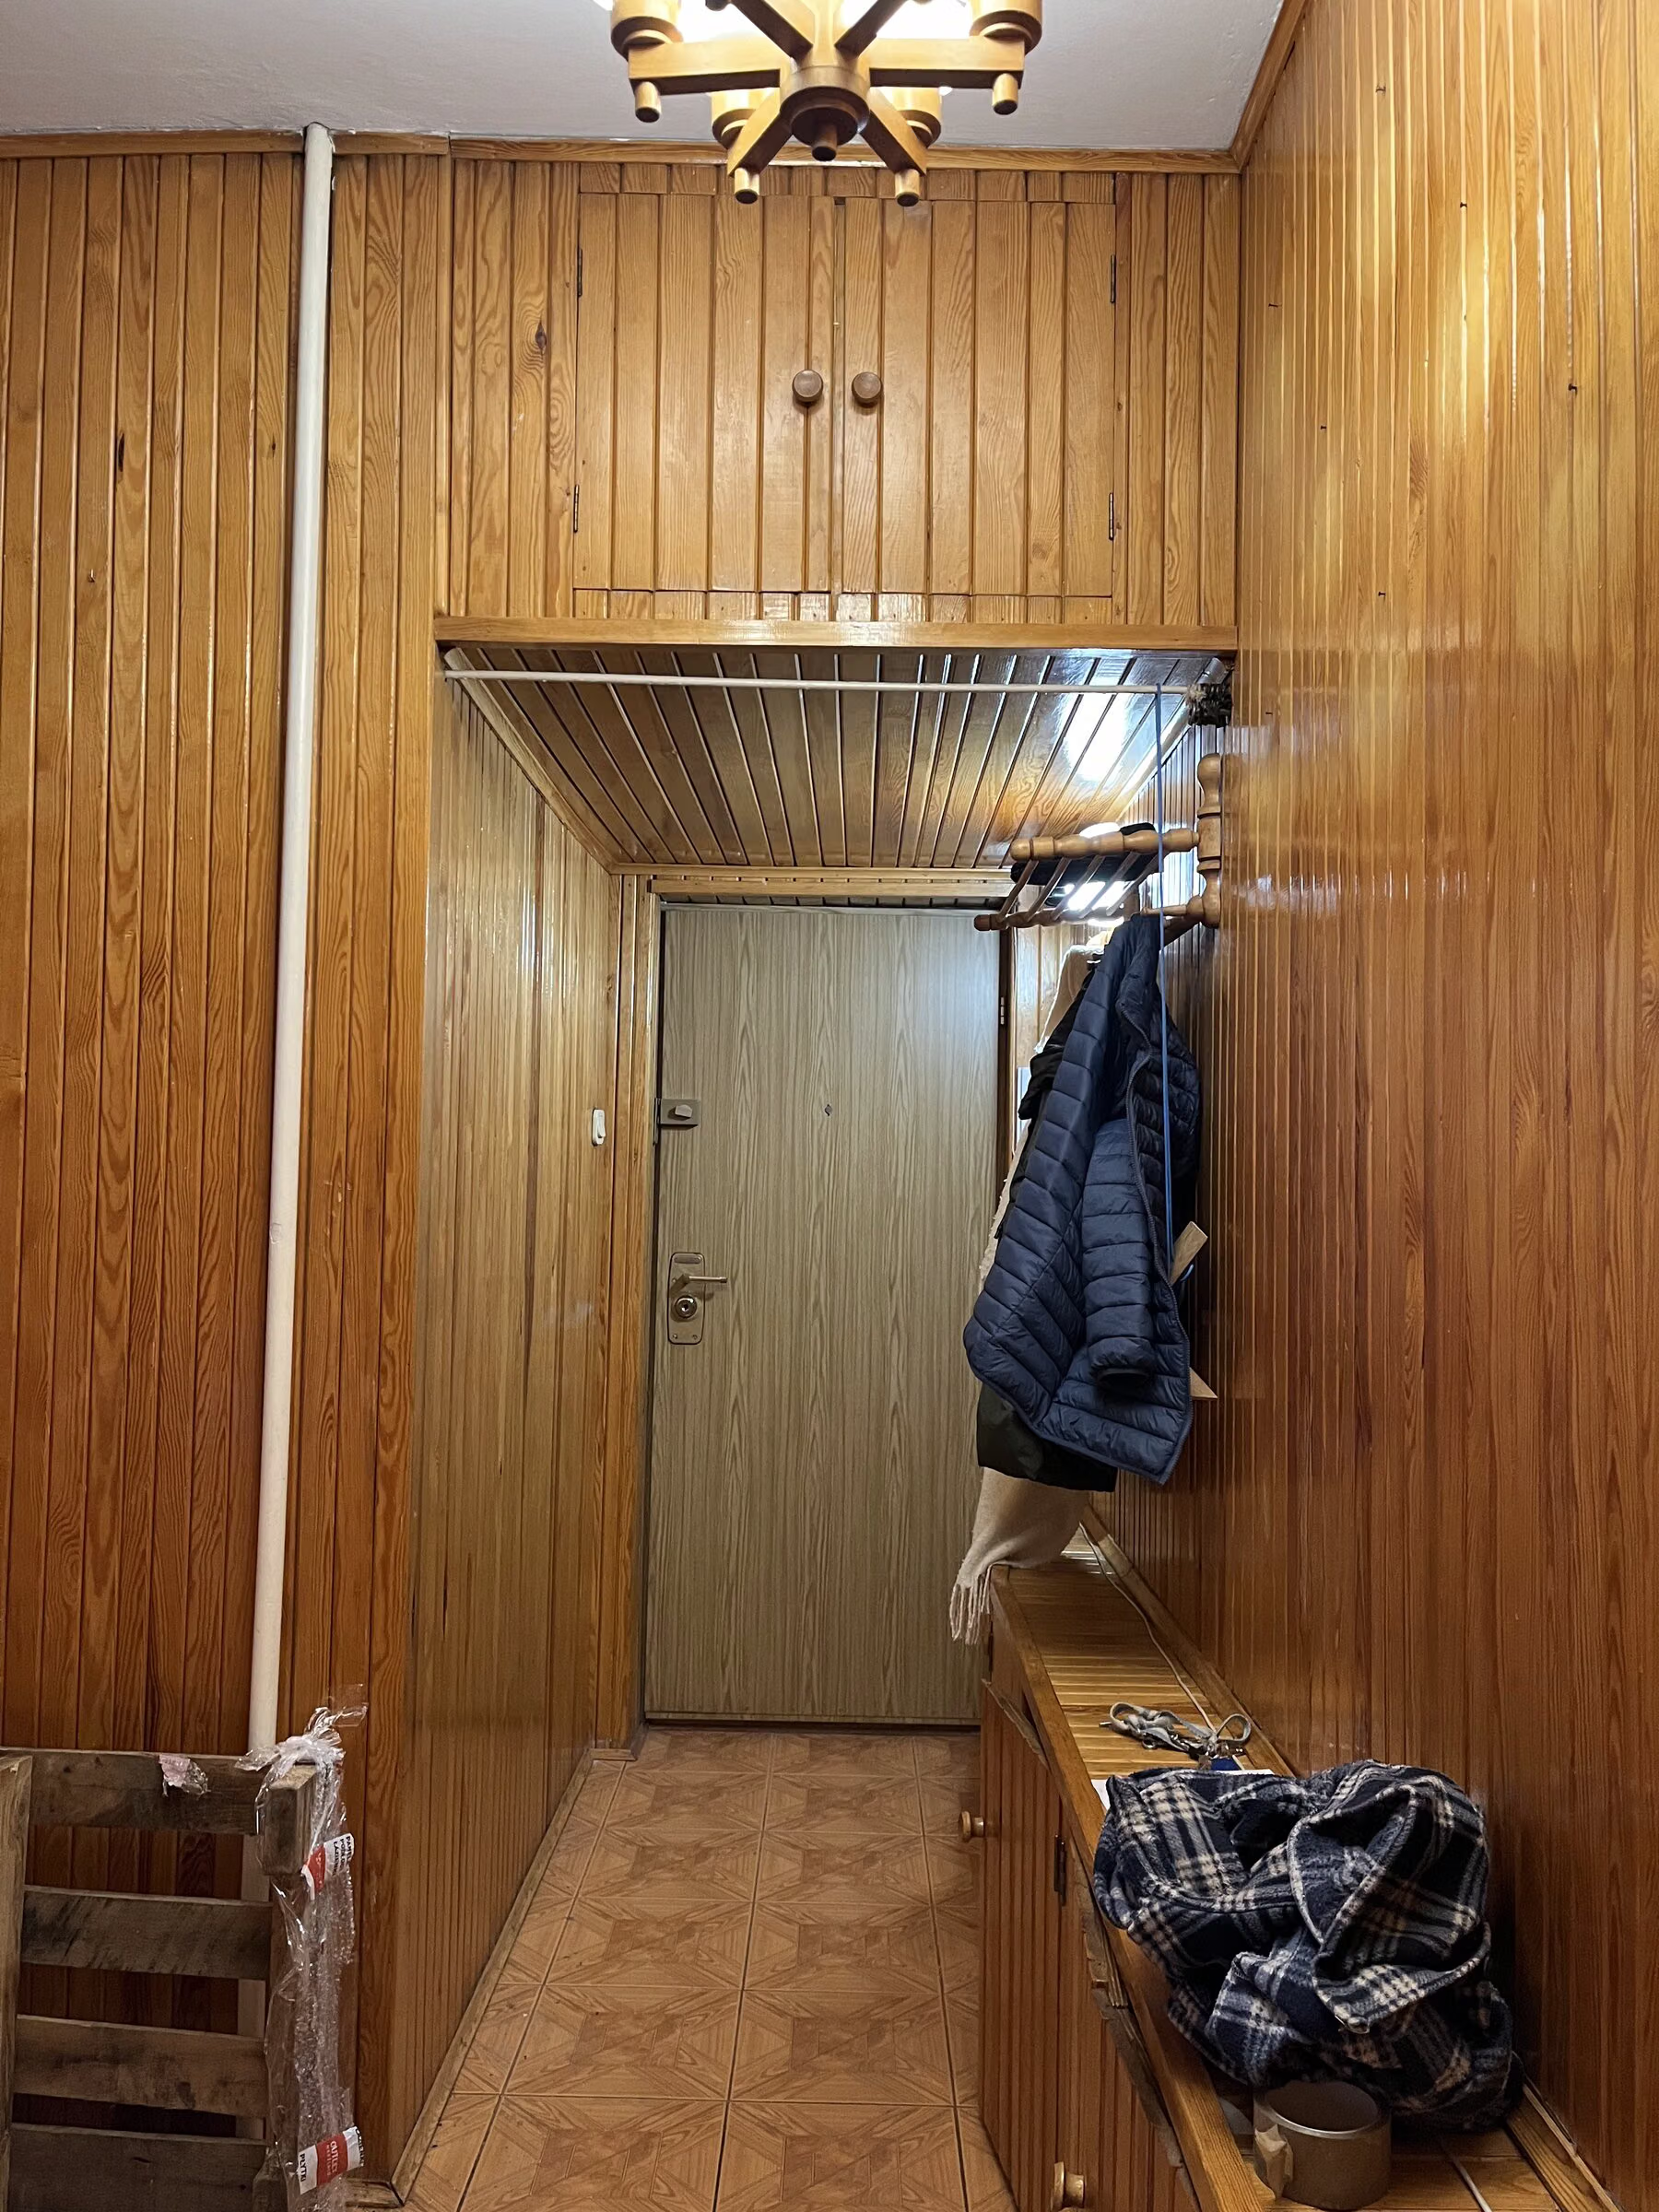
Hall before: walls and ceiling in wooden panelling, front door in the middle.Before
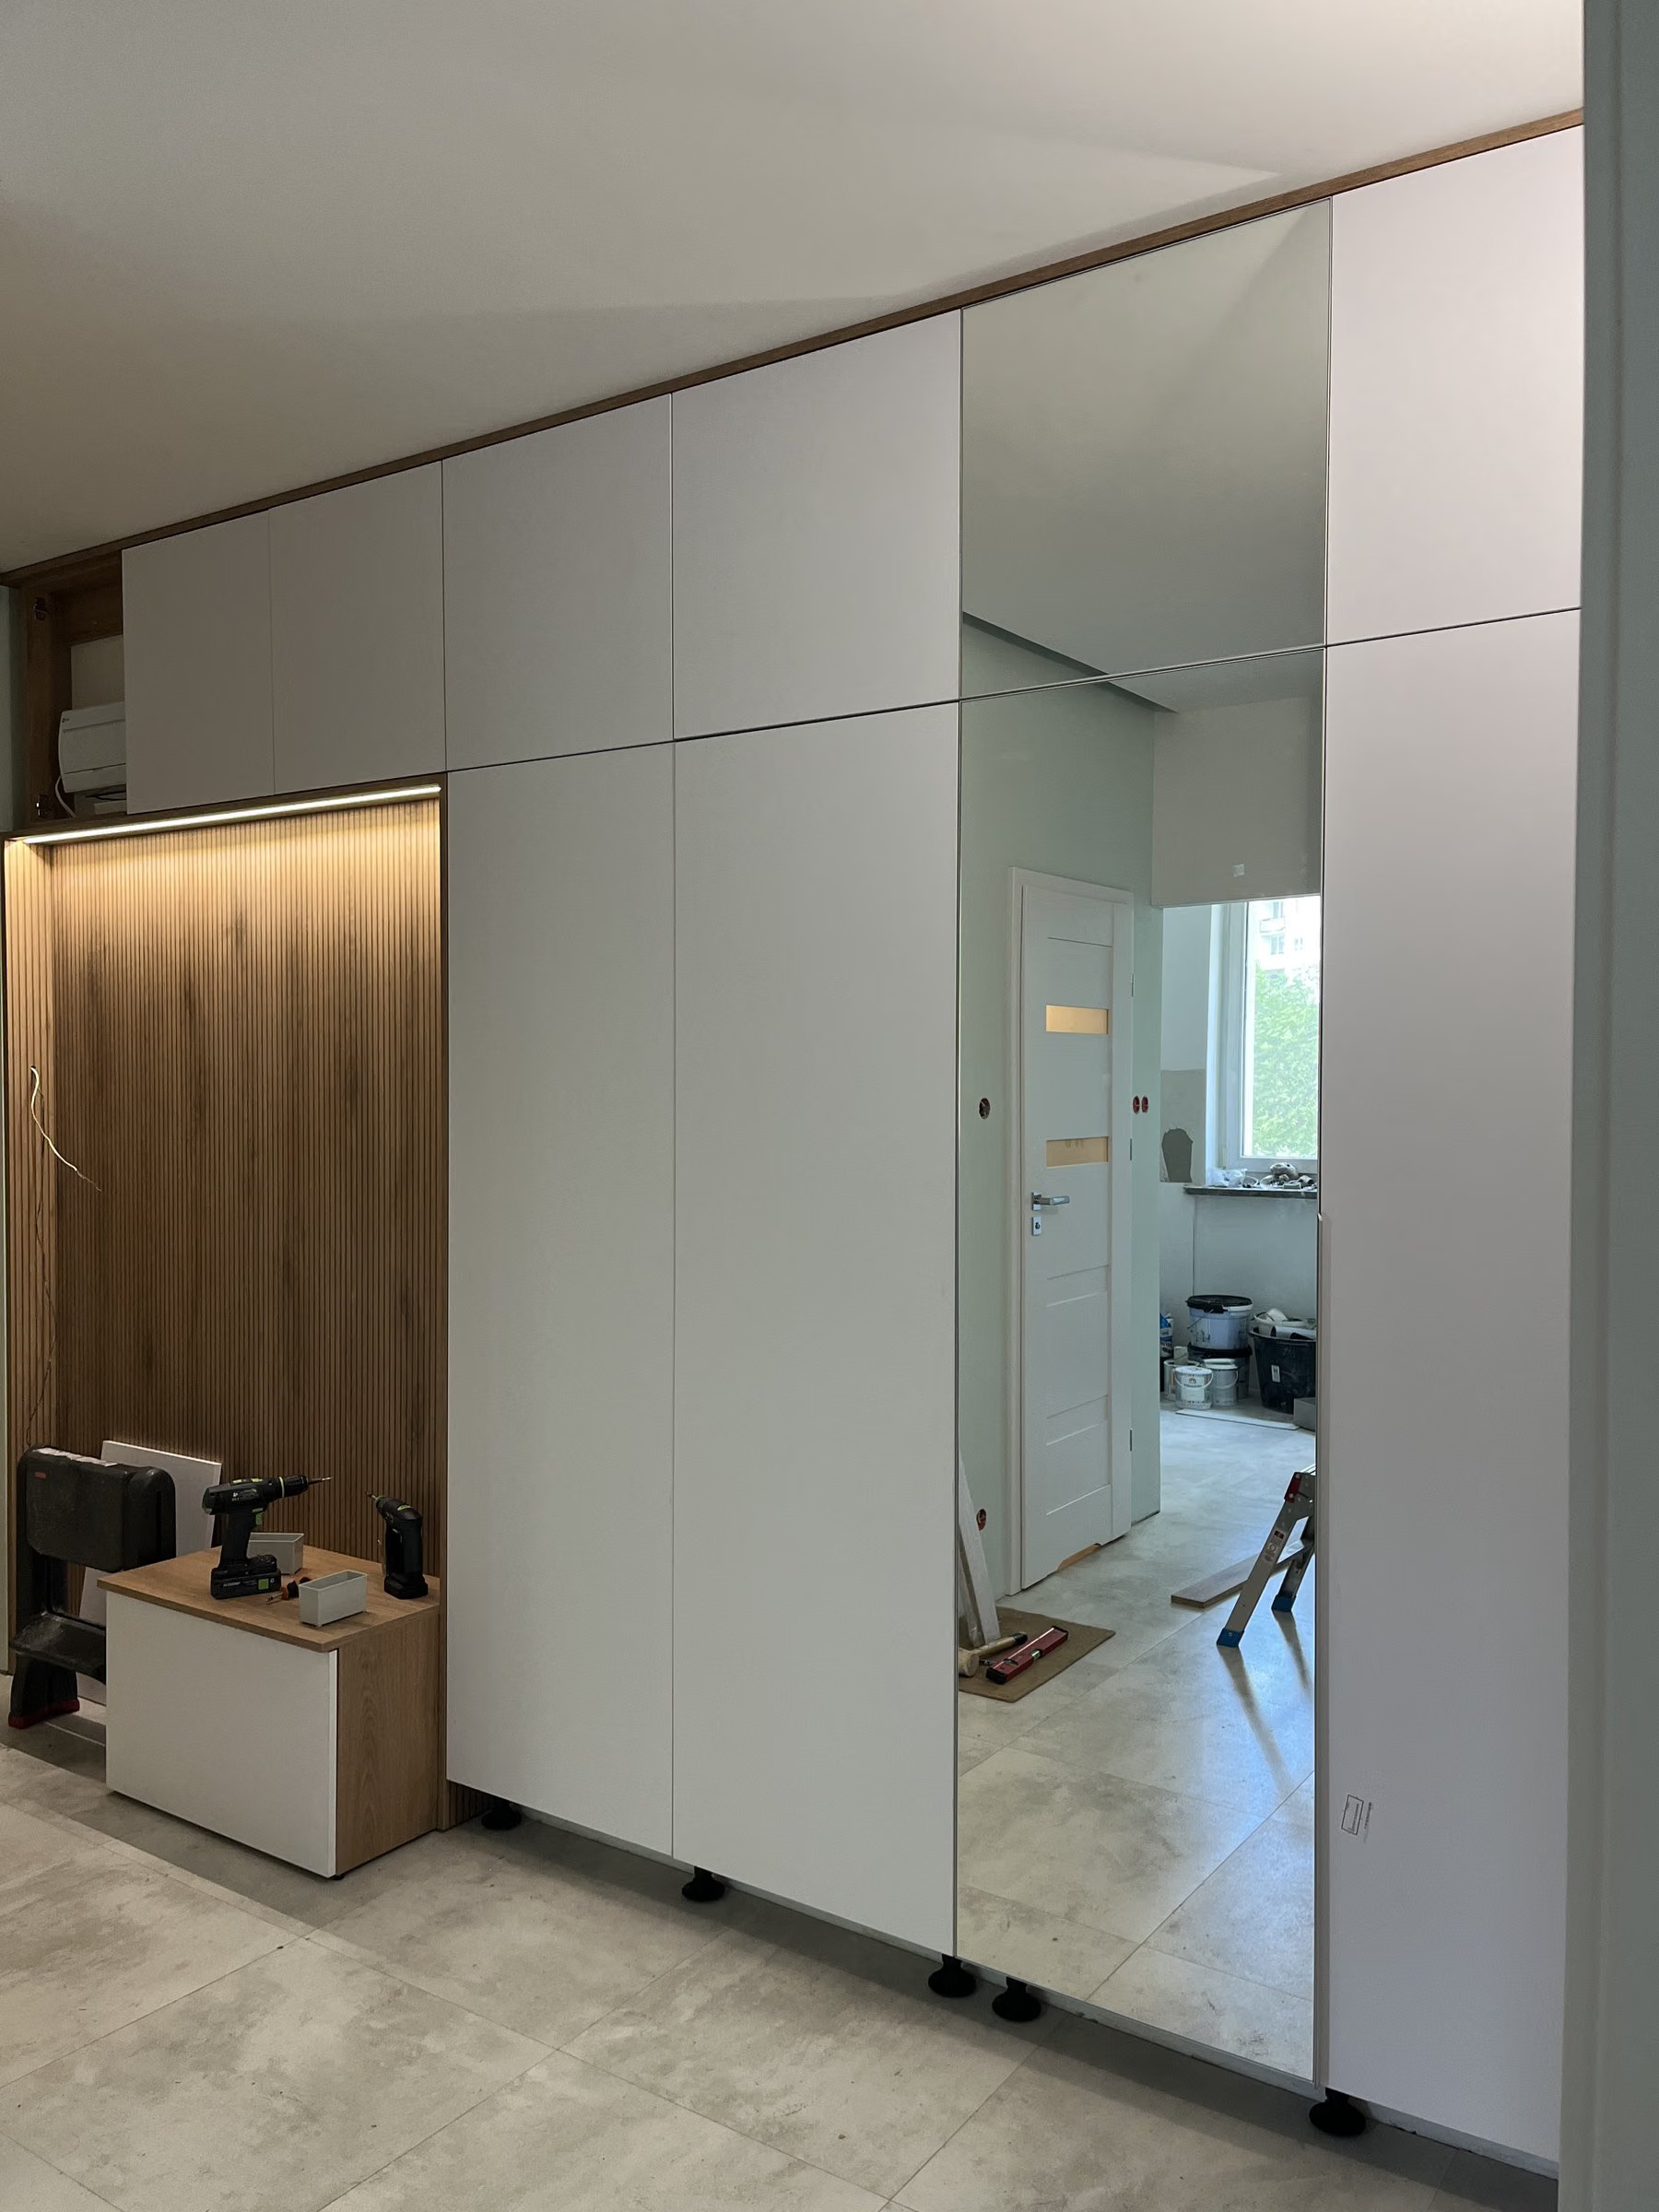
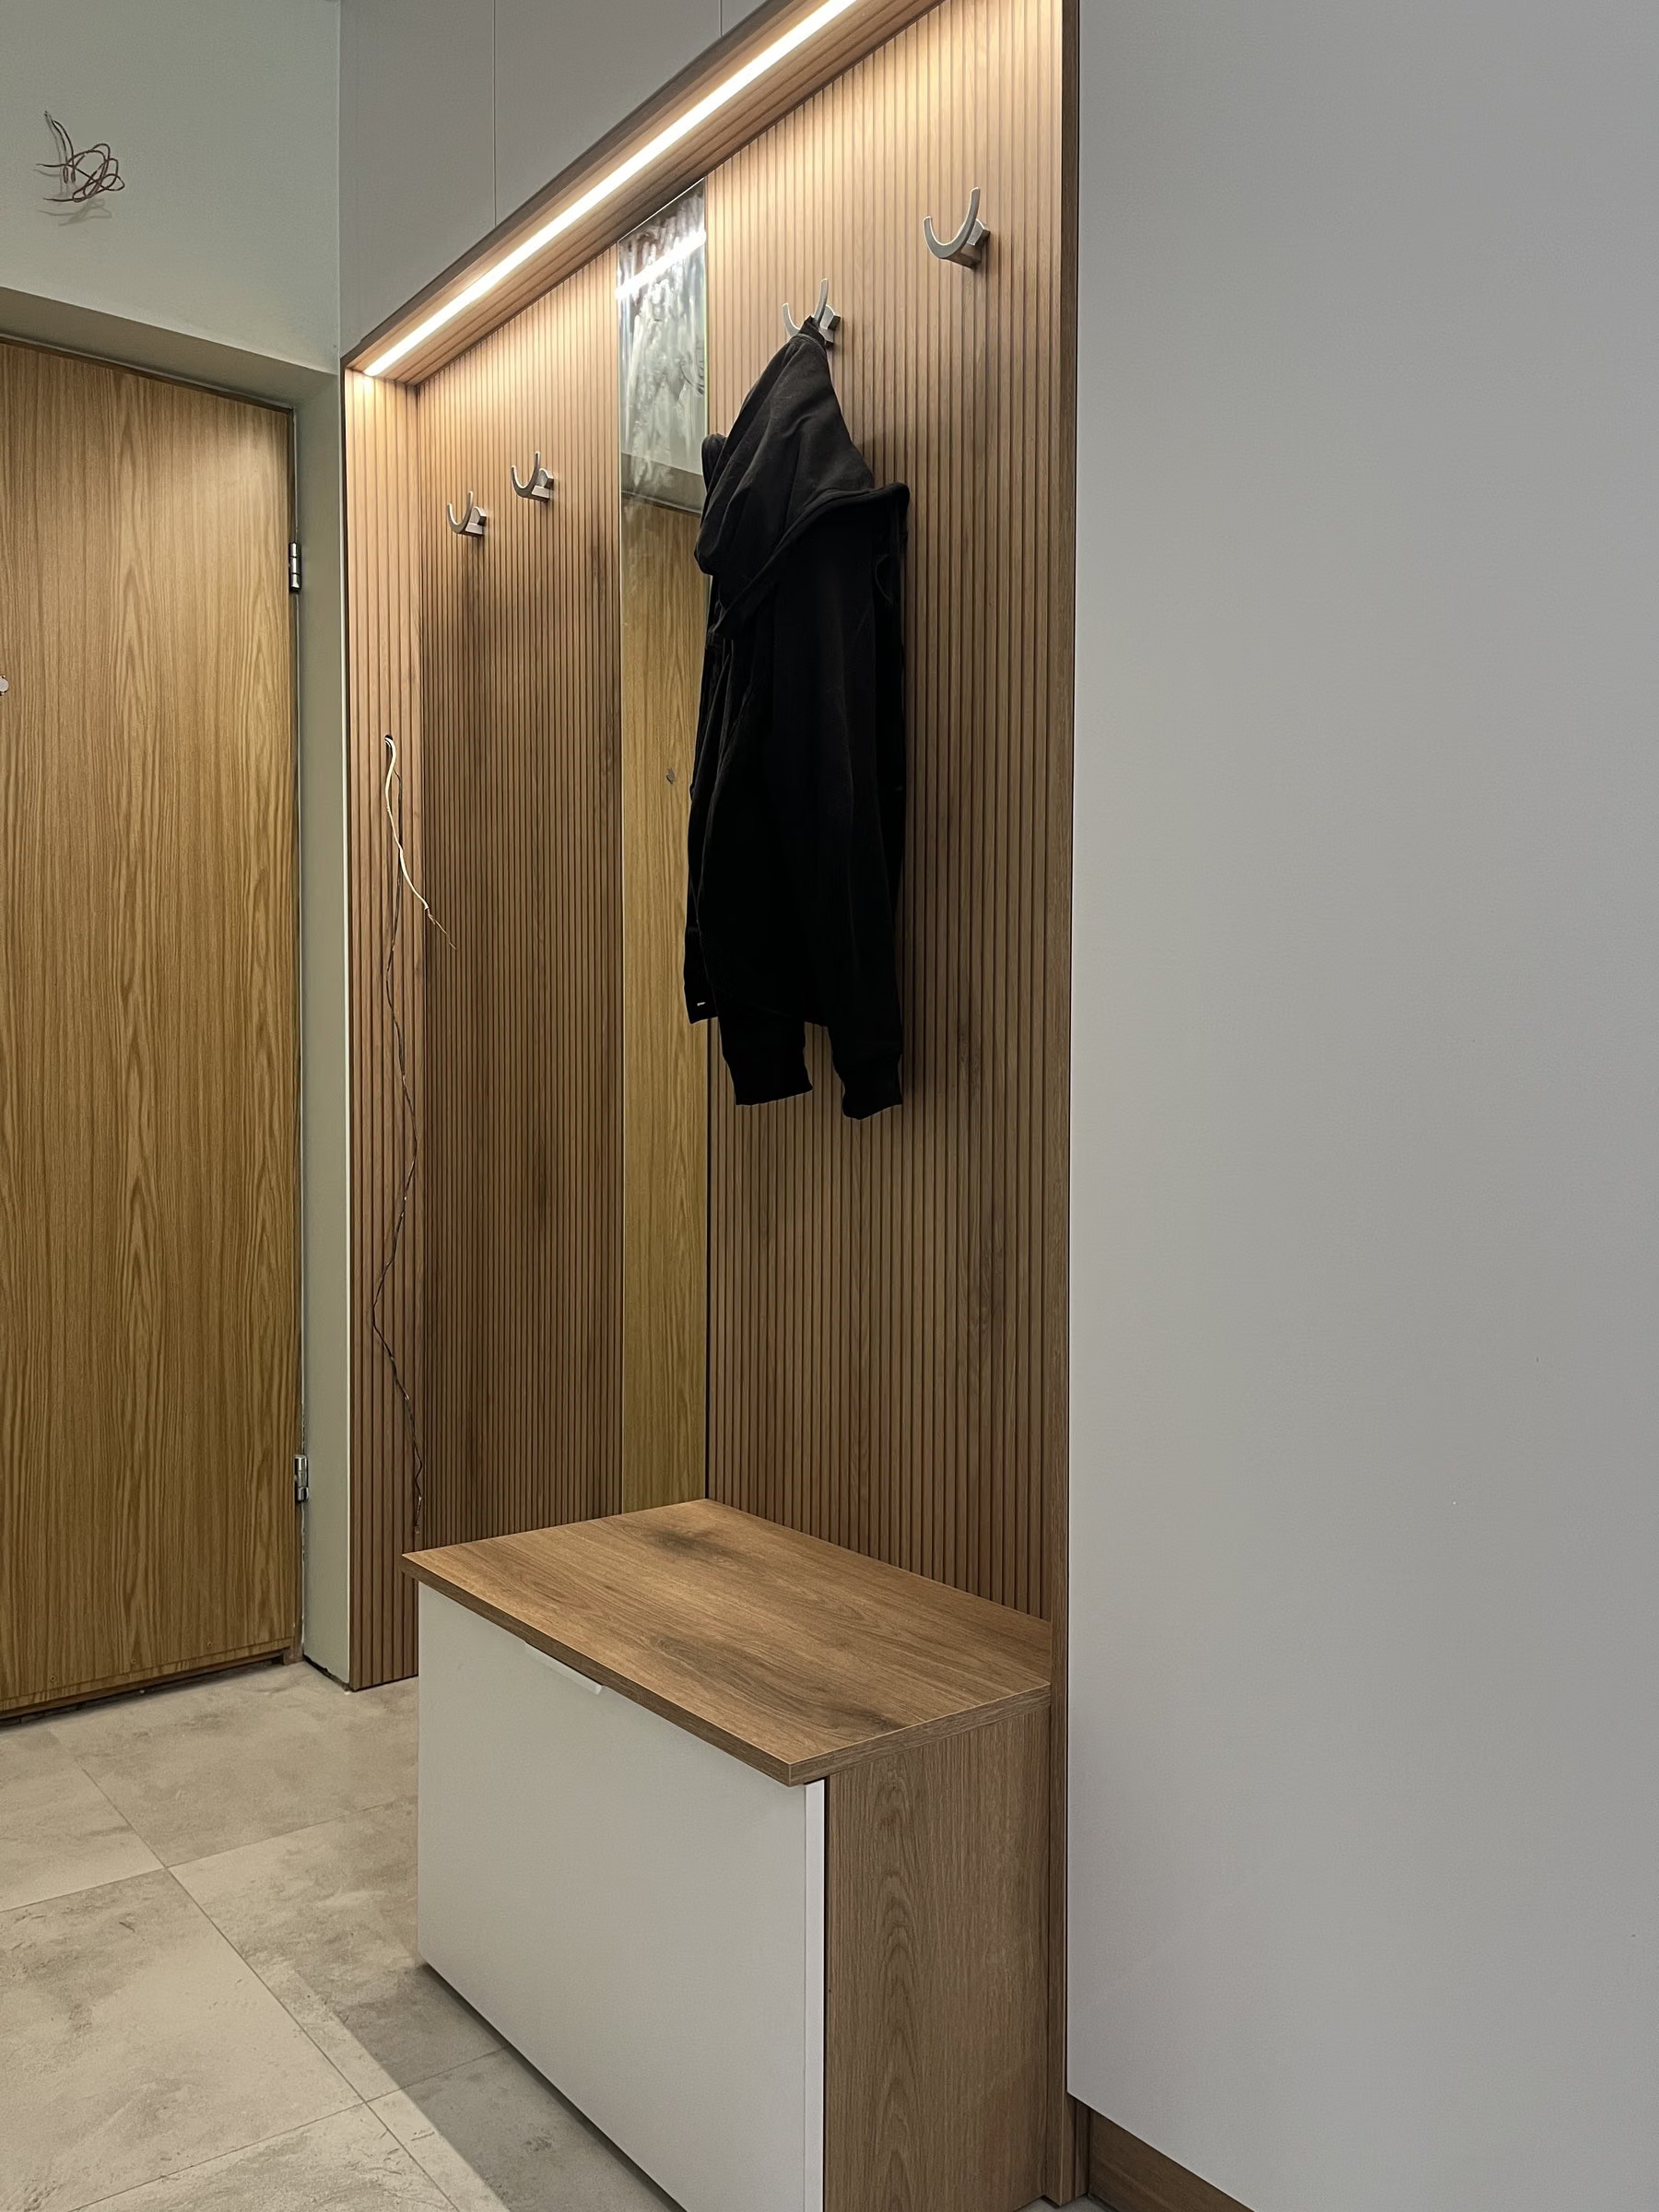
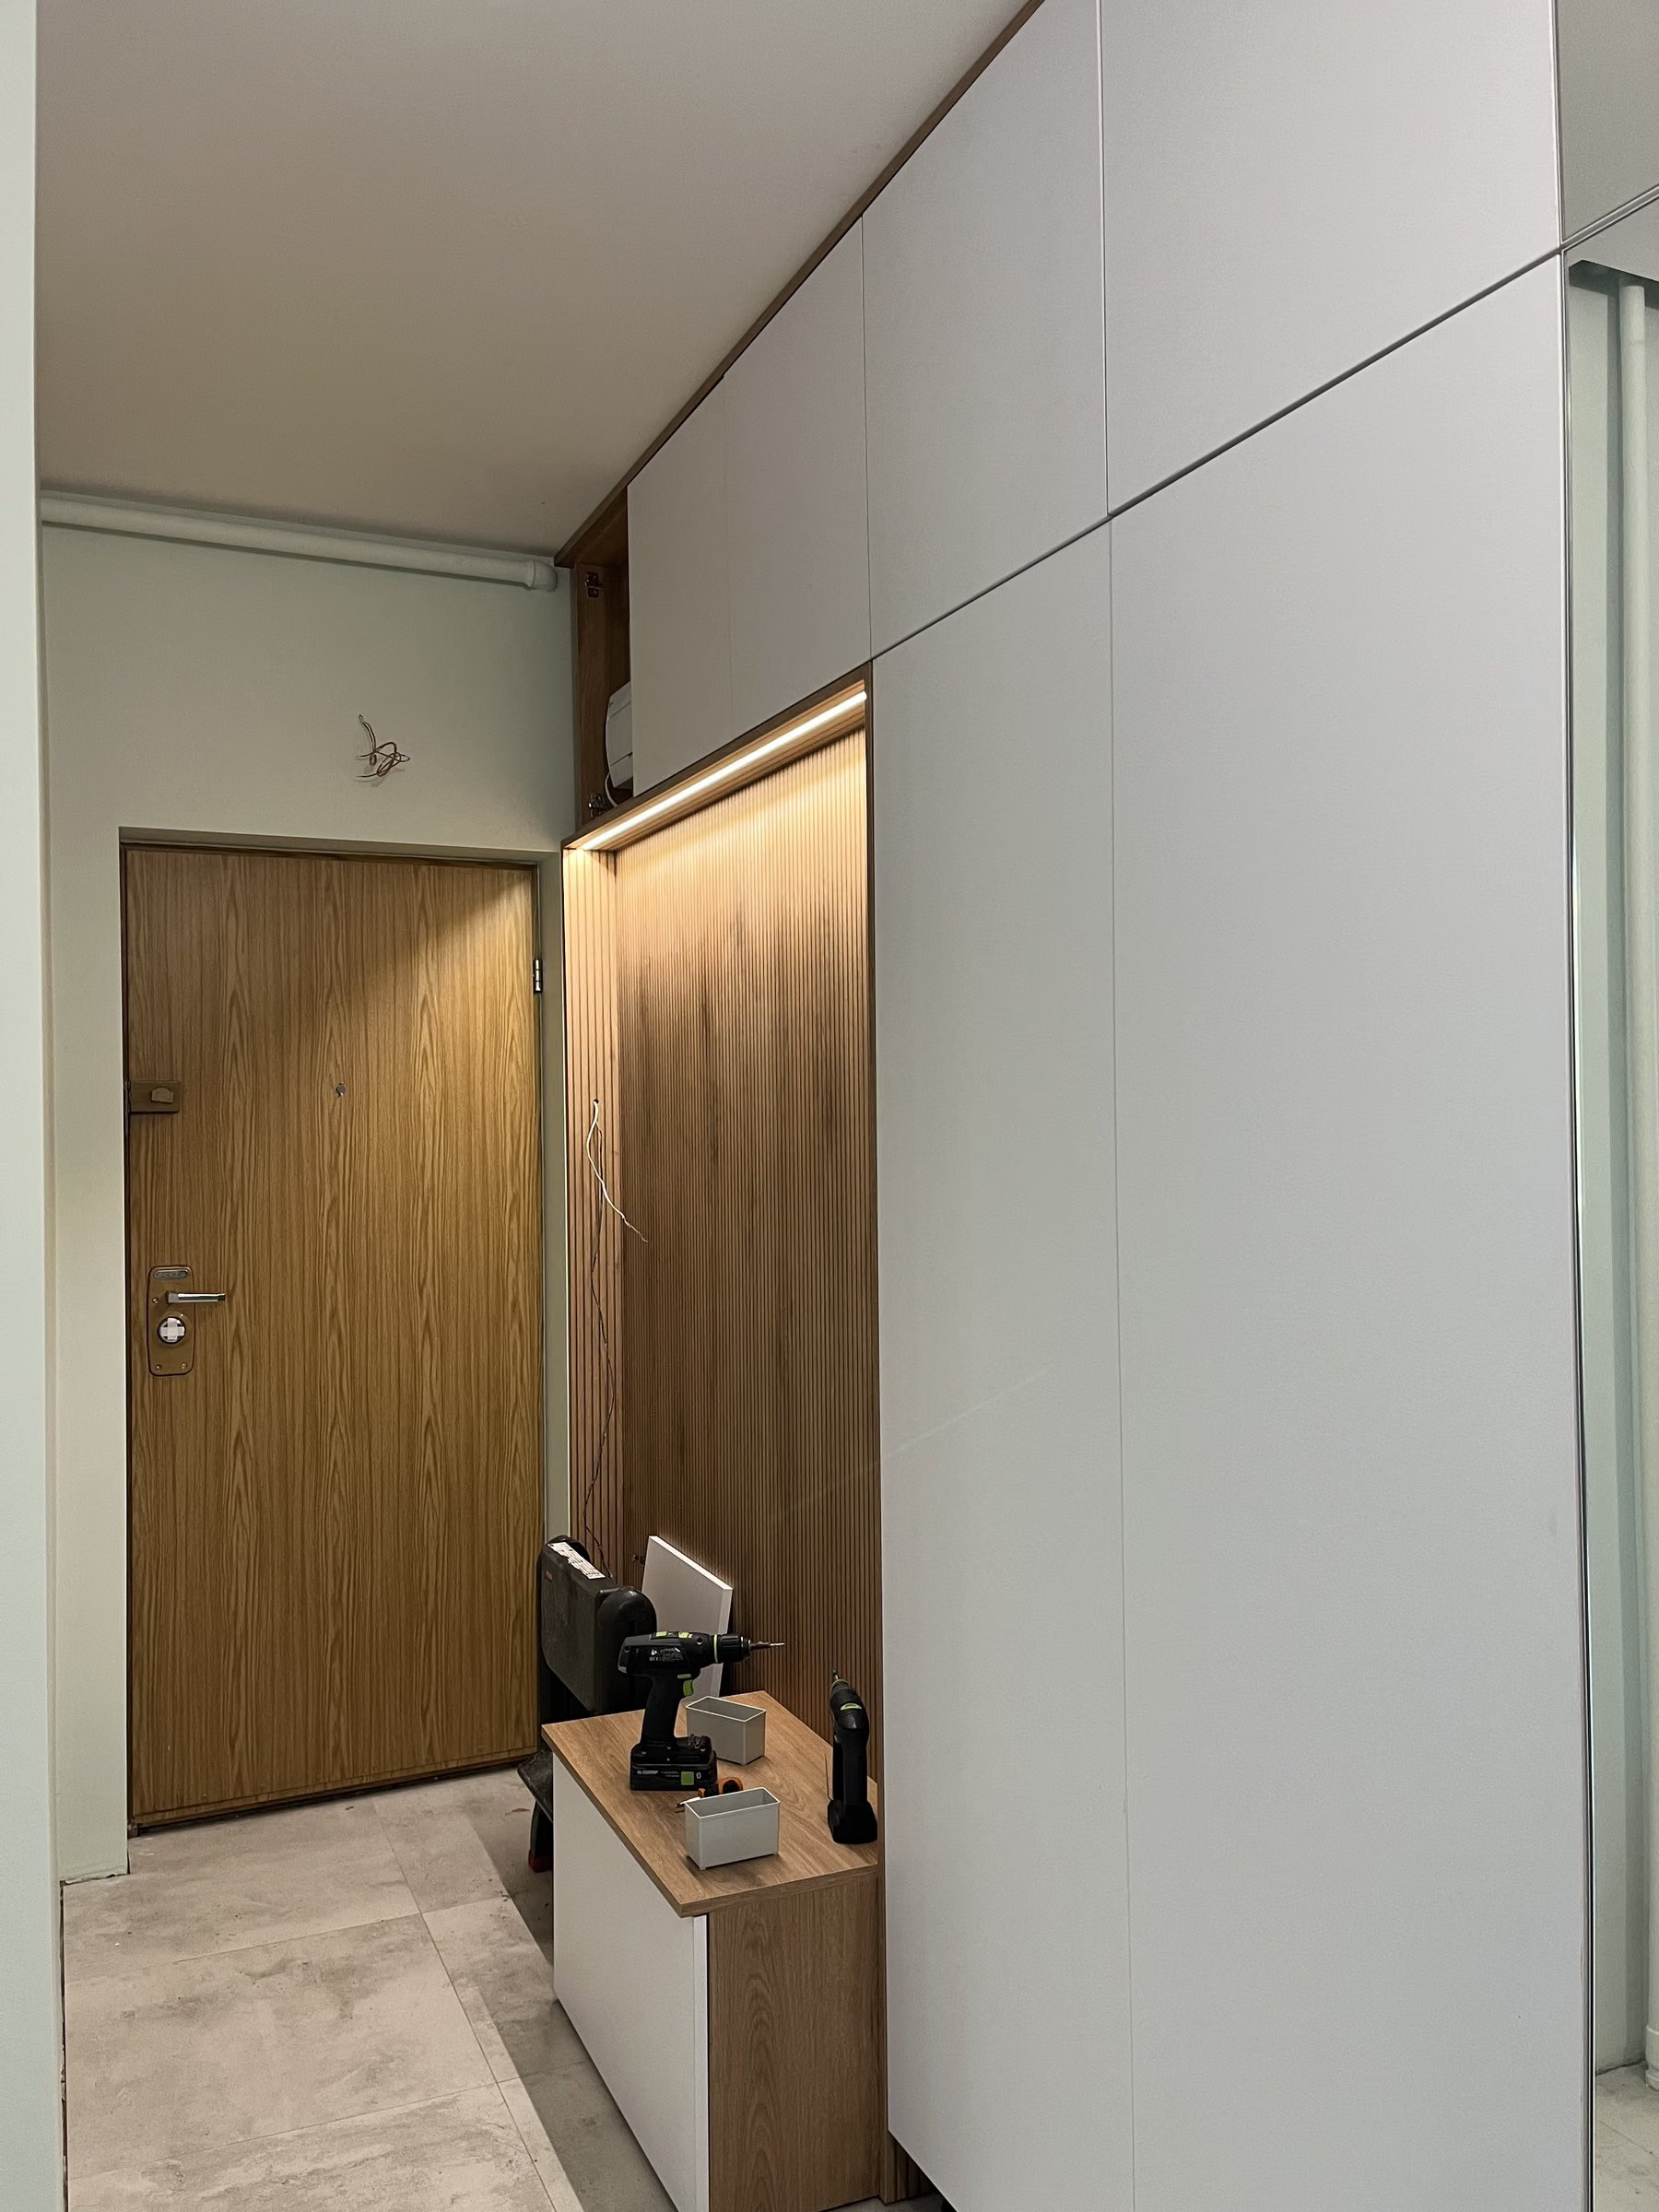
Hall after: front door, slatted panel and a full-height wardrobe.After
Hall — before and after
Kitchen visualisation: white units up to the ceiling, worktop under the window and green accents.Visualization
The same kitchen as built: white units up to the ceiling and a wooden worktop.Finished
Kitchen — visualisation and result. Layout and units as designed; the clients picked the tiles at an outlet.
04Process

From survey to finished interior

The stages of the design and renovation, as they actually went.

  1. 01
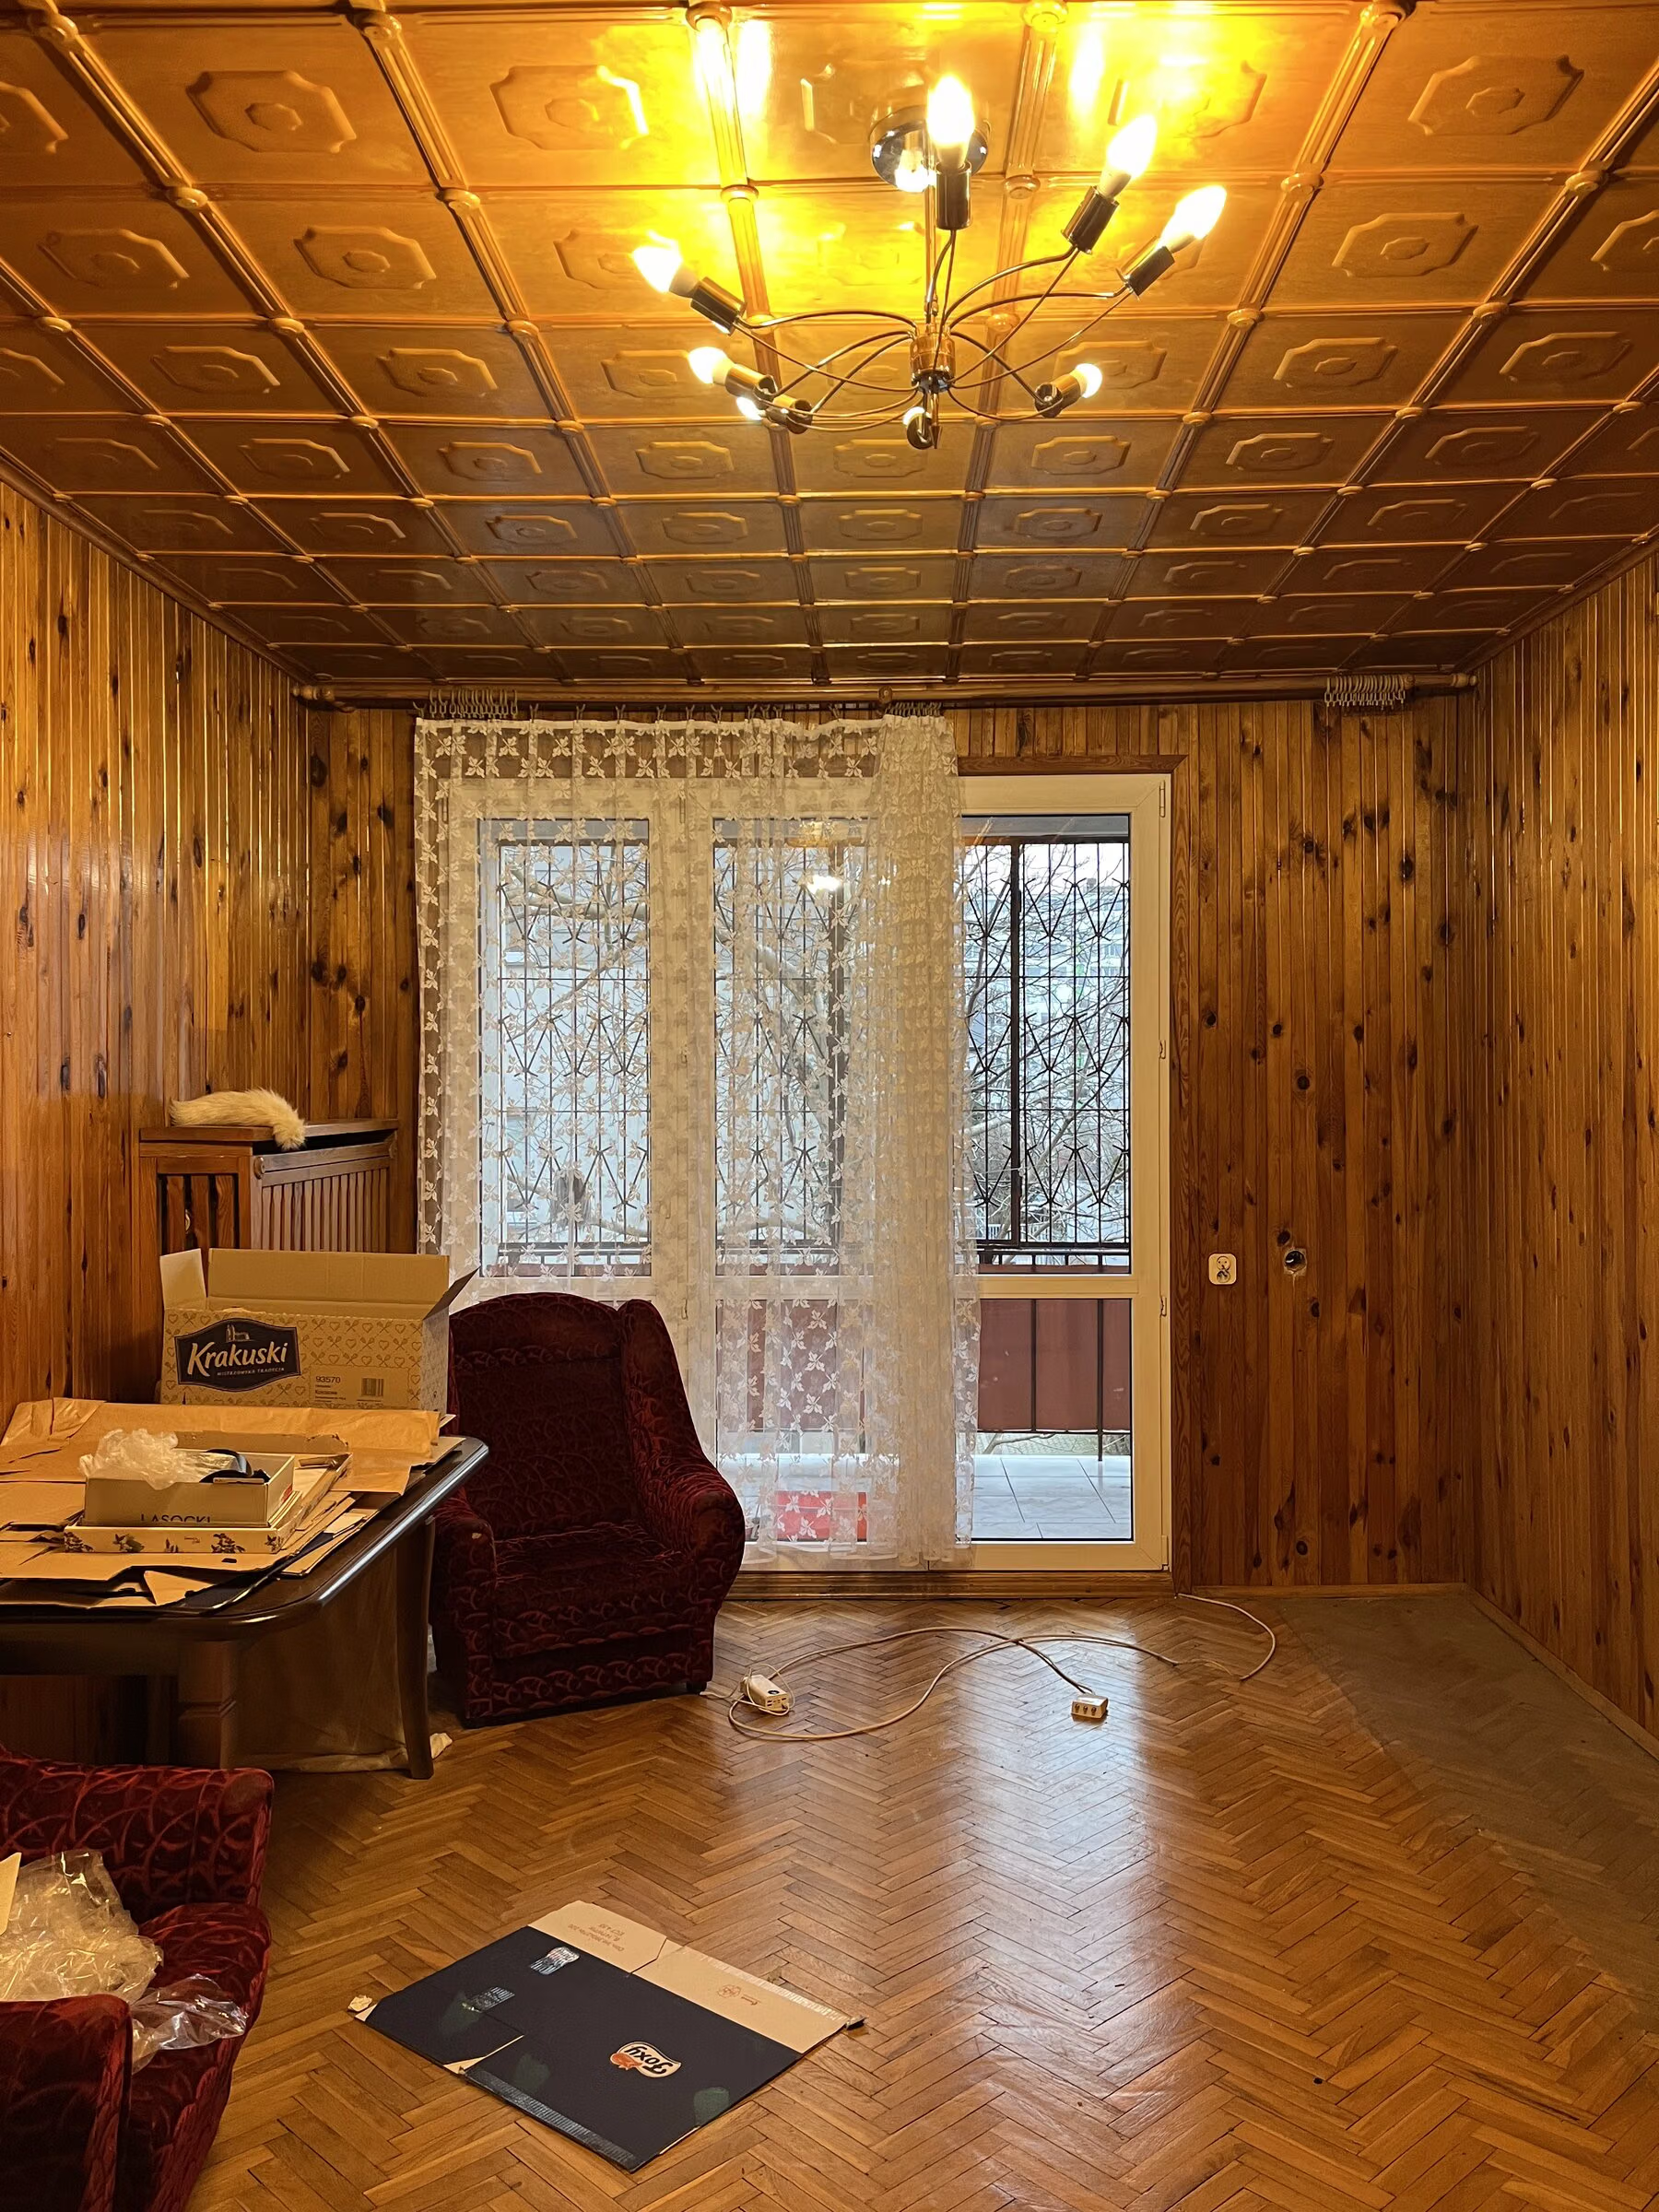
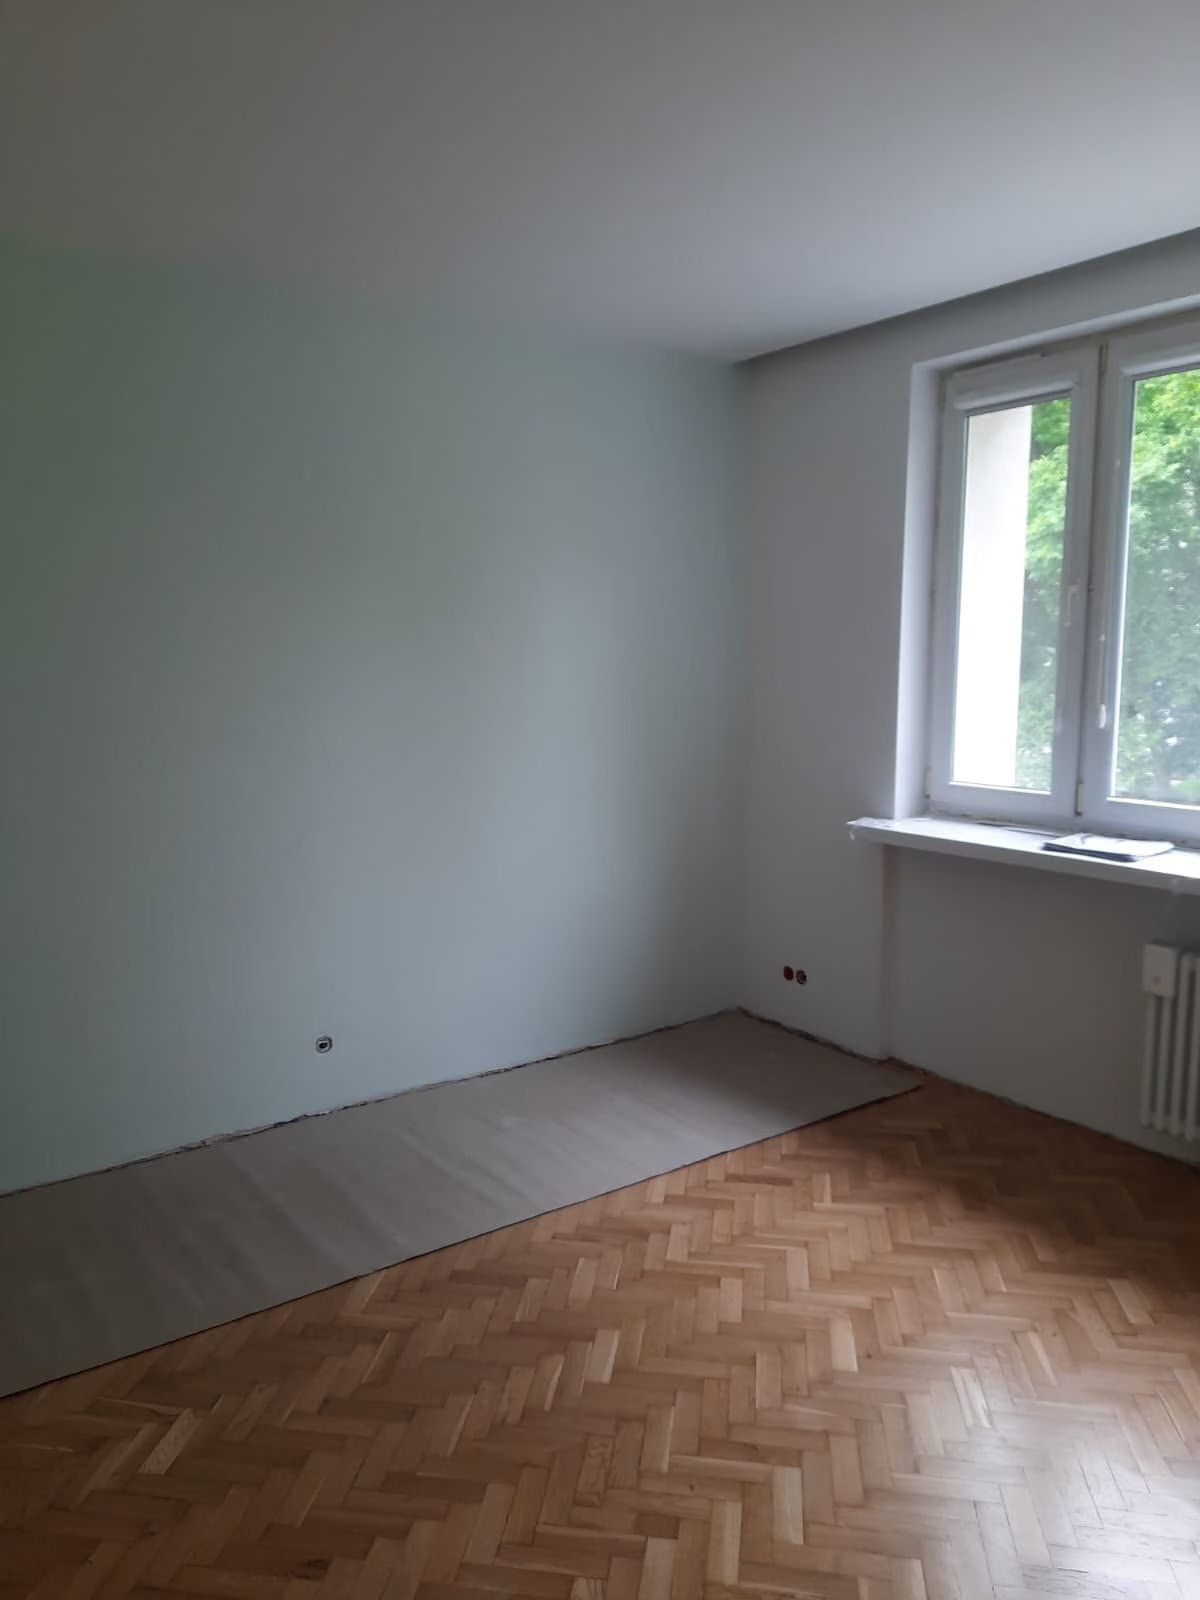
    Room before: walls and coffered ceiling in wooden panelling, herringbone parquet.

    Starting point

    Panelling on walls and ceiling, old furniture and floors. First measurements and survey.

  2. 02
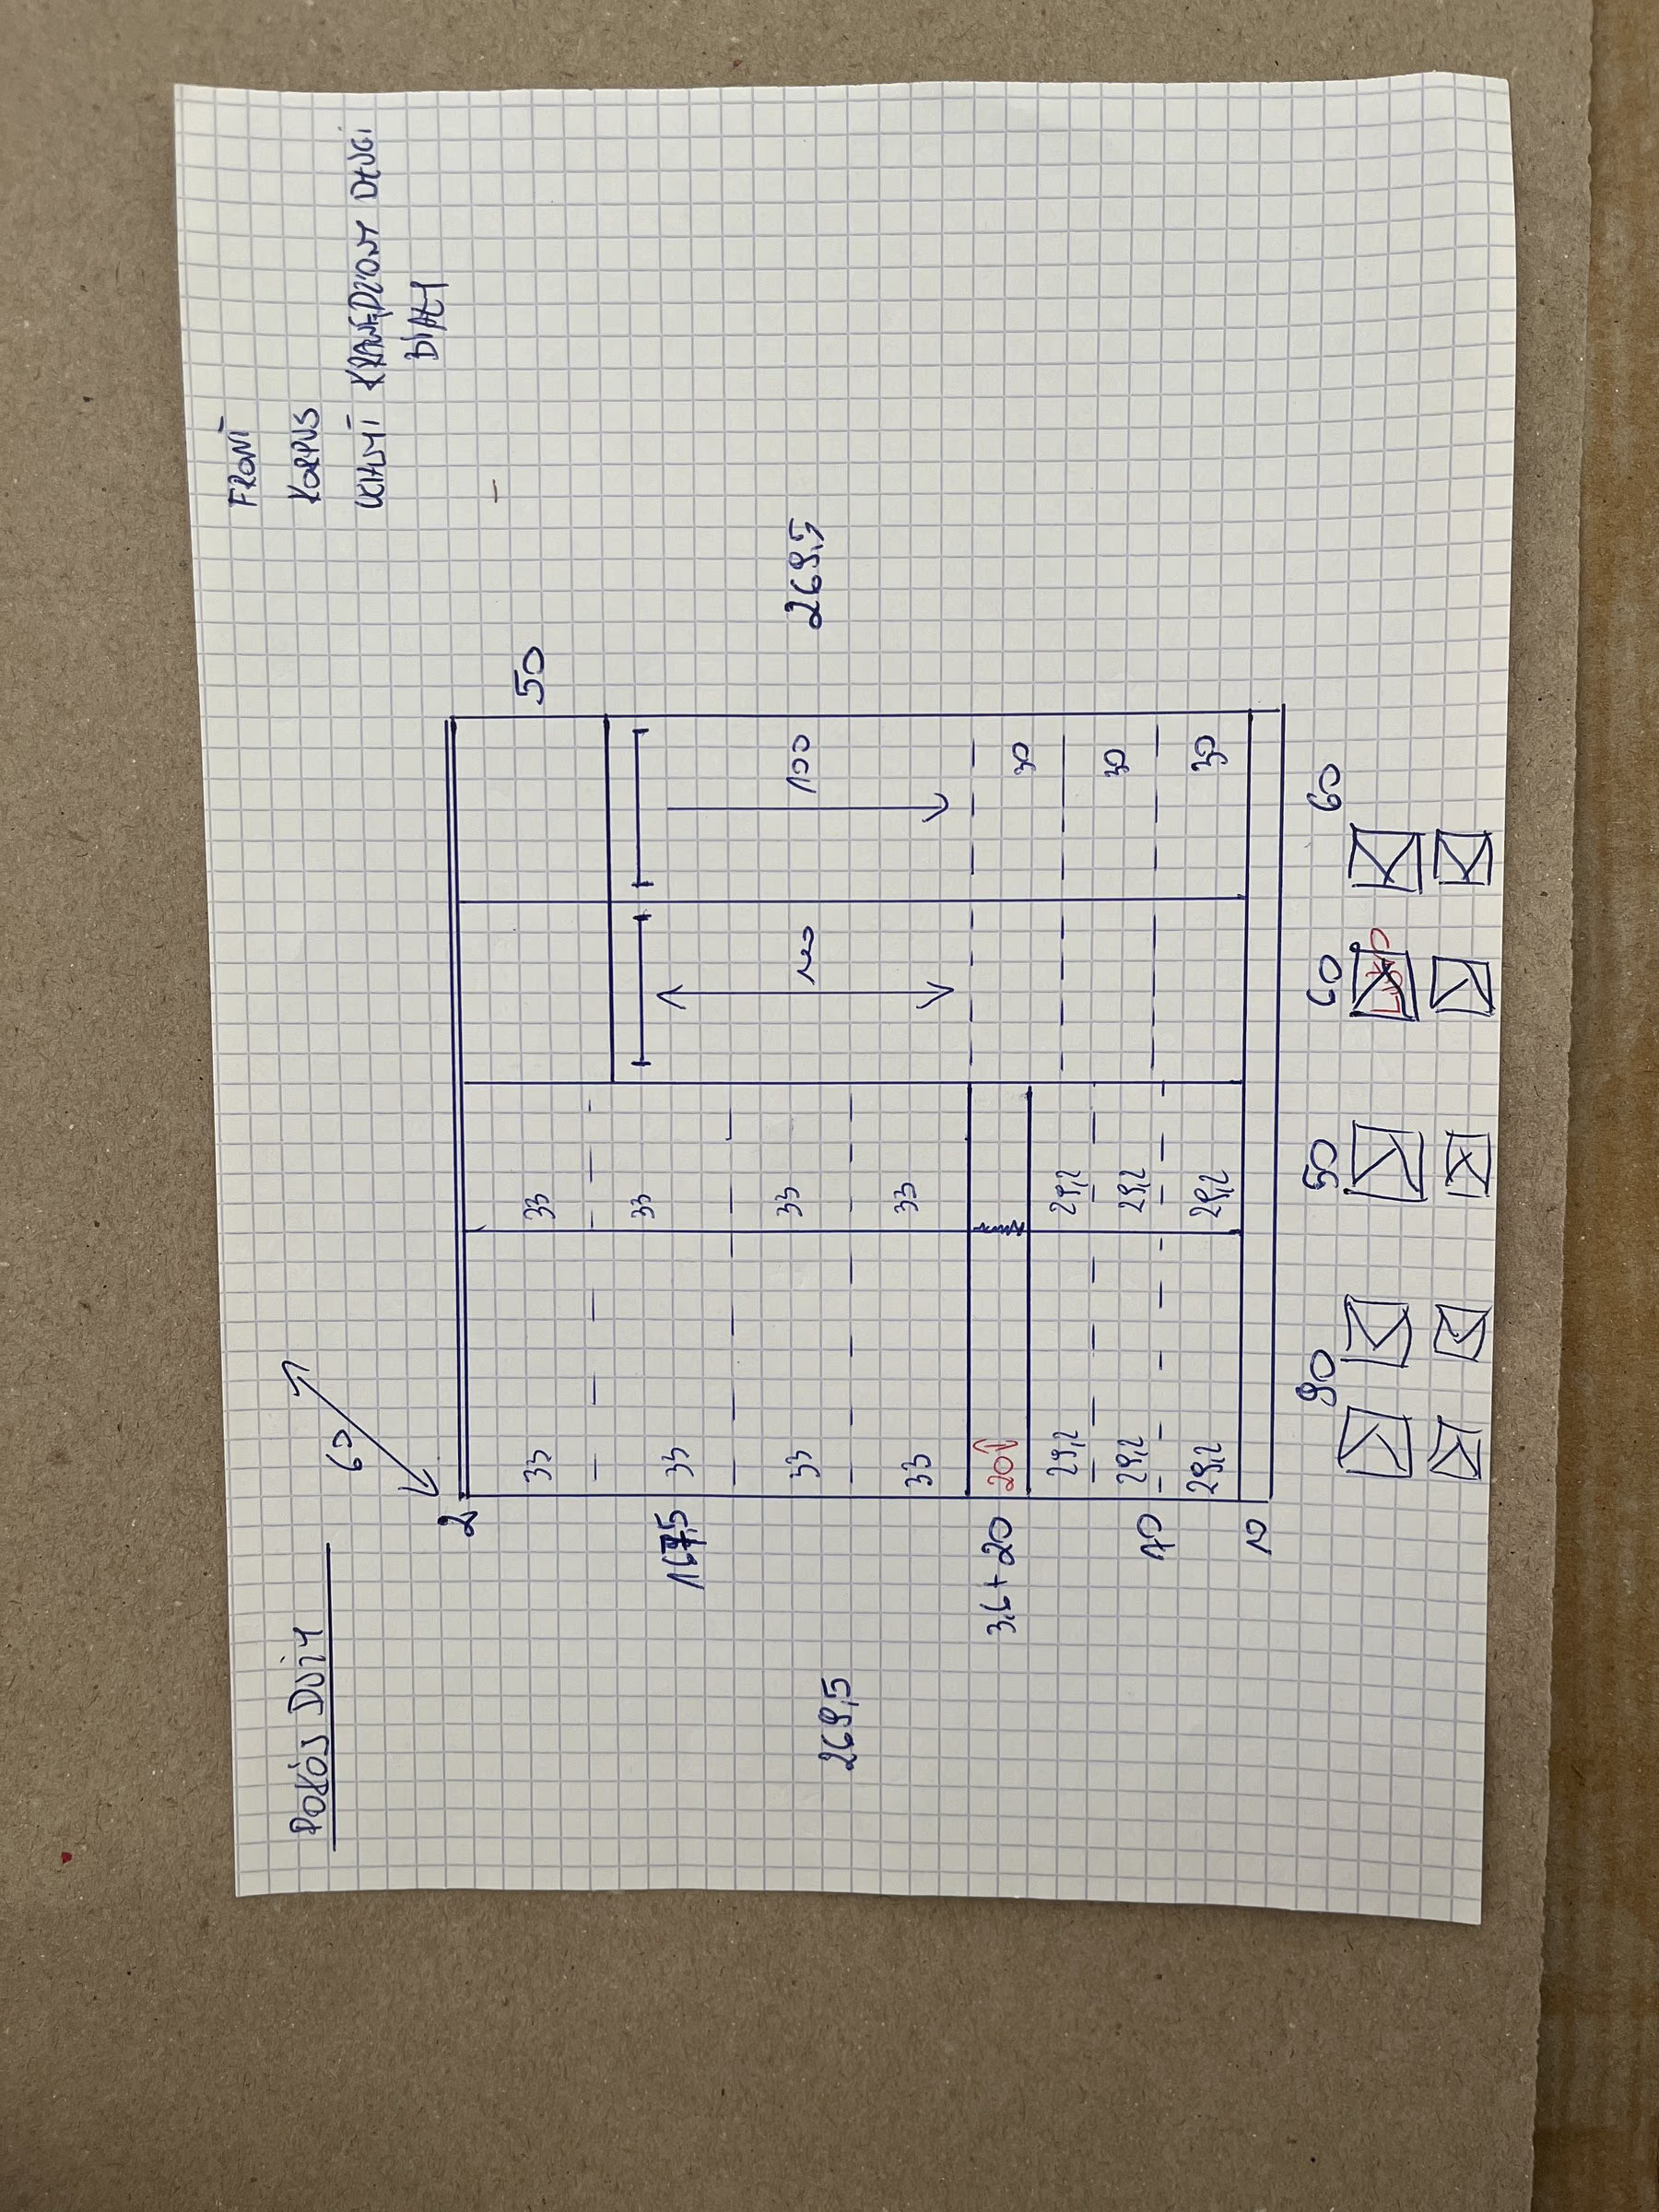
    Hand-drawn sketch of the flat with dimensions on squared paper.

    Measuring

    A hand sketch with dimensions — the basis for made-to-measure joinery.

  3. 03
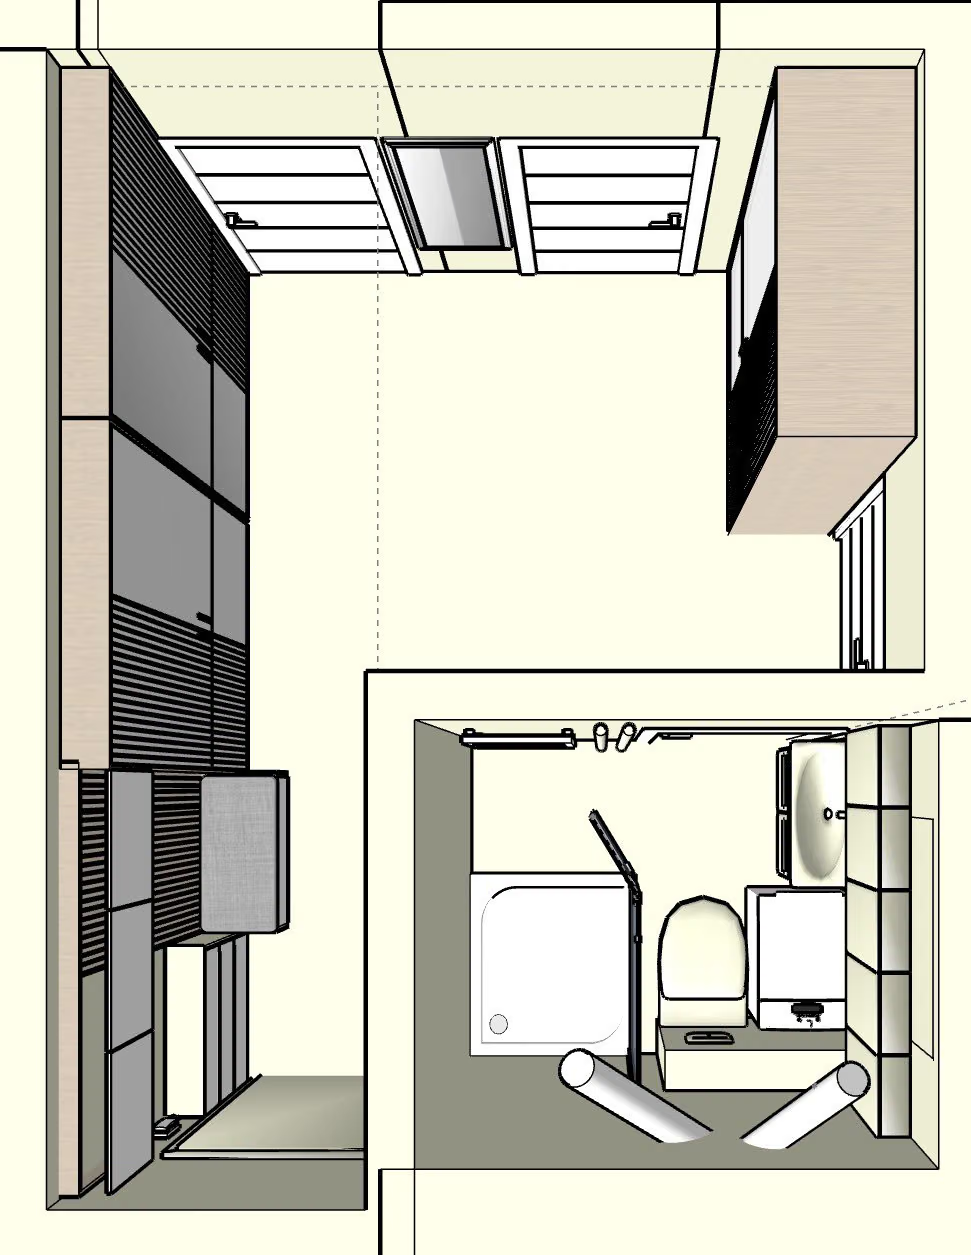
    Concept model from above: kitchen and bathroom with the units laid out.

    Concept and layout

    Kitchen and bathroom in 3D from above: where the units go, where the installations run and how everything fits.

  4. 04
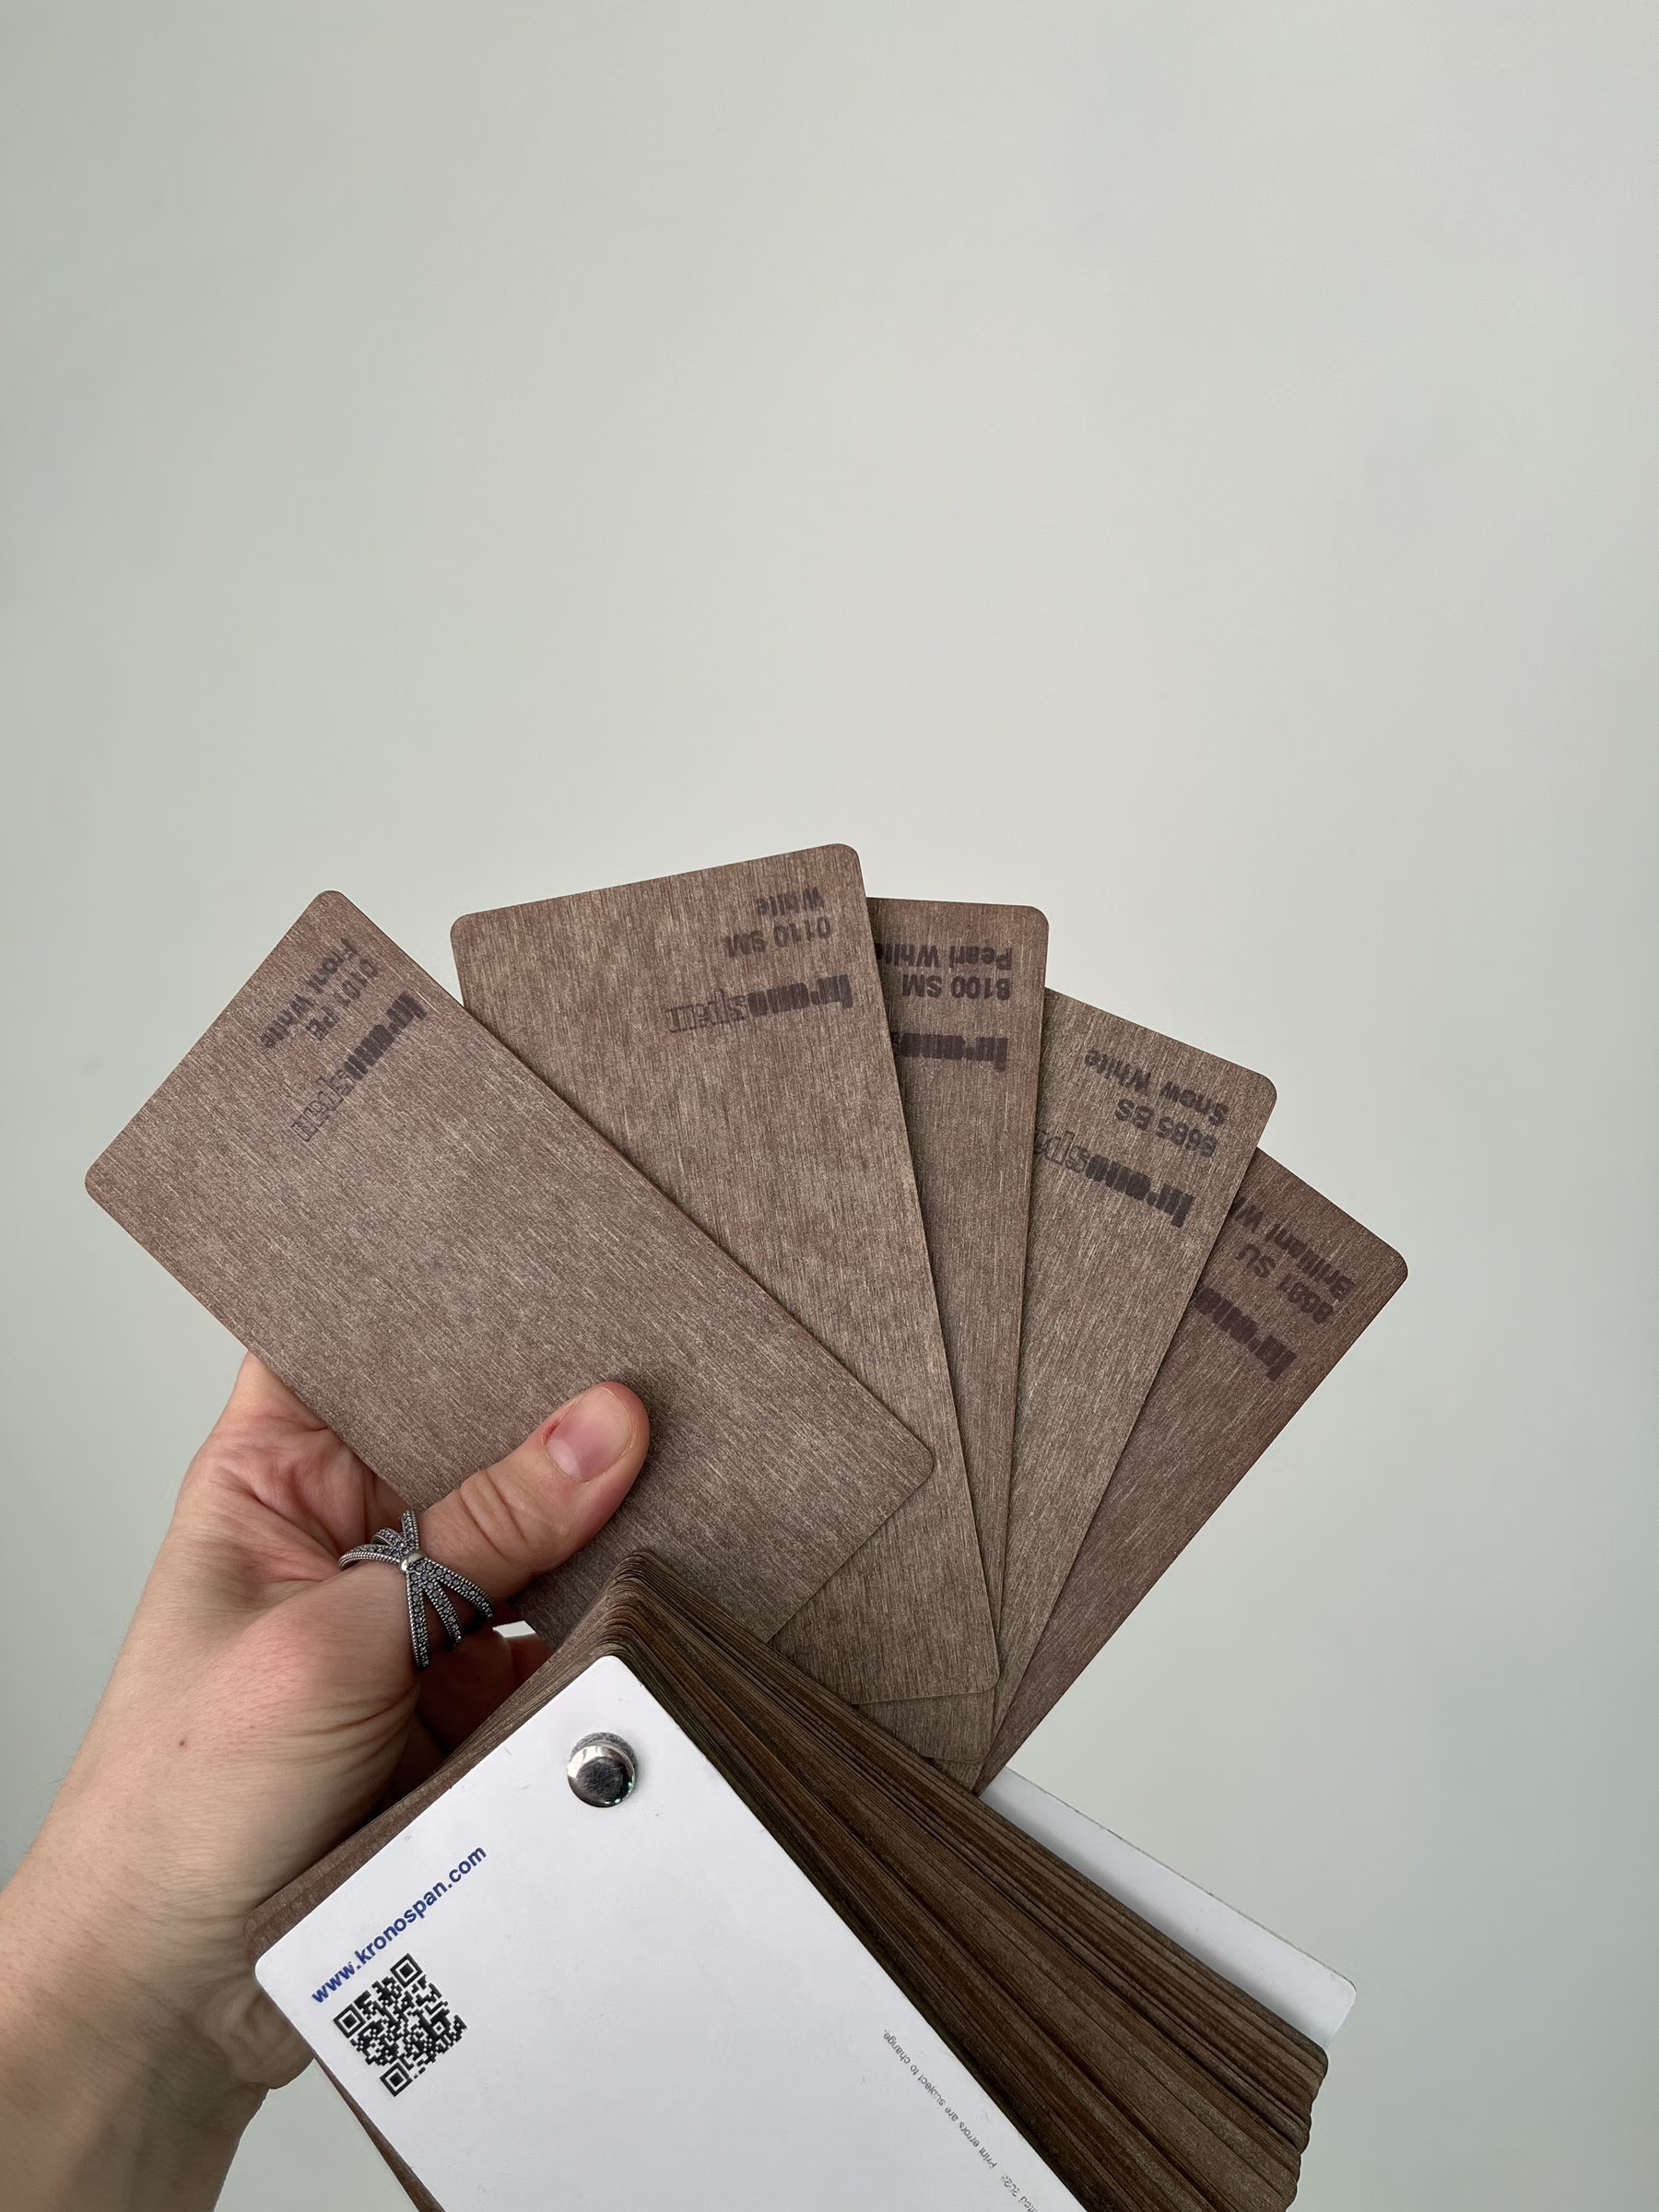
    A hand holding a fan of brown veneer samples.

    Choosing materials

    Front, veneer and colour samples checked in hand, not only on screen.

  5. 05
    Bathroom visualisation with a green slab on the wall and a shower.

    3D visualisations

    Every room visualised before the builders came in.

  6. 06
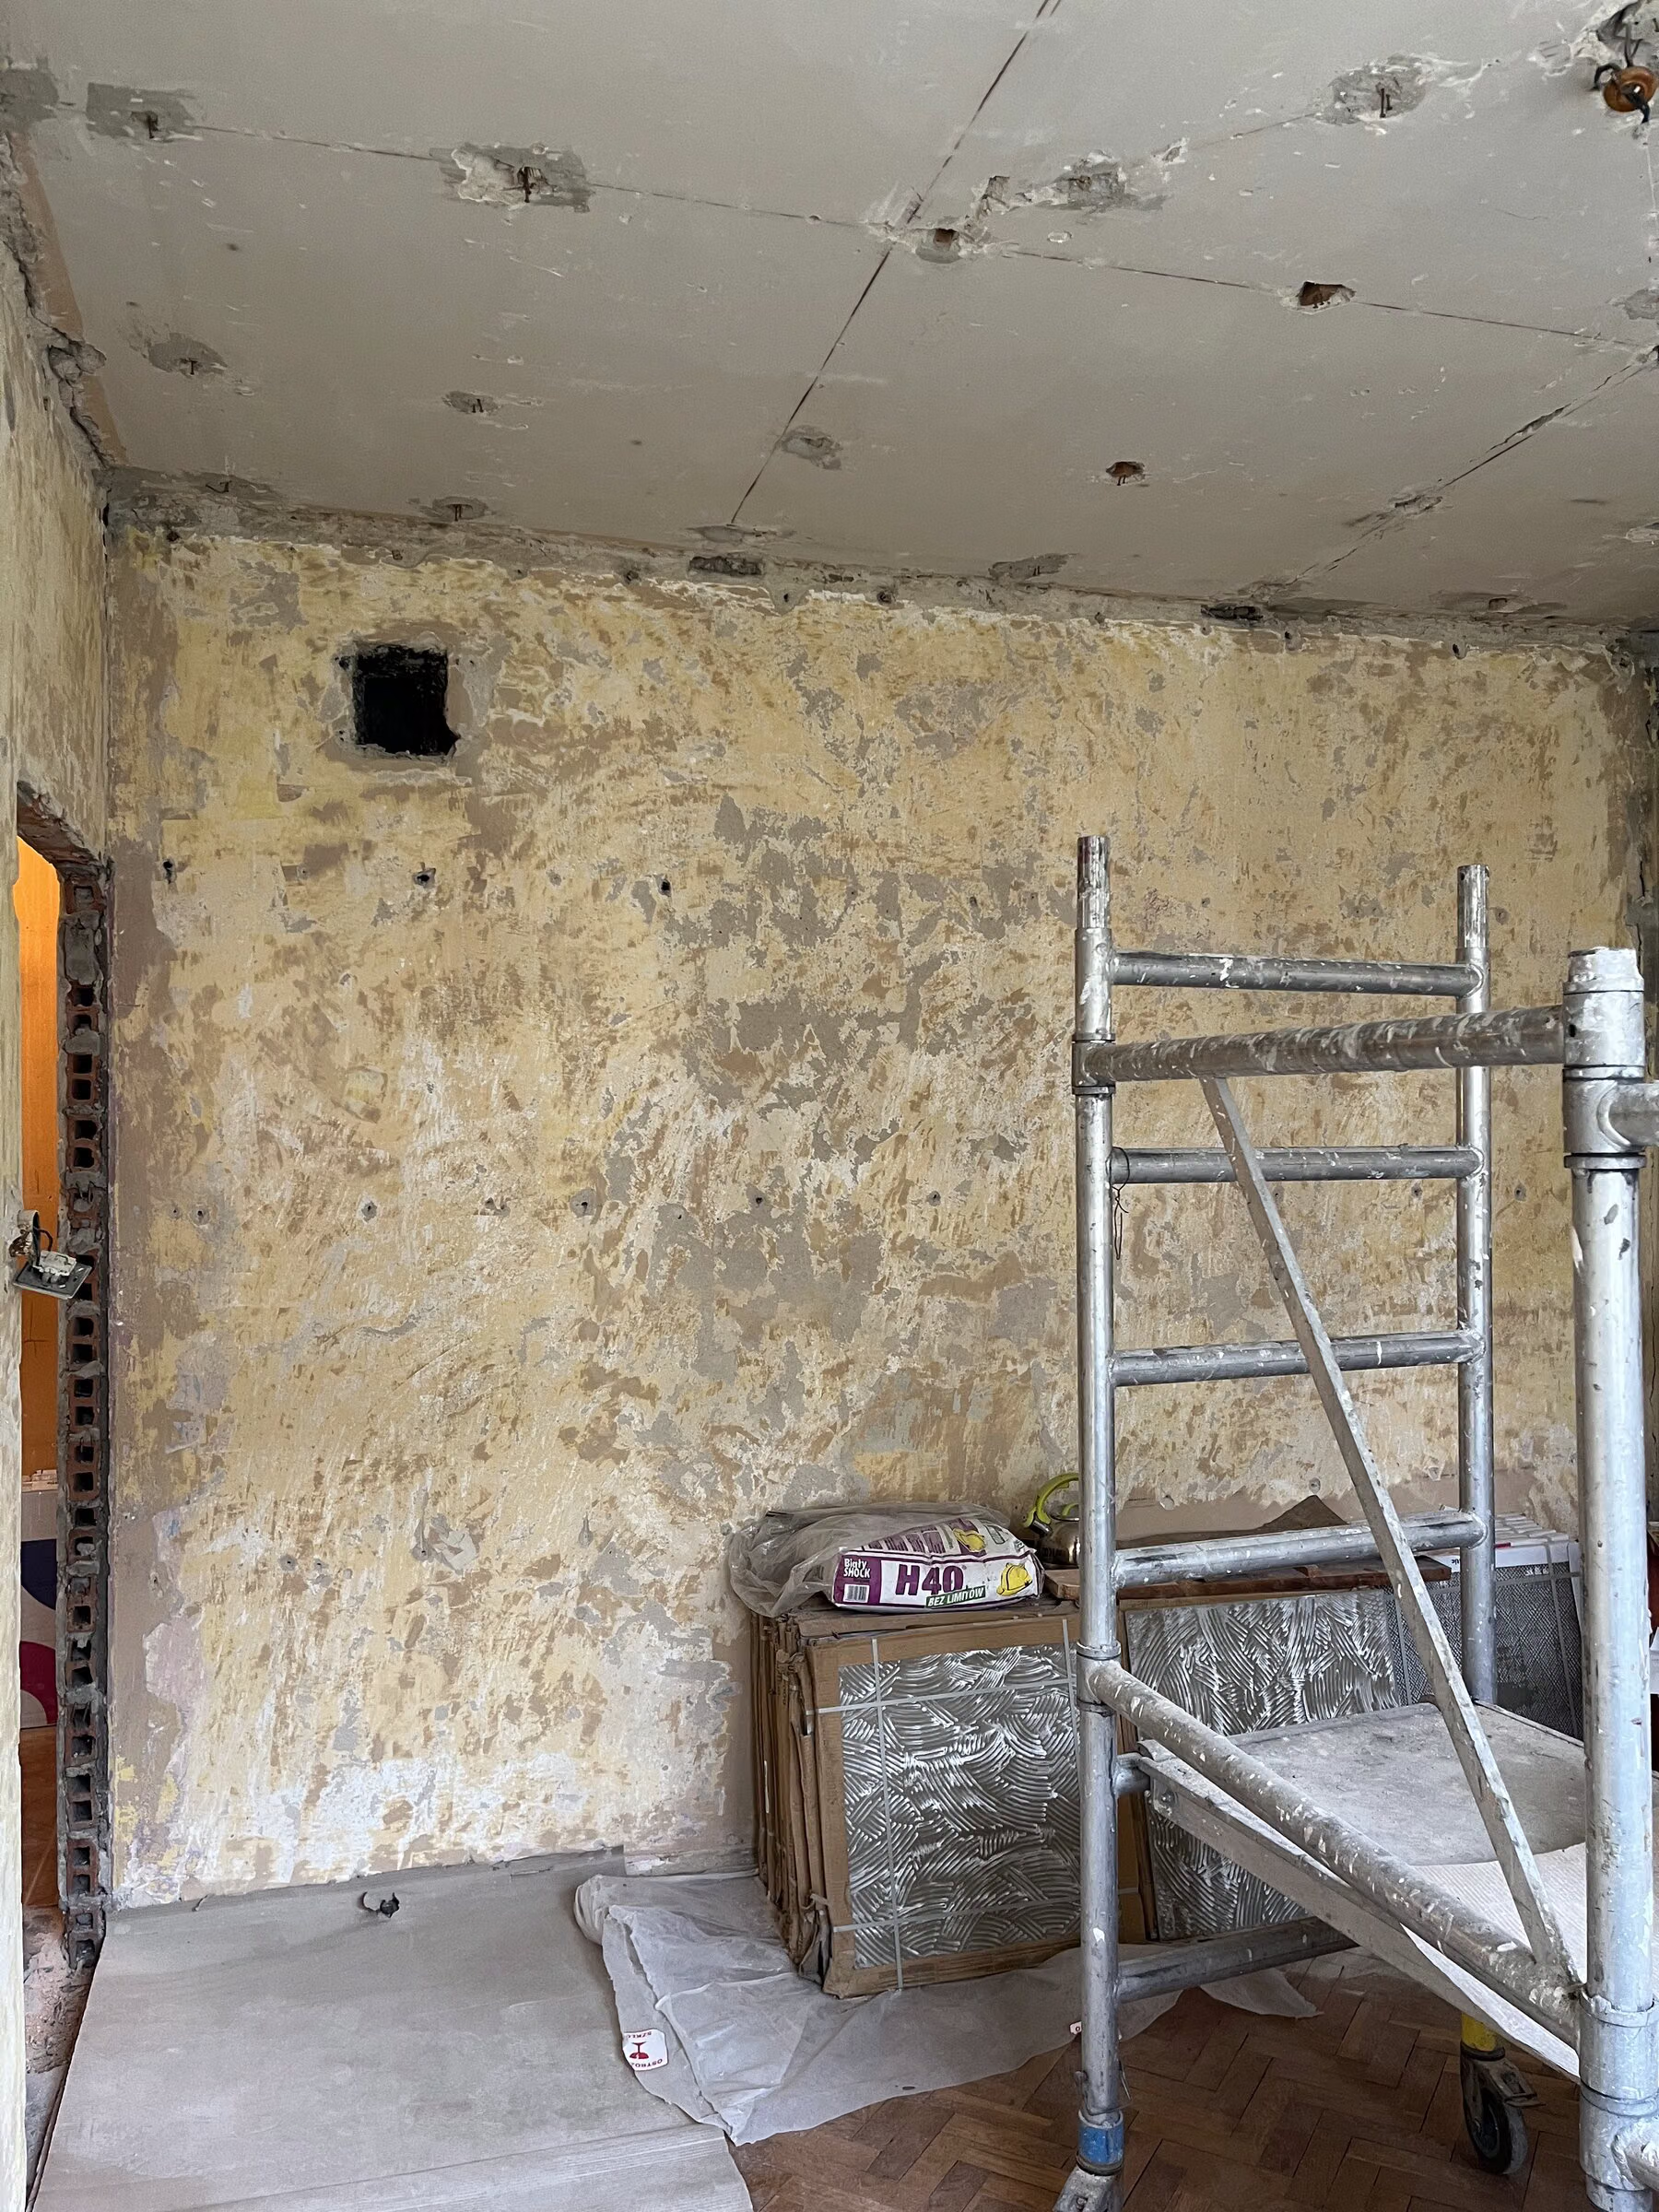
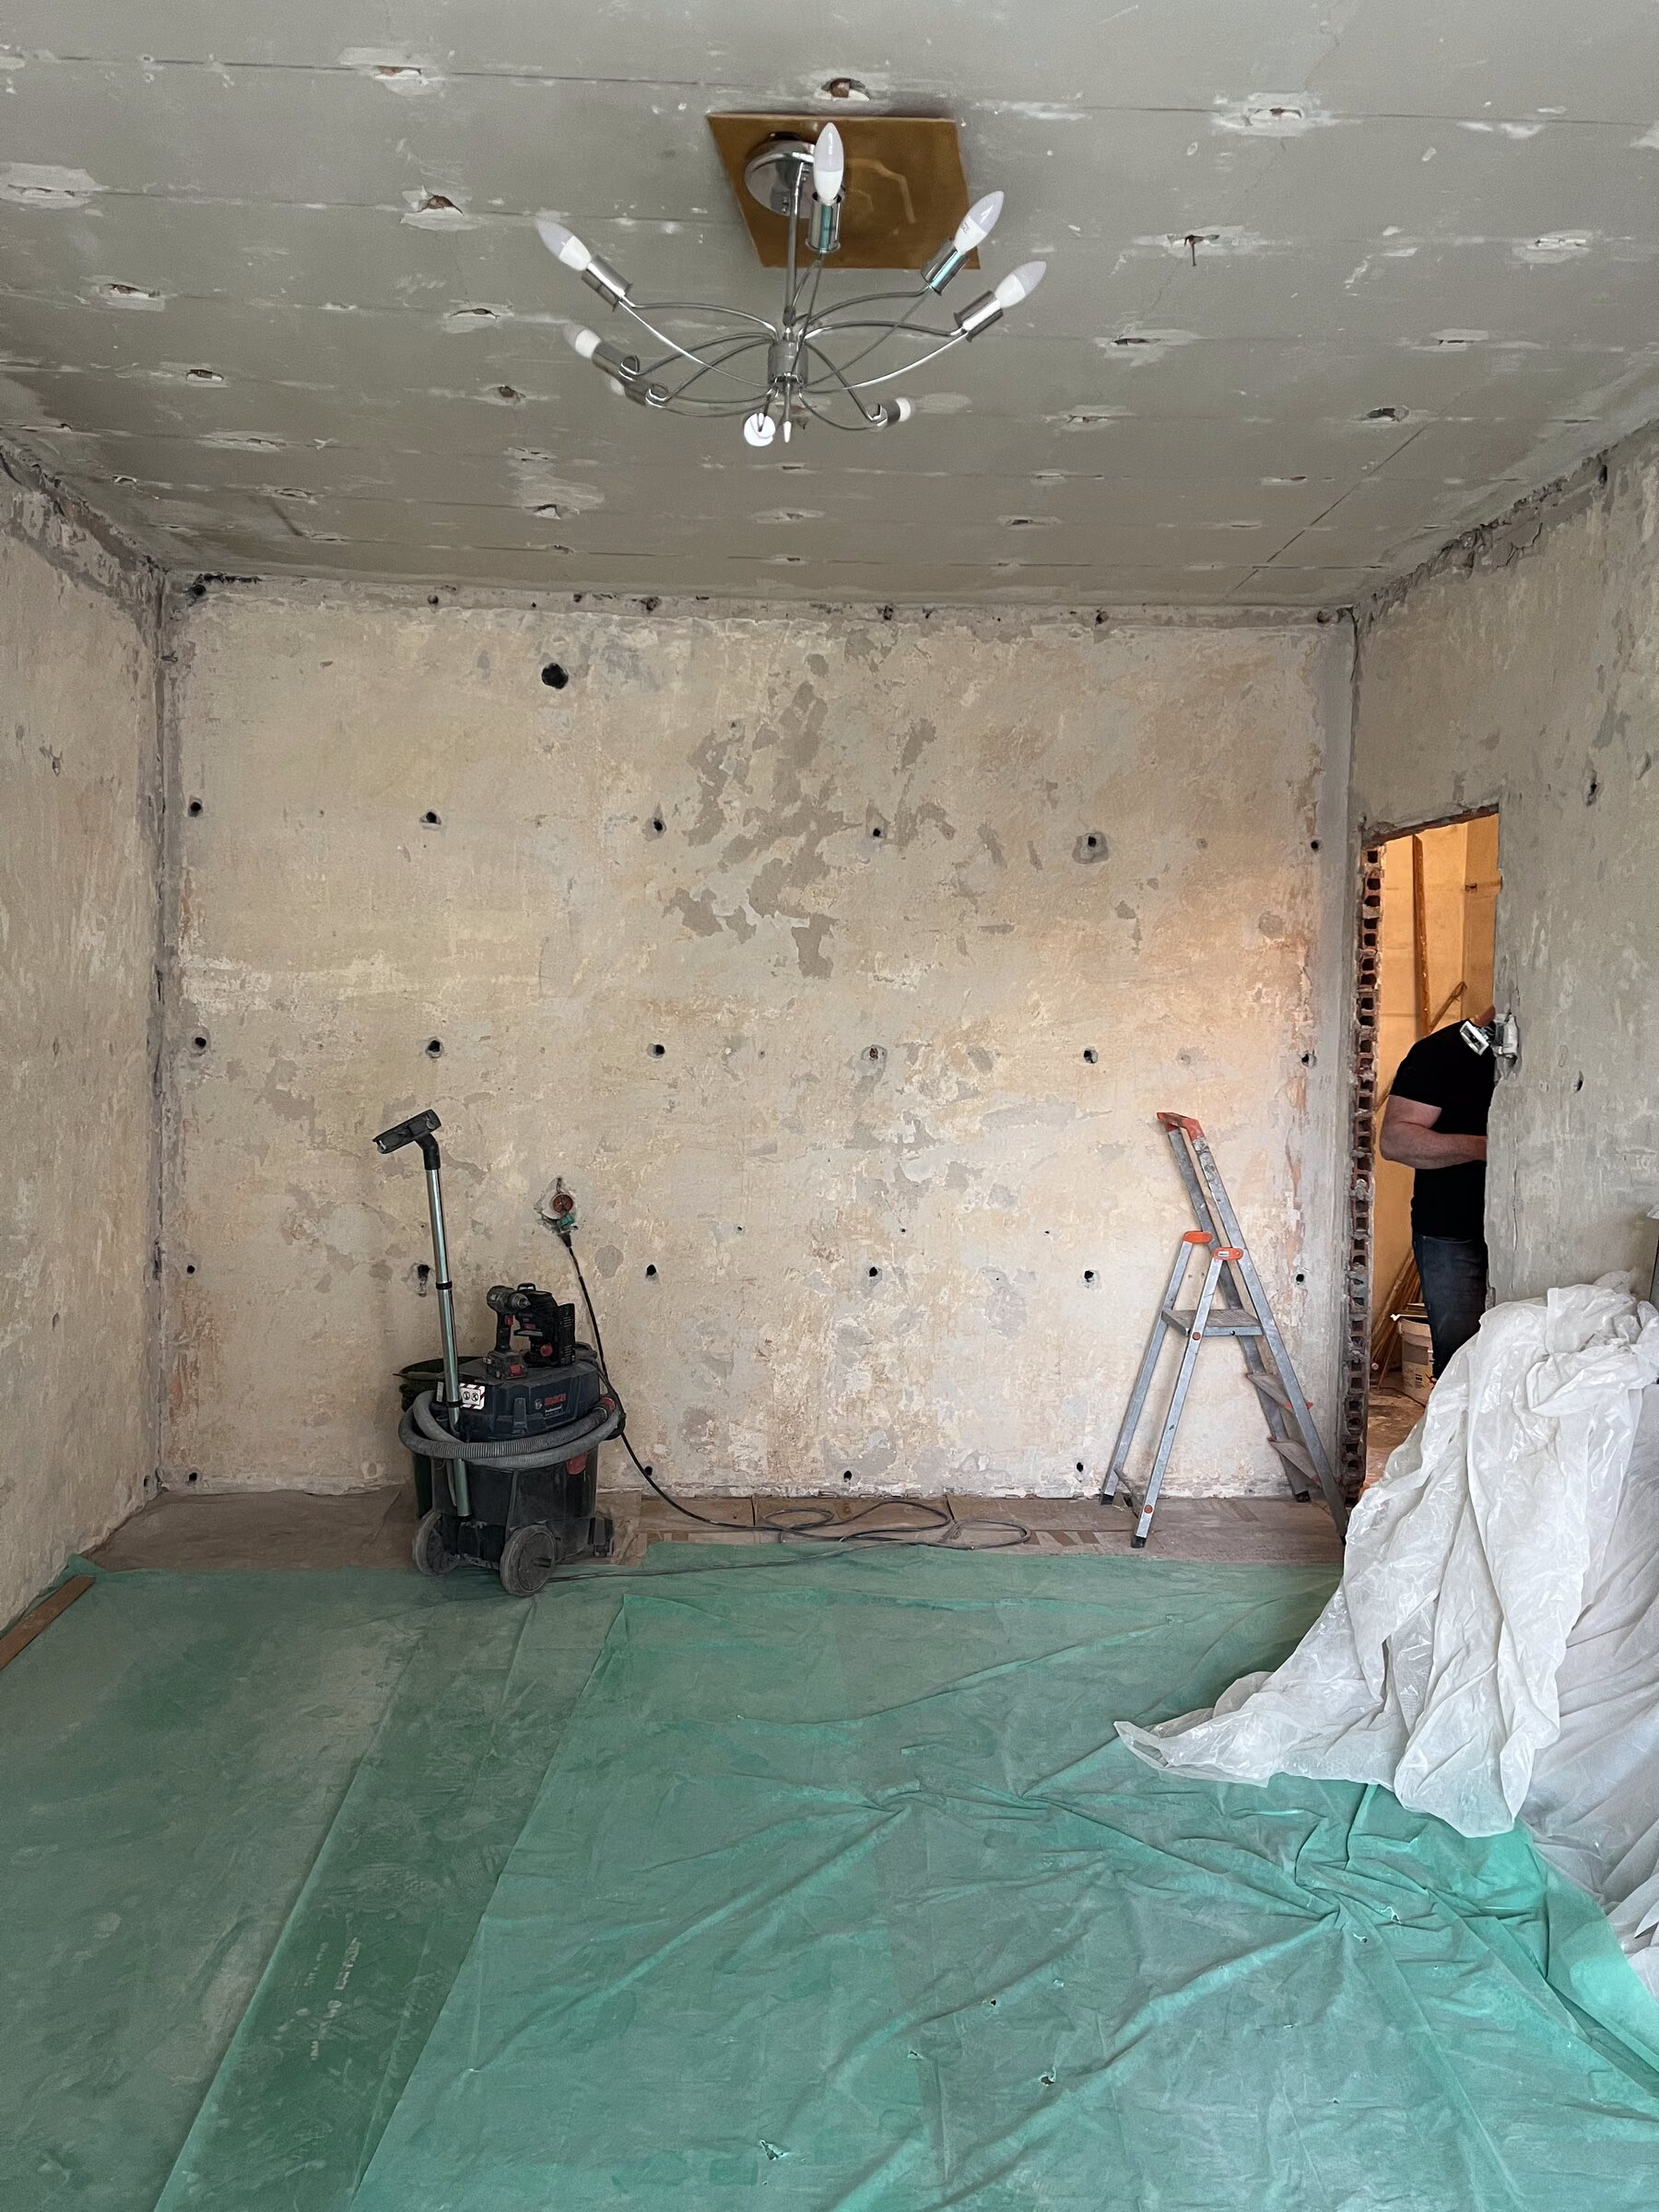
    Room after the panelling came off: bare walls, scaffolding and foil on the floor.

    Strip-out

    Panelling removed from walls and ceilings, walls bared to the raw plaster.

  7. 07
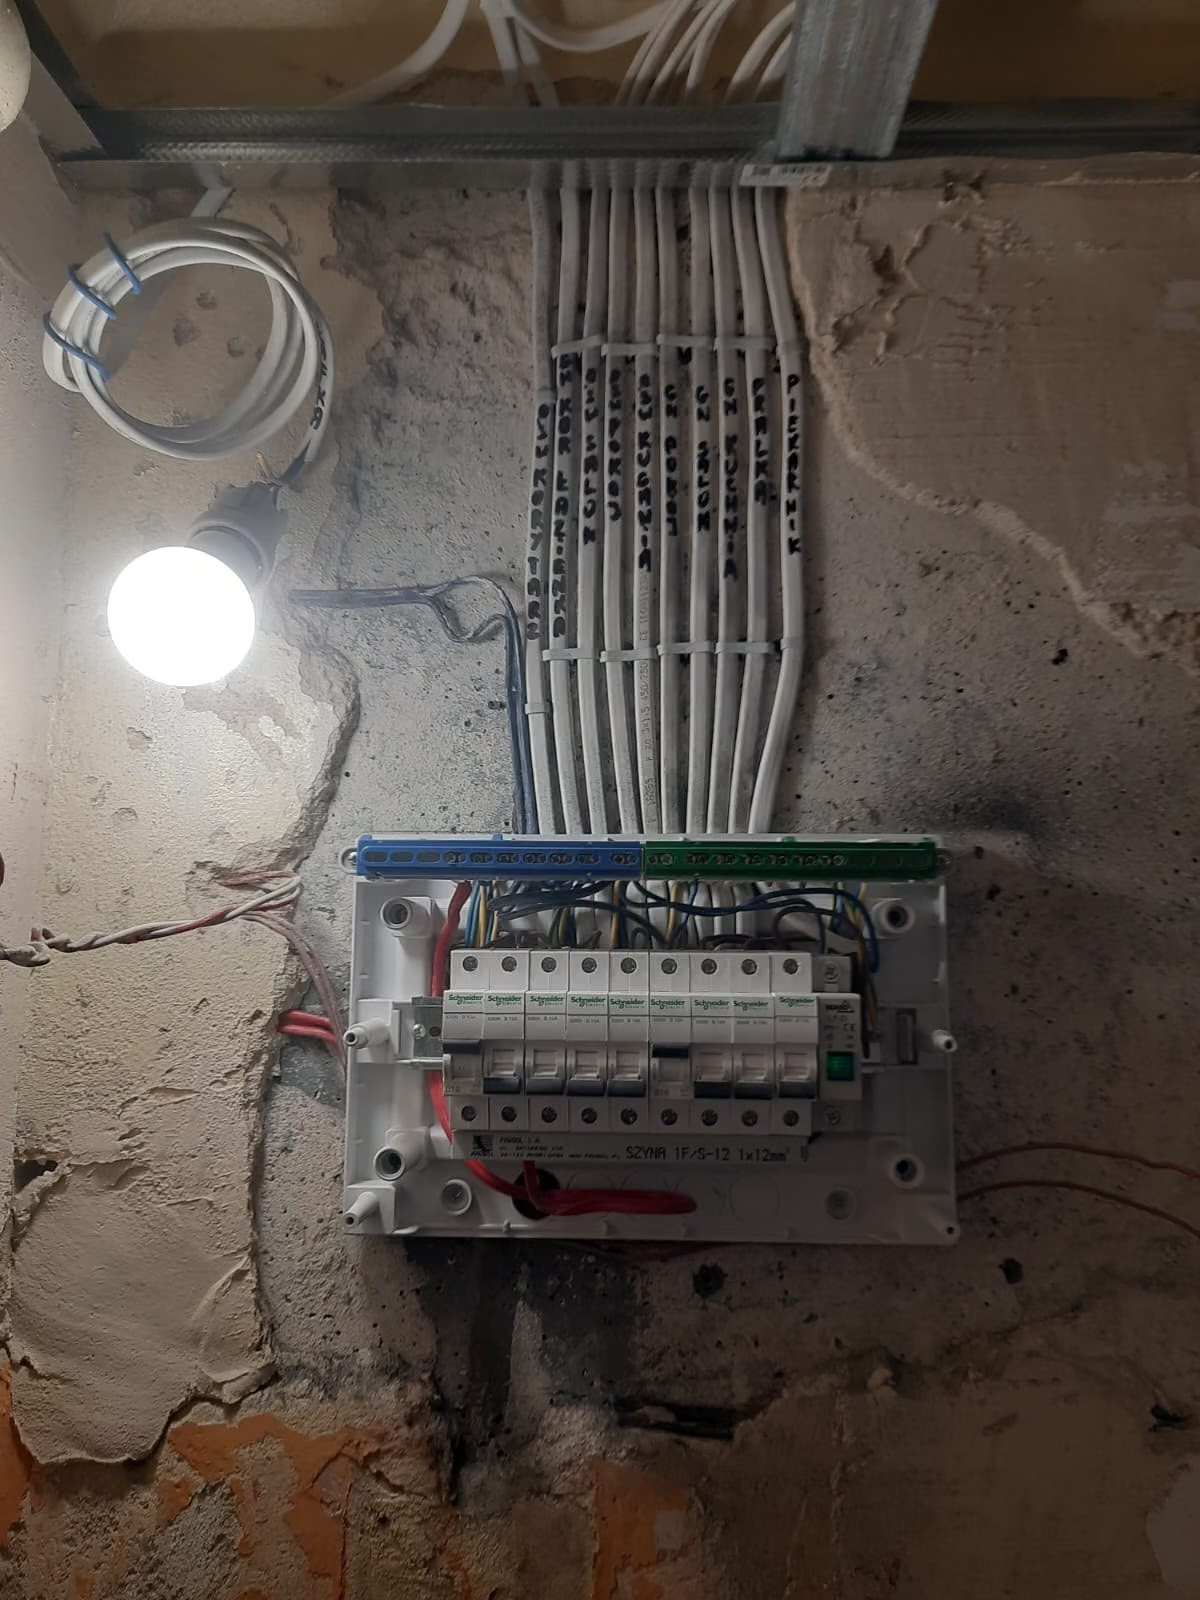
    New fuse box and cables run in the wall.

    Installations

    New wiring, water and drainage — everything under the panelling had to be redone.

  8. 08
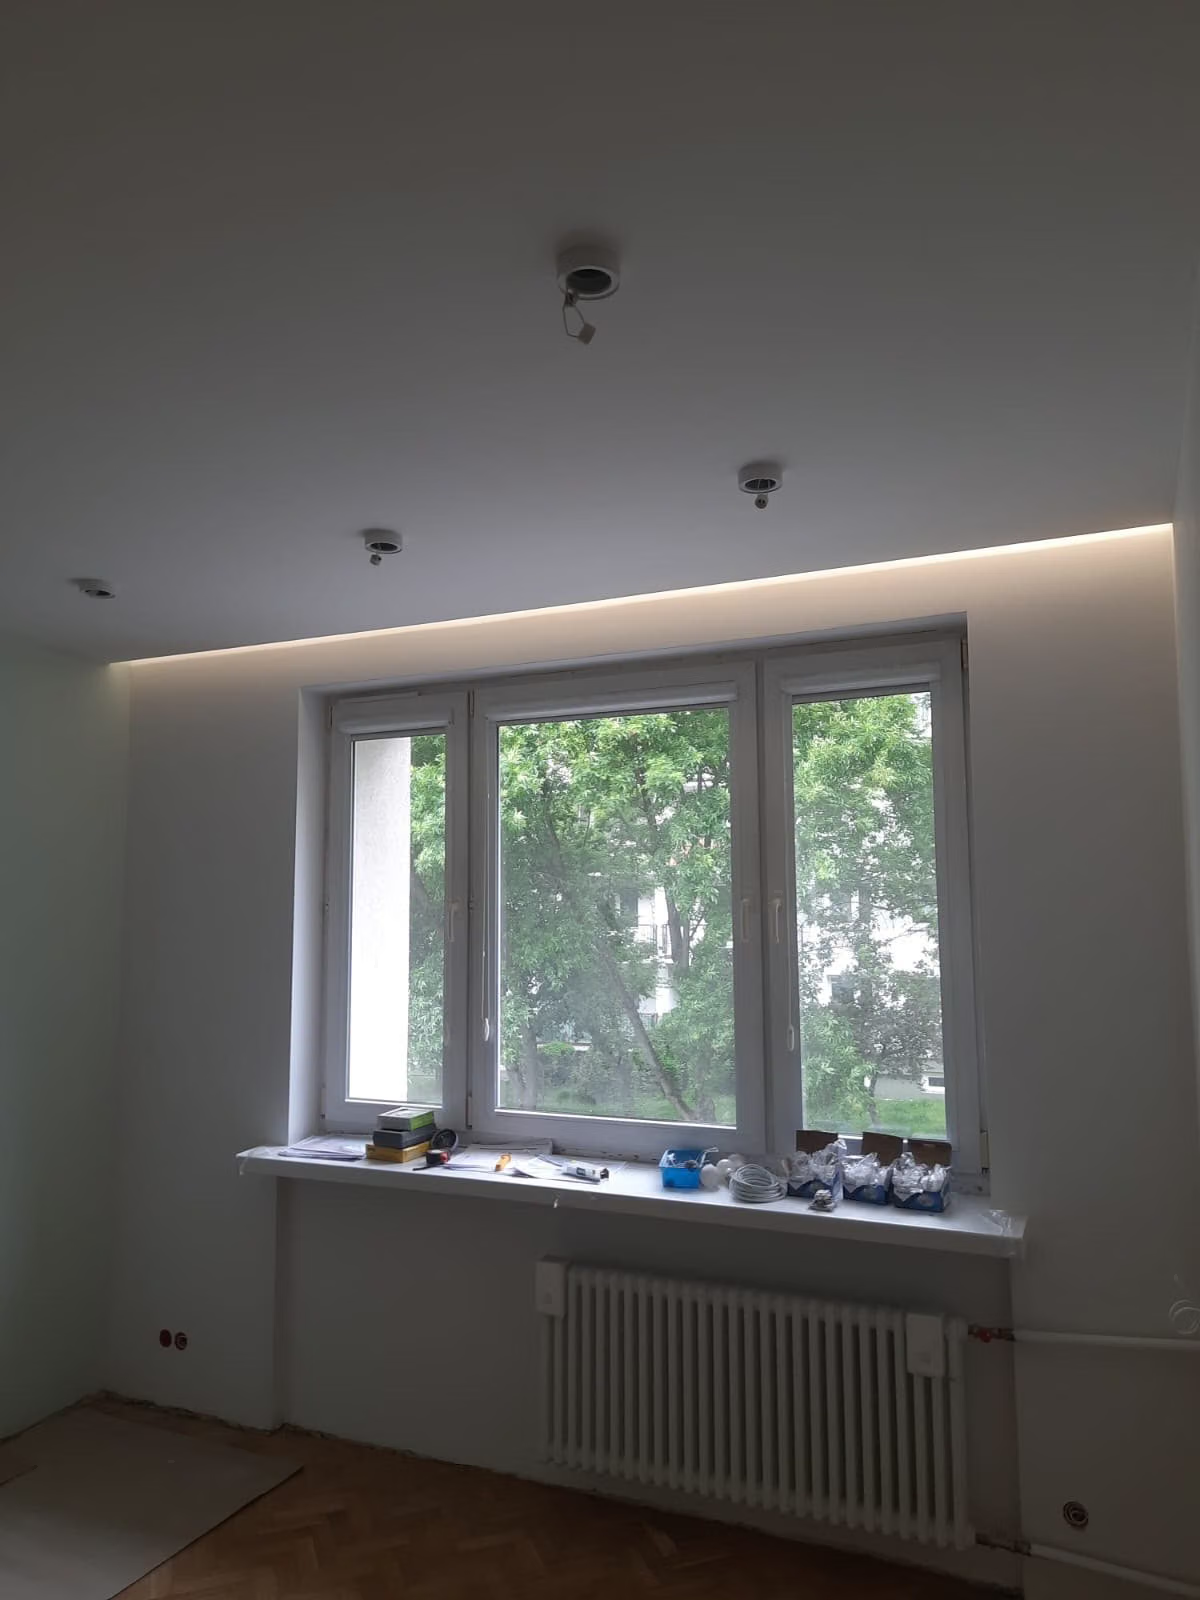
    Room with a suspended ceiling and a lit LED recess above the window.

    Ceilings and lighting

    Suspended ceilings with hidden LED lighting and levelled walls.

  9. 09
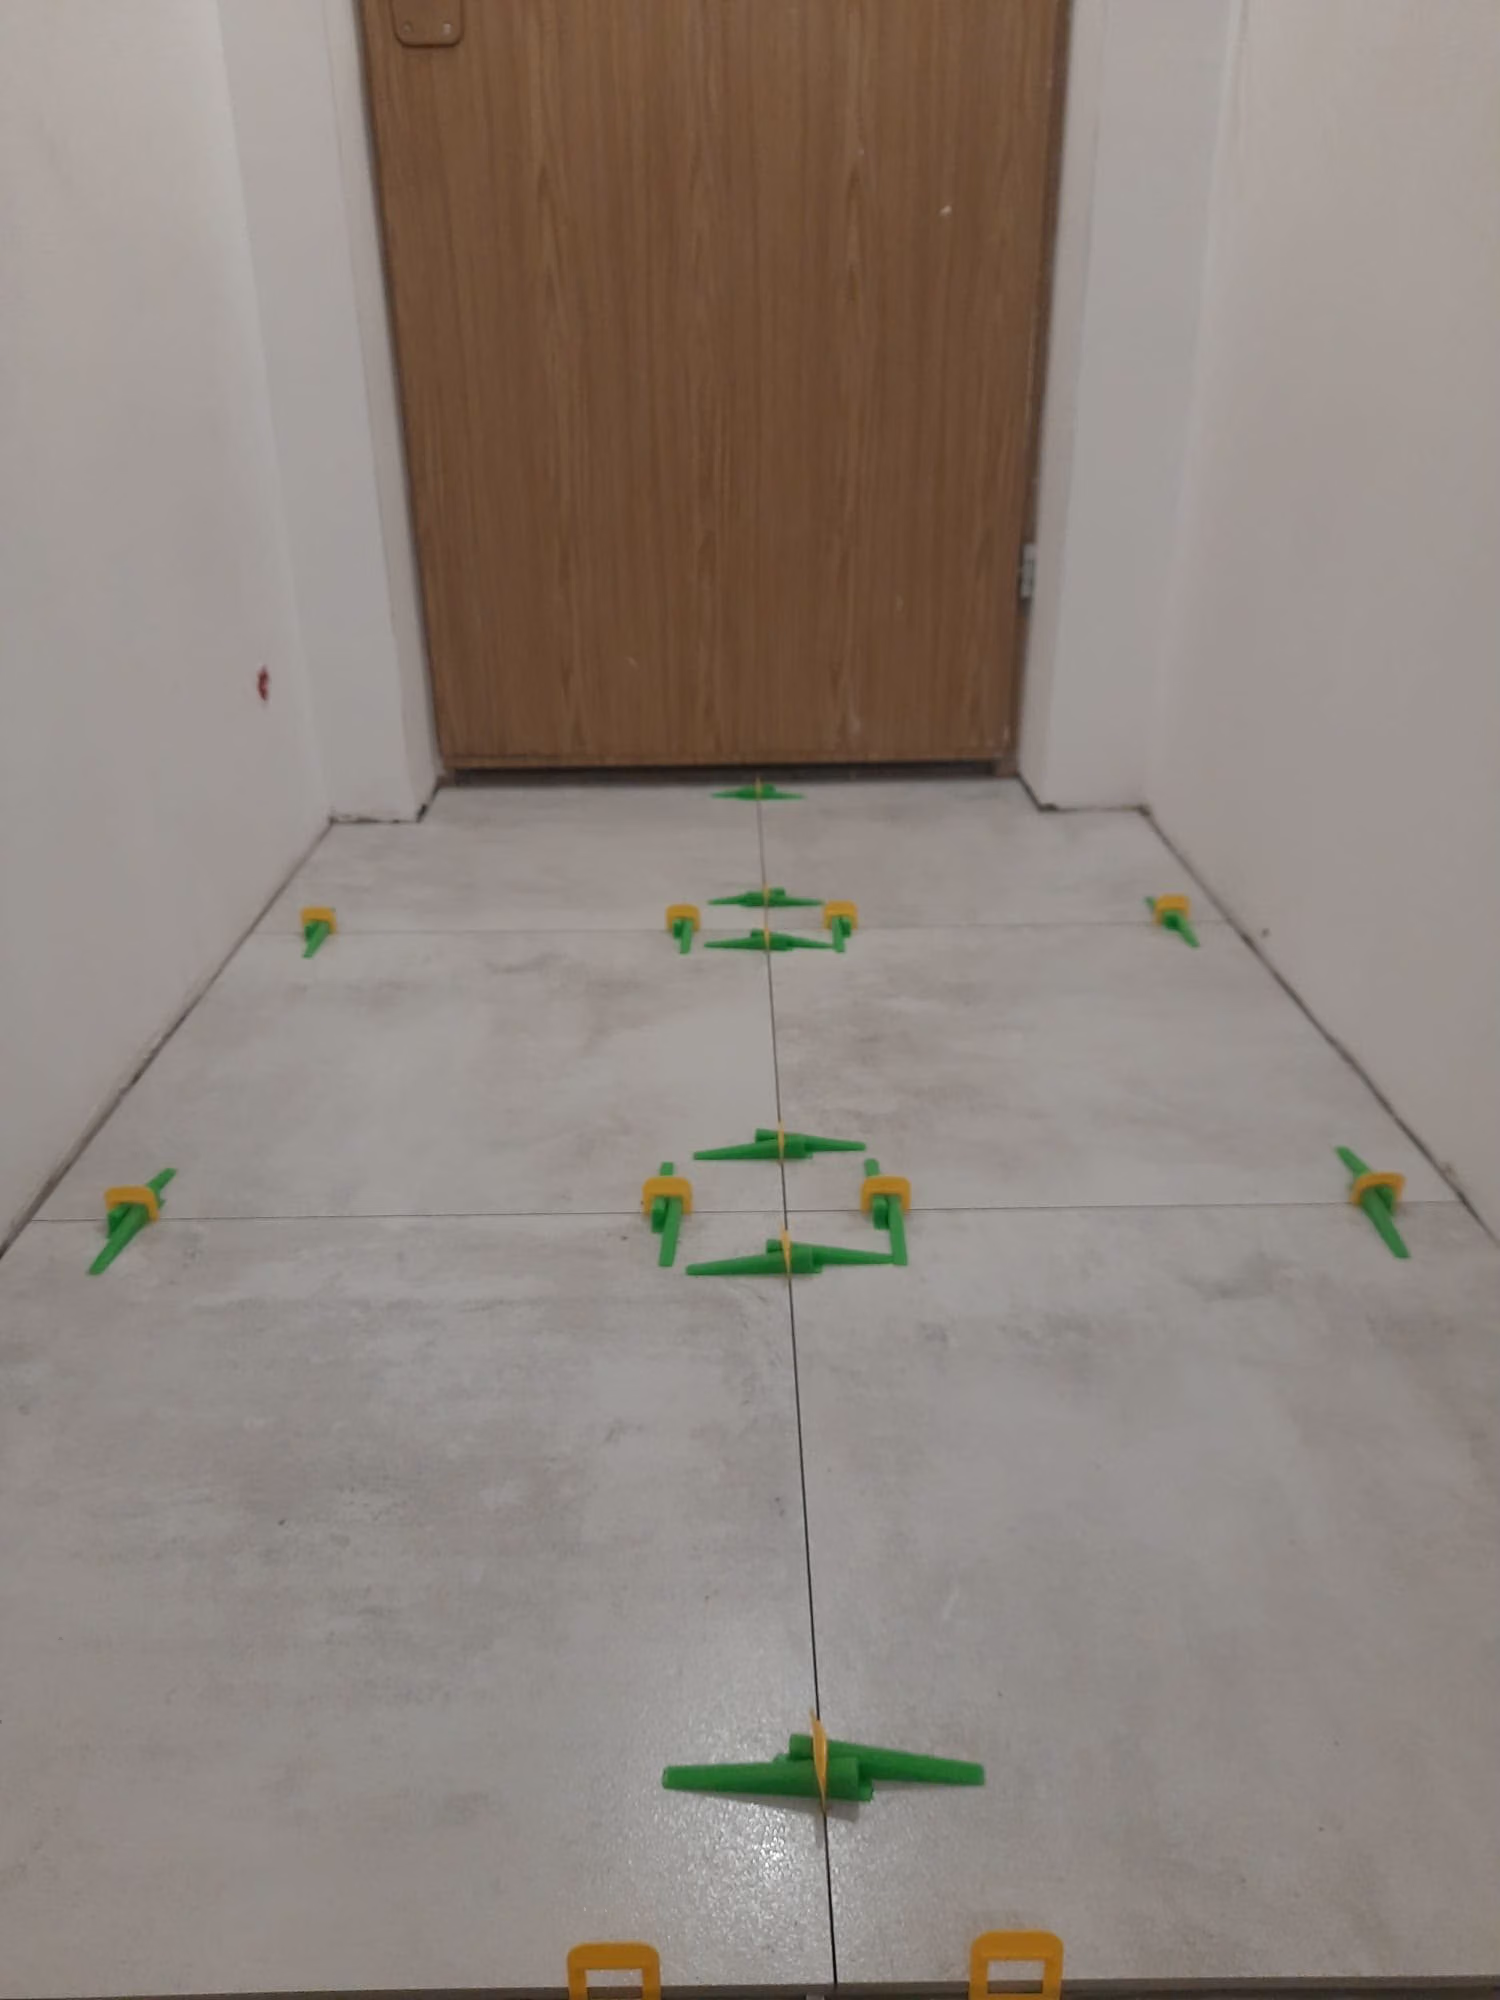
    Tiles laid dry in the hall with green spacers and levelling clips.

    Floors

    Large-format tiles in the hall laid with spacers and a levelling system.

  10. 10
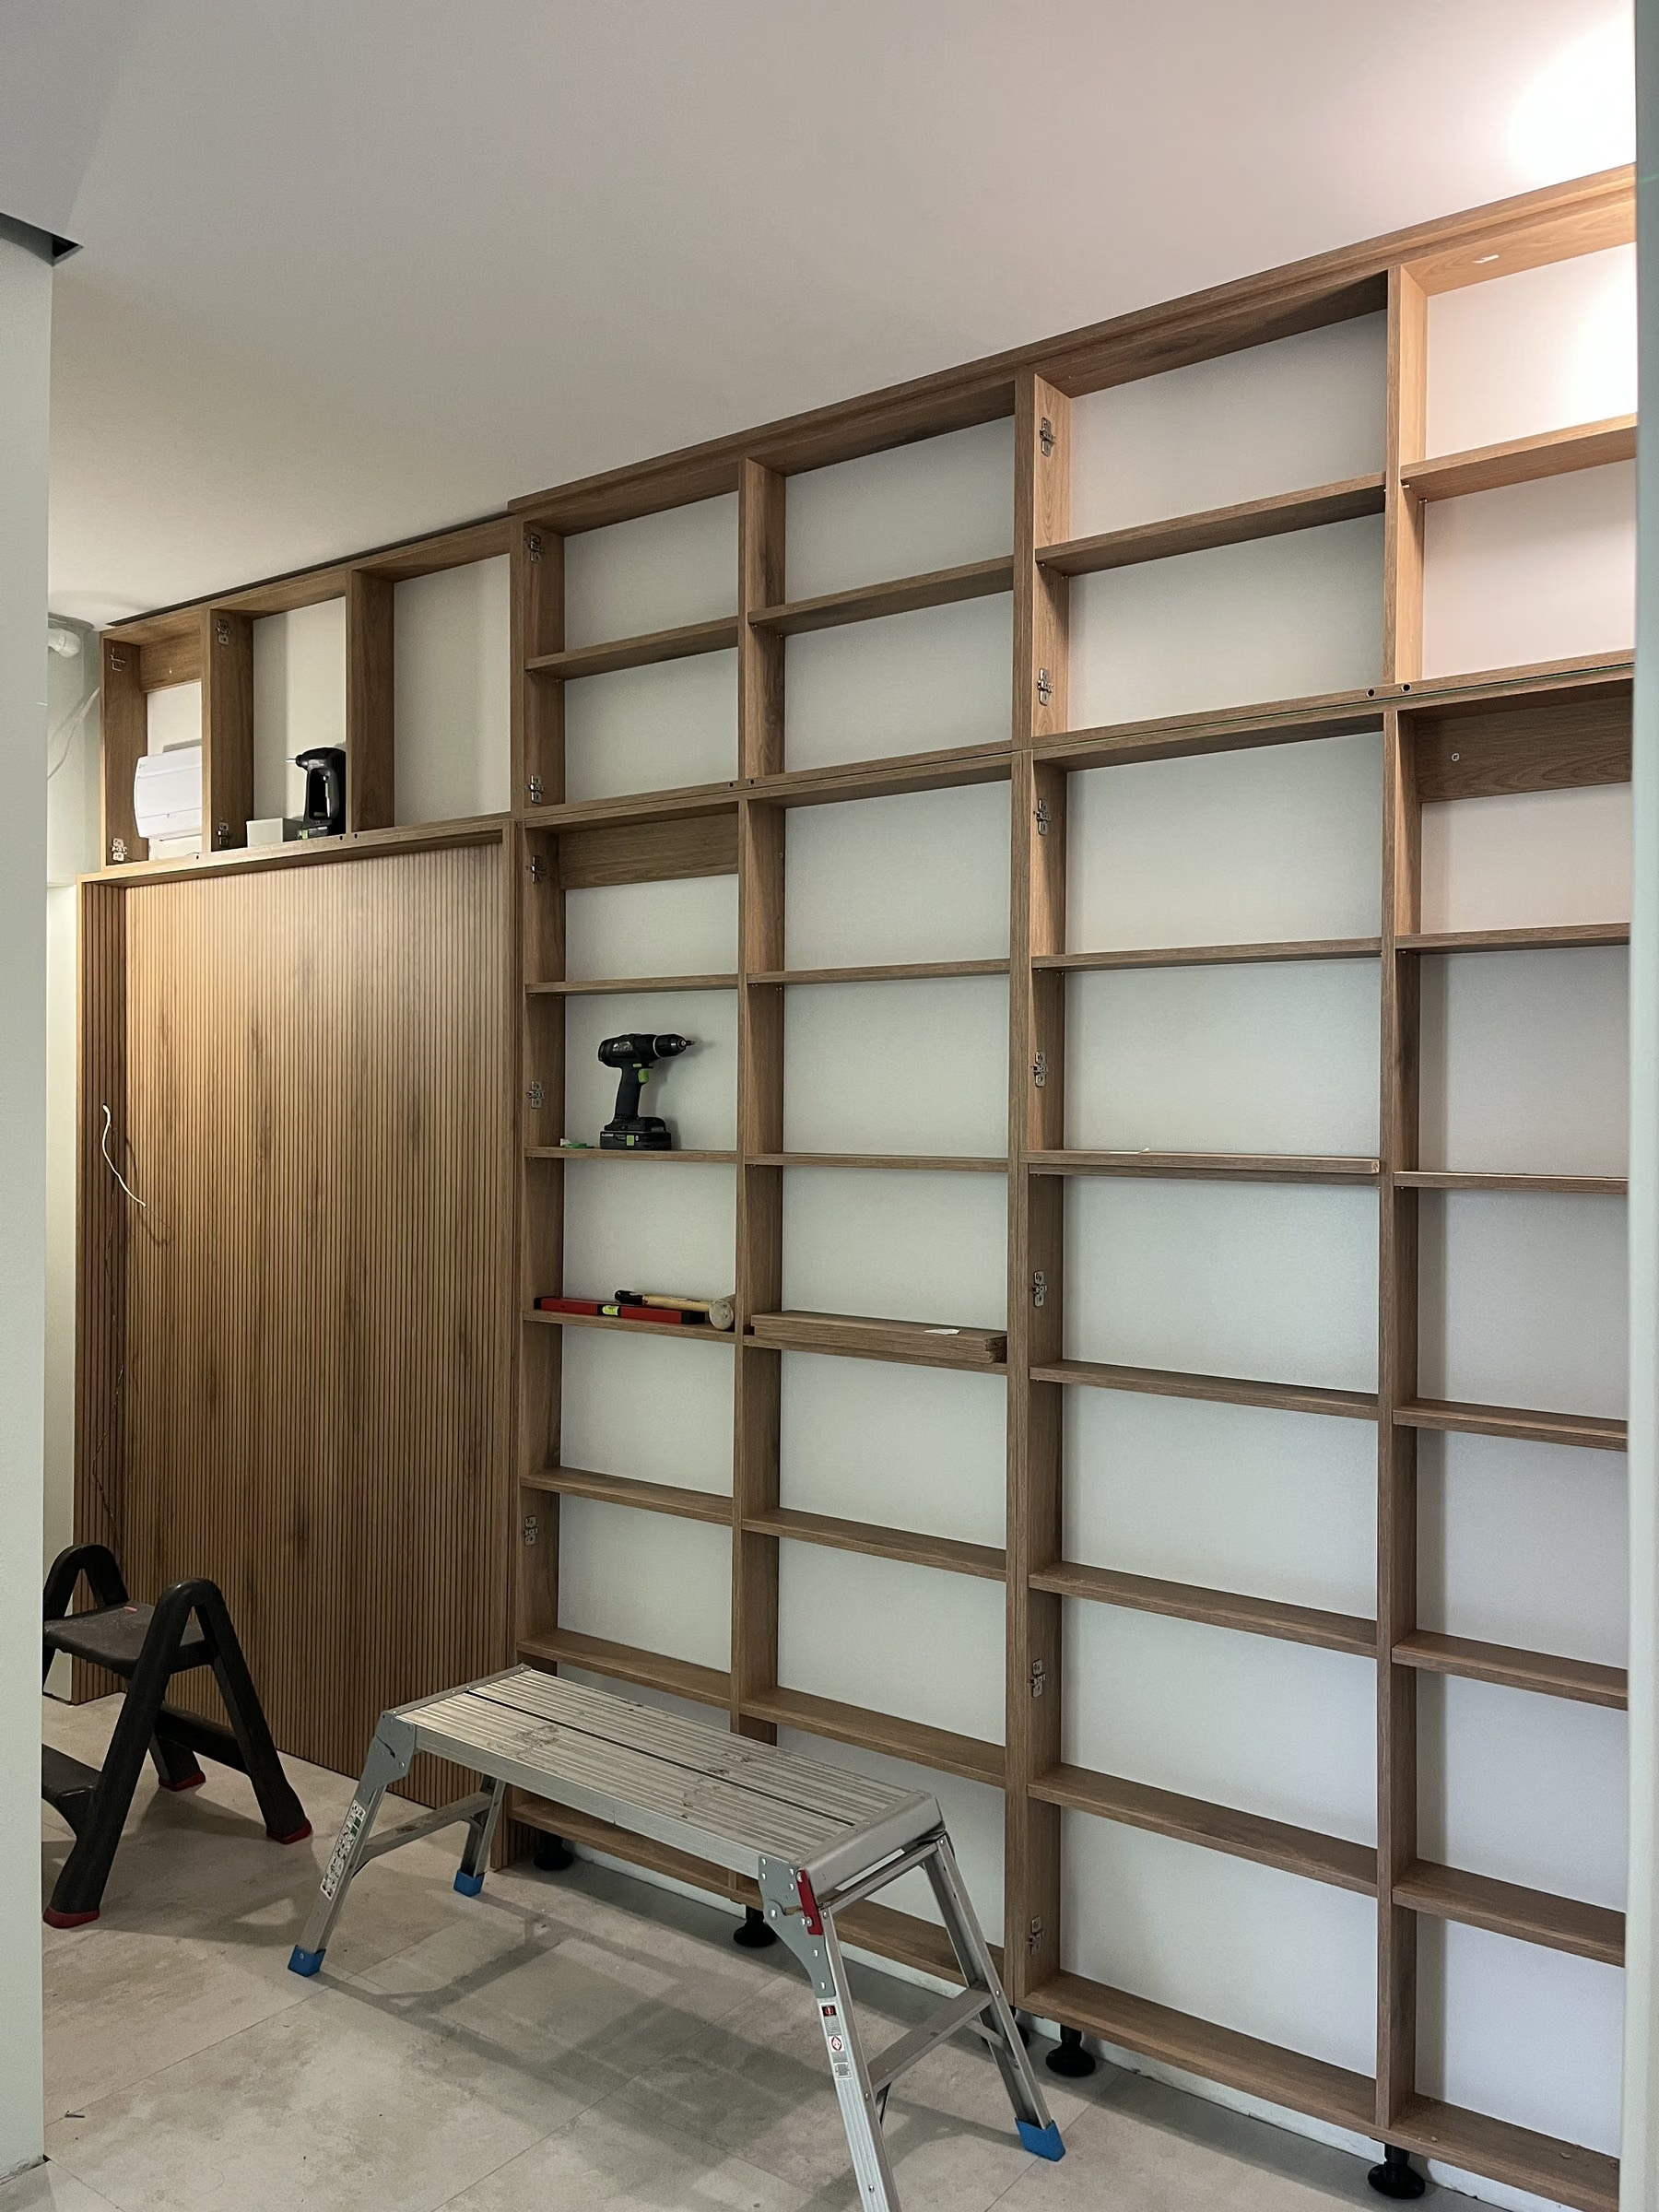
    Carcass of a built-in unit in the hall being assembled.

    Made-to-measure furniture

    The carpenter assembles the carcass to my drawings.

  11. 11
    Finished bathroom with a countertop basin on a wooden top.

    Result

    Finished bathroom, kitchen, hall and rooms — bright, universal and easy to keep.

05Decisions

Key design decisions

What I designed, and why that way.

01

Problem Under the panelling were crumbling walls, uneven surfaces and several layers of old floors.

Panelling off, walls rebuilt

Once the panelling came off, the walls turned out unstable and uneven. We straightened the worst spots with plasterboard, and made-to-measure units hid the rest.

Room after the panelling came off: bare, uneven walls and ceiling.
001 — Panelling off, walls rebuilt
02

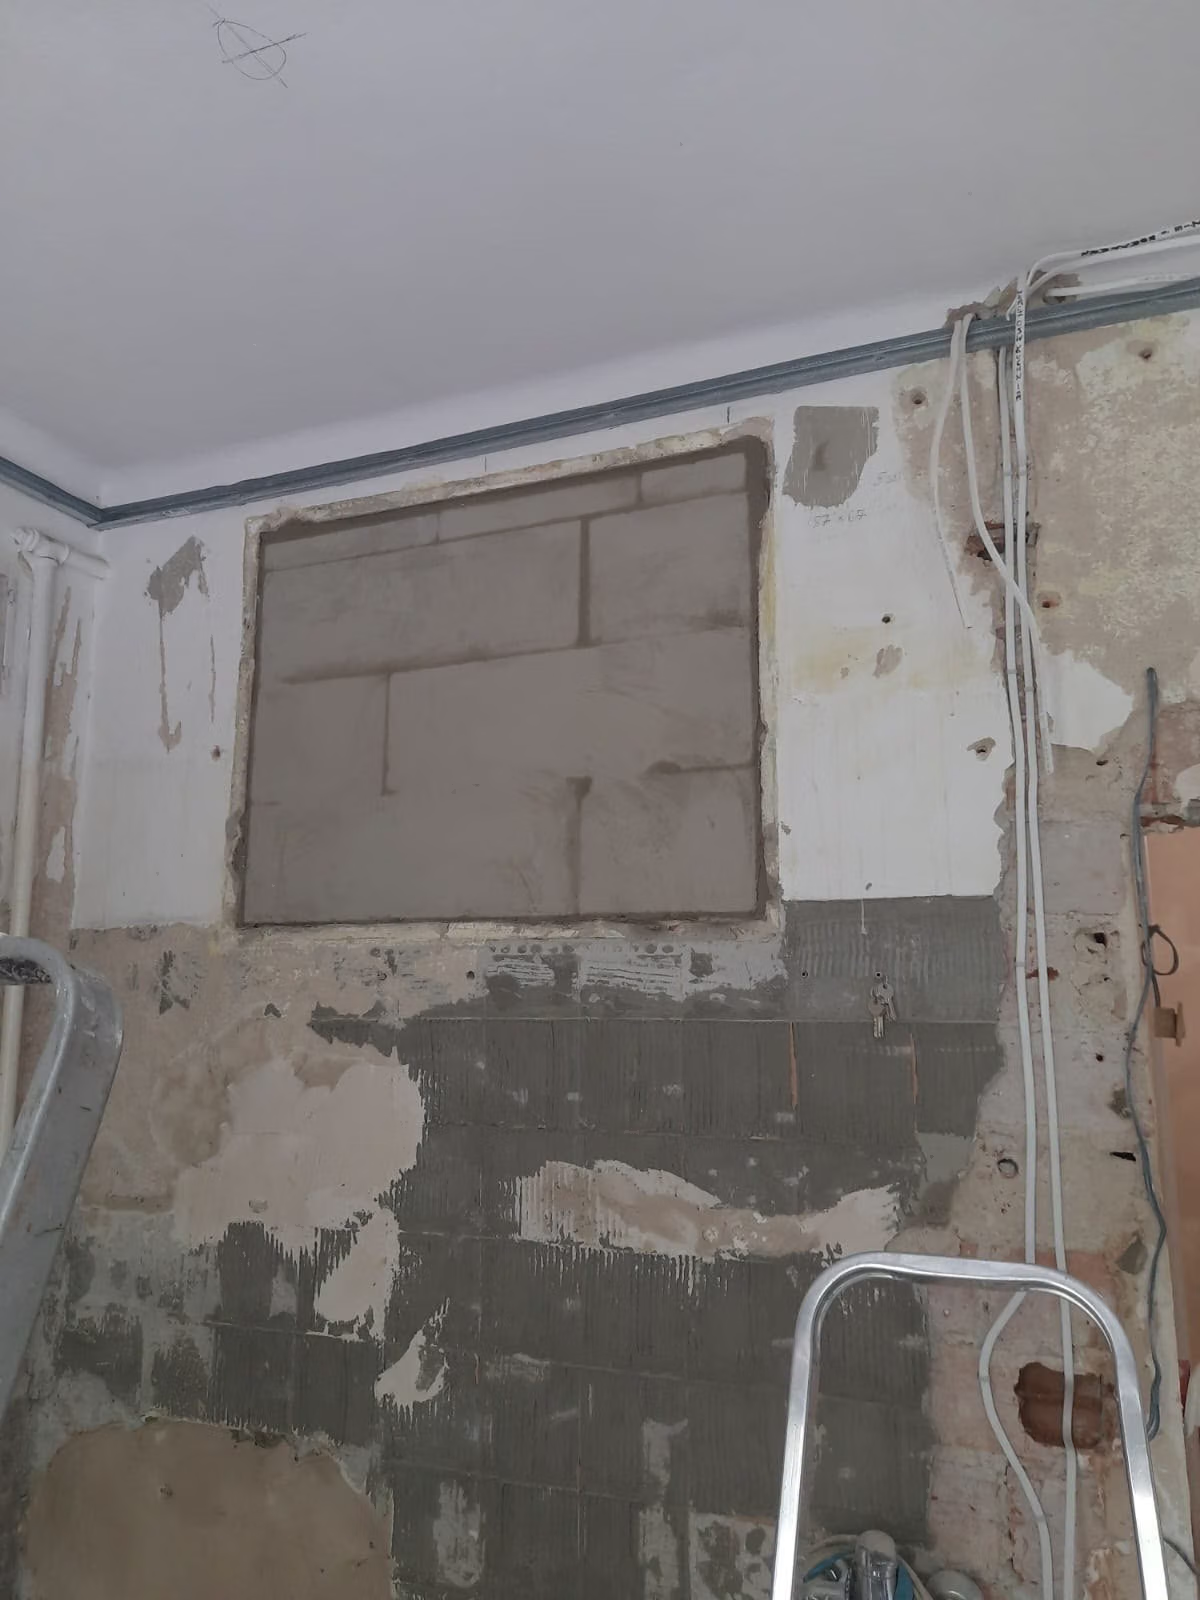
Problem The kitchen was short of cupboard space, and there was a window in the wall.

A window bricked up — cupboards along the whole wall

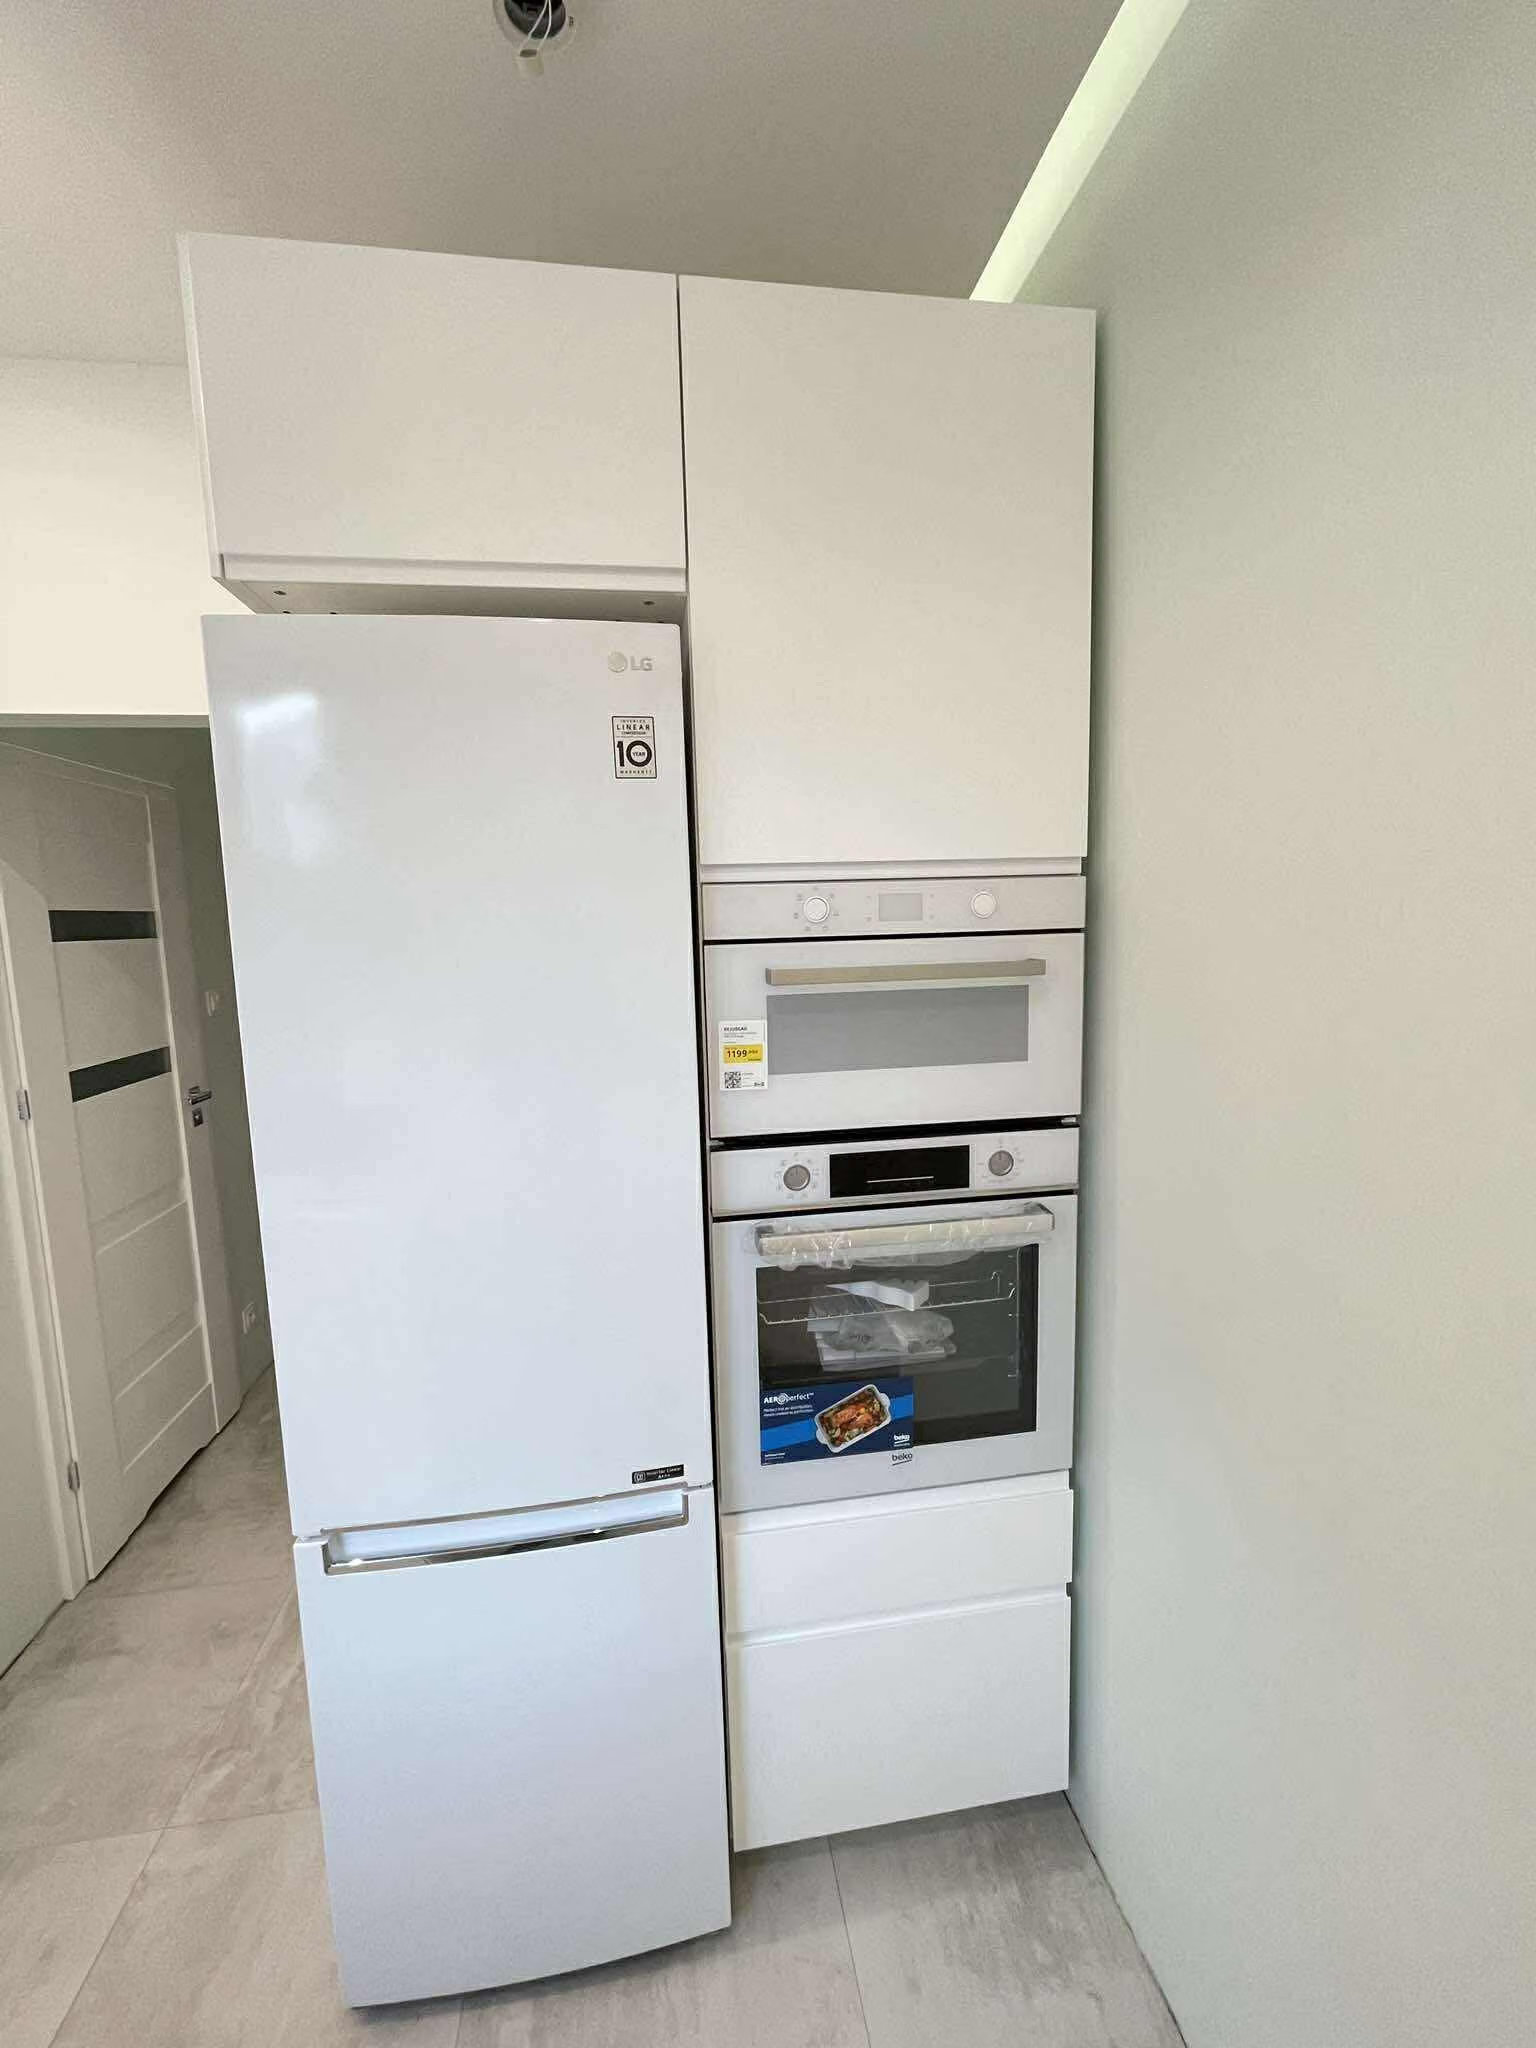
We bricked up the window between the kitchen and the bathroom. Now the wall units run the full length of the wall up to the ceiling, and the kitchen gained metres of storage.

Wall with a bricked-up window opening — the block infill visible in the plaster.
002 — A window bricked up — cupboards along the whole wall
03

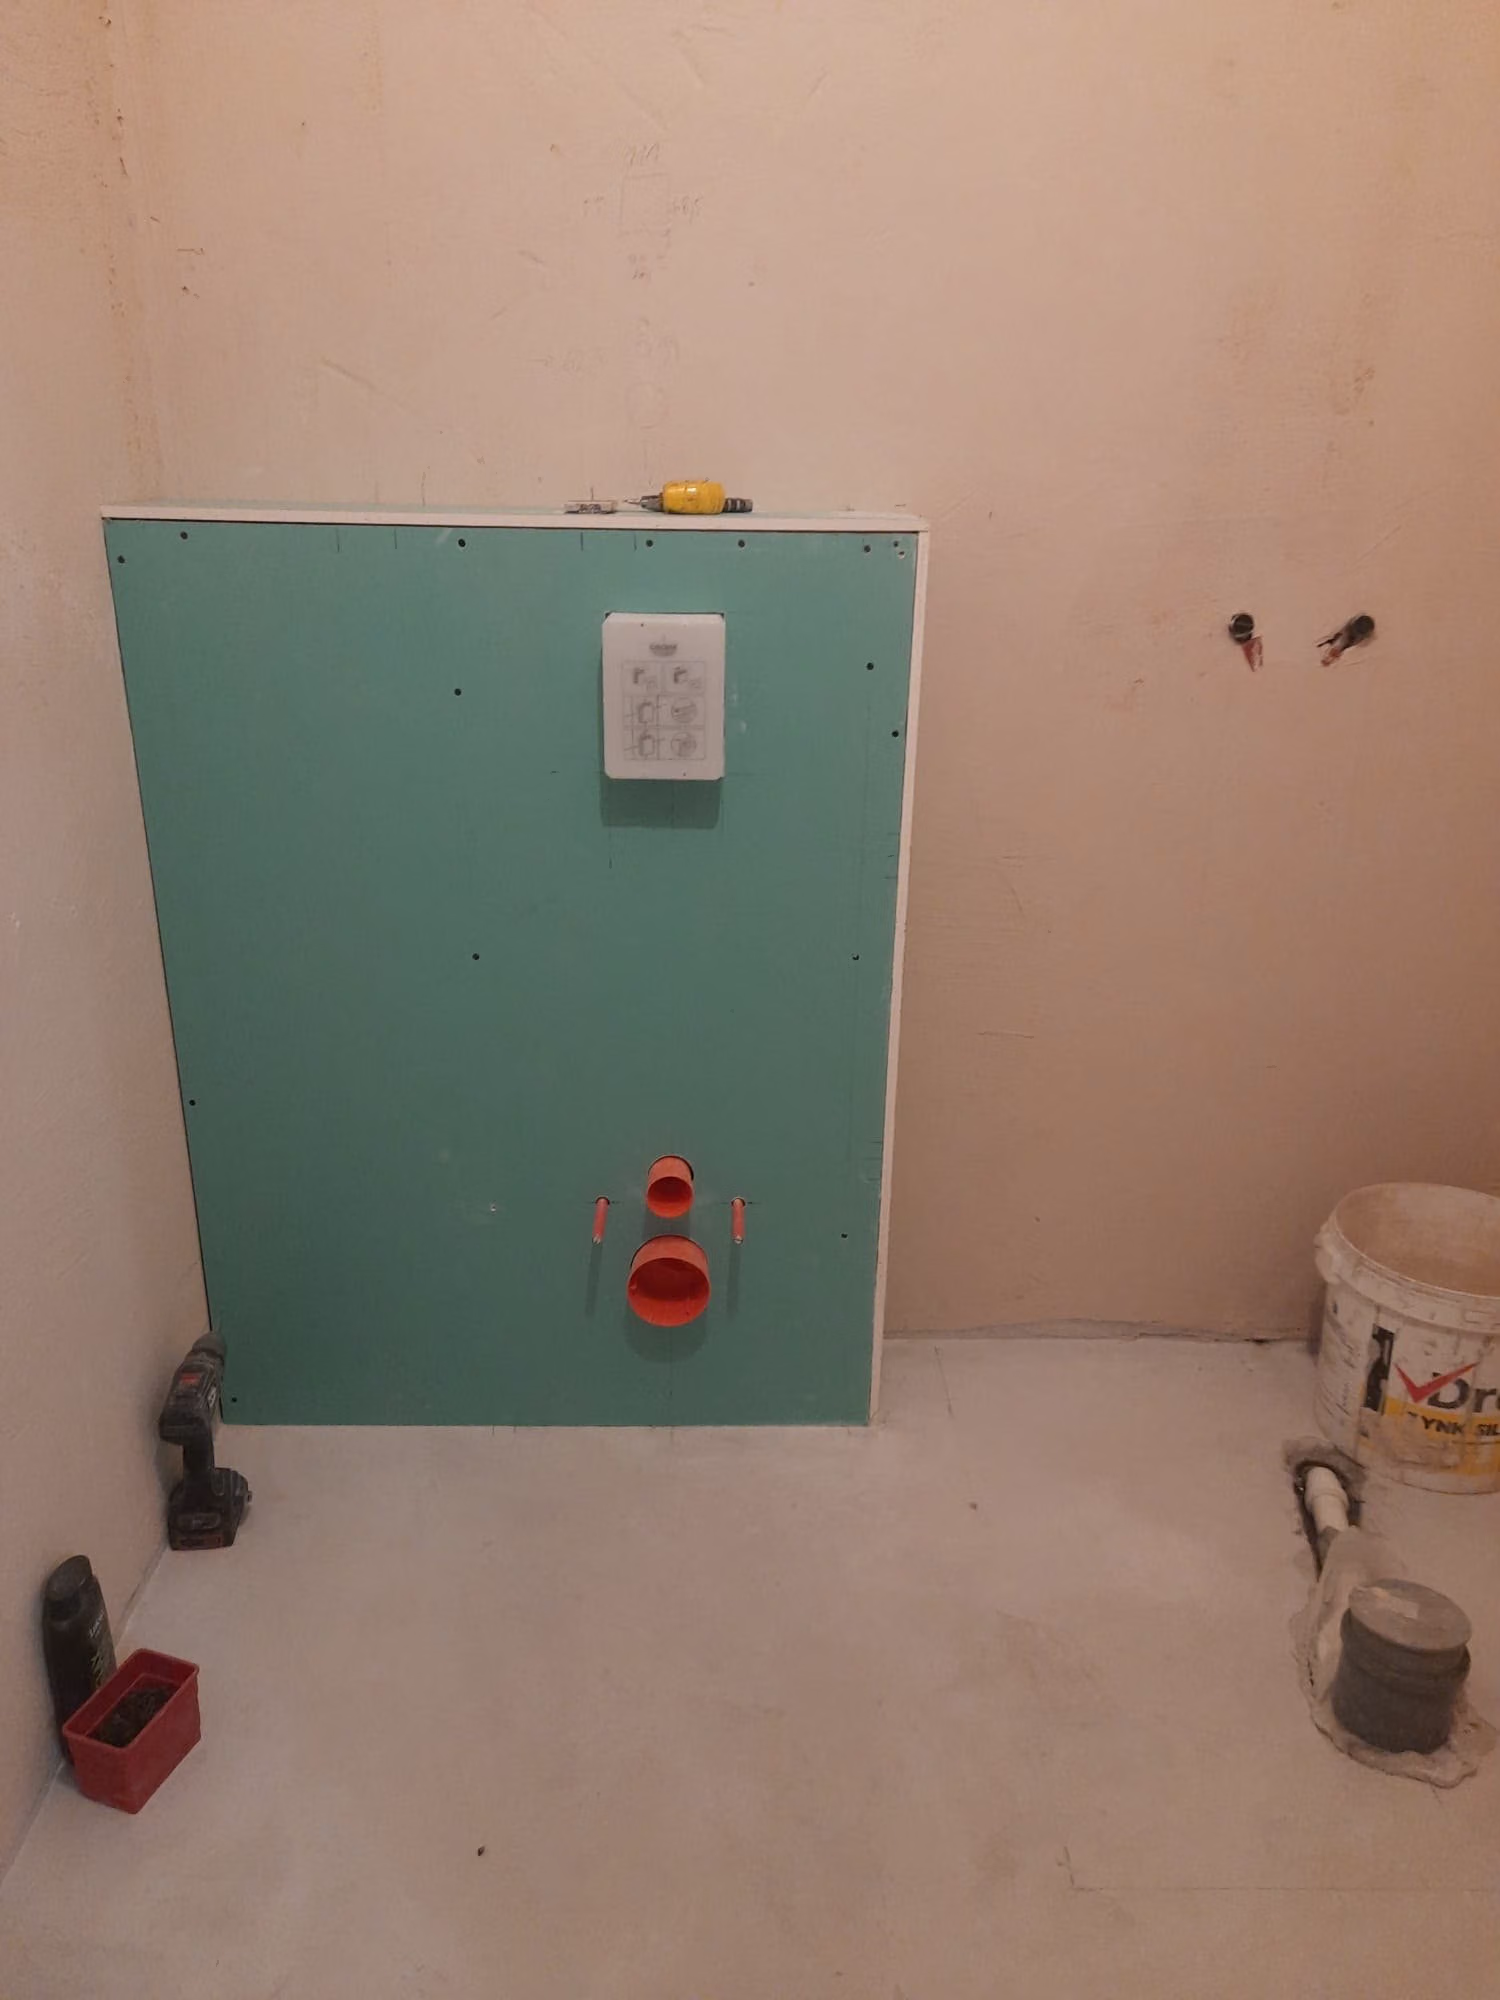
Problem Thick pipes ran through the bathroom, and some radiators and pipes could not be moved.

Pipes boxed in, ventilation planned

We hid the pipes and the toilet frame in a plasterboard box, keeping the ventilation in mind. The box got a wooden shelf, and a wall-hung toilet lightens the small room.

Plasterboard box around the frame of a wall-hung toilet.
003 — Pipes boxed in, ventilation planned
04

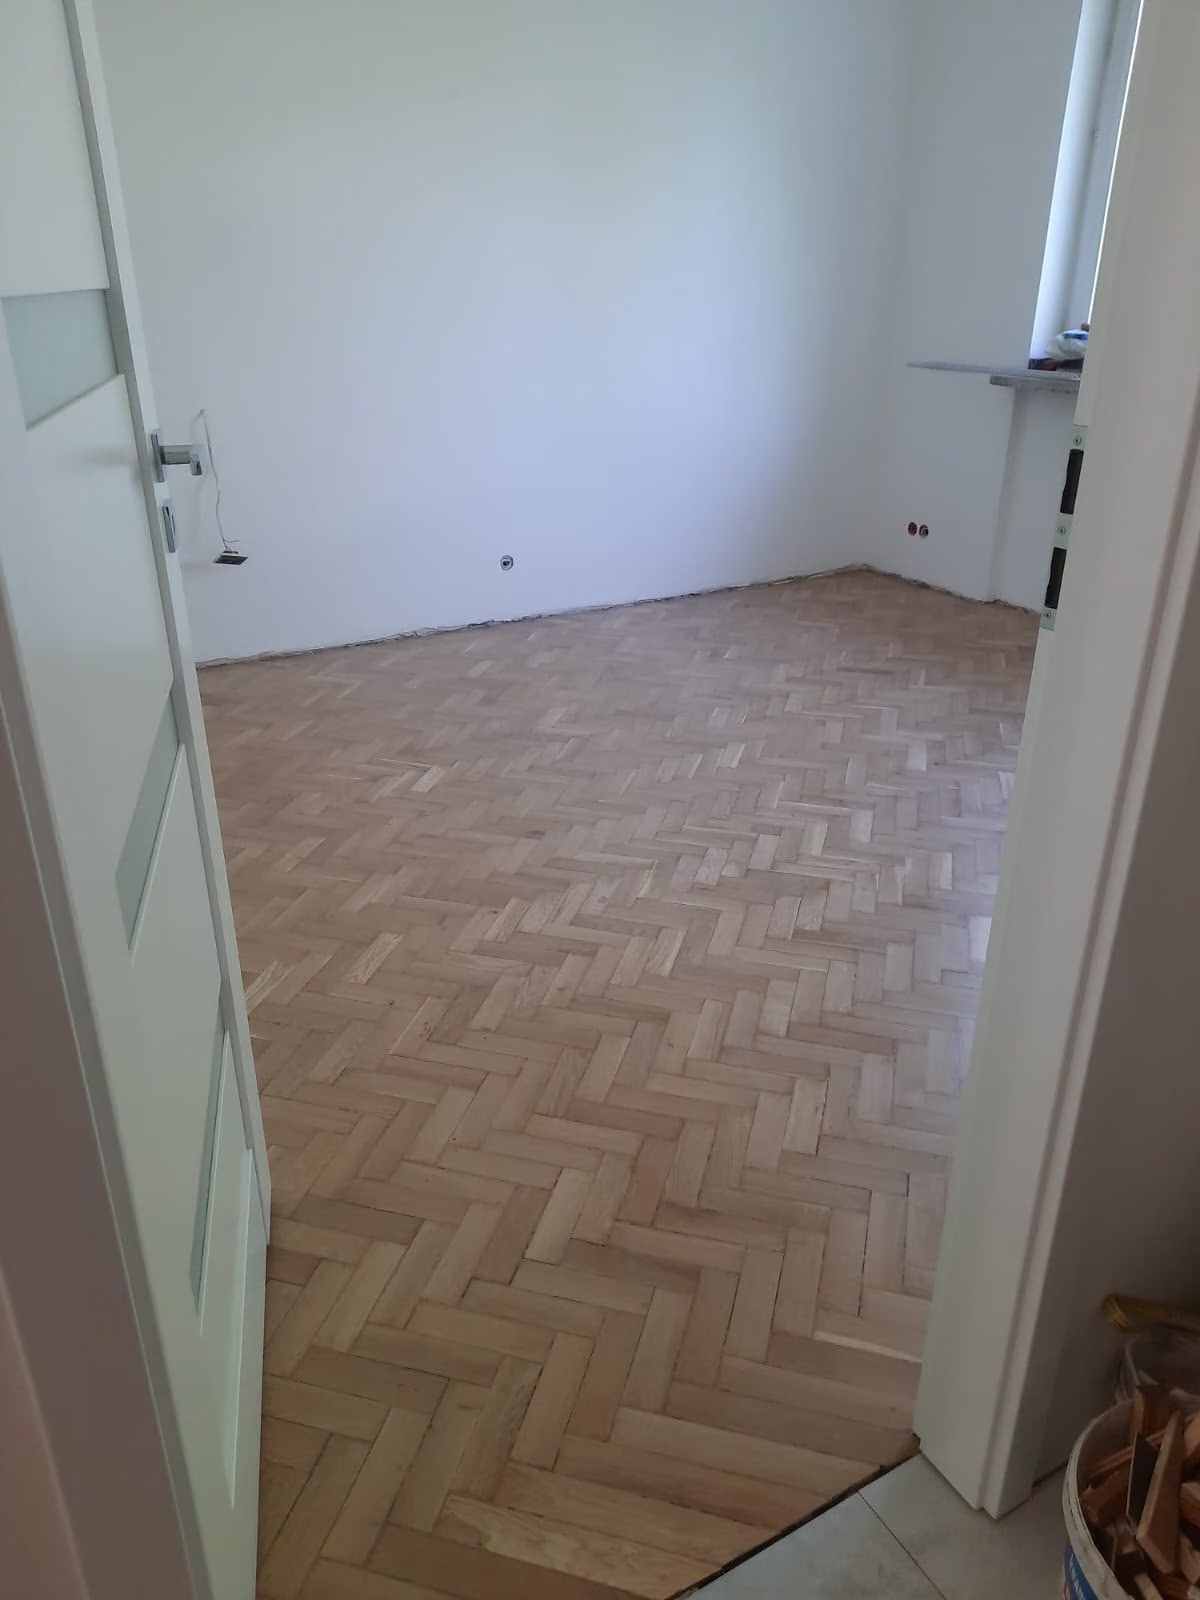
Problem The old parquet looked worn out but was in good condition.

The parquet stays — sanding was enough

Instead of a new floor we restored the existing parquet. Lower cost, less waste and warm wood that suits the bright walls.

Restored herringbone parquet in a bright, empty room.
004 — The parquet stays — sanding was enough
05

Made-to-measure wardrobes in the hall and rooms

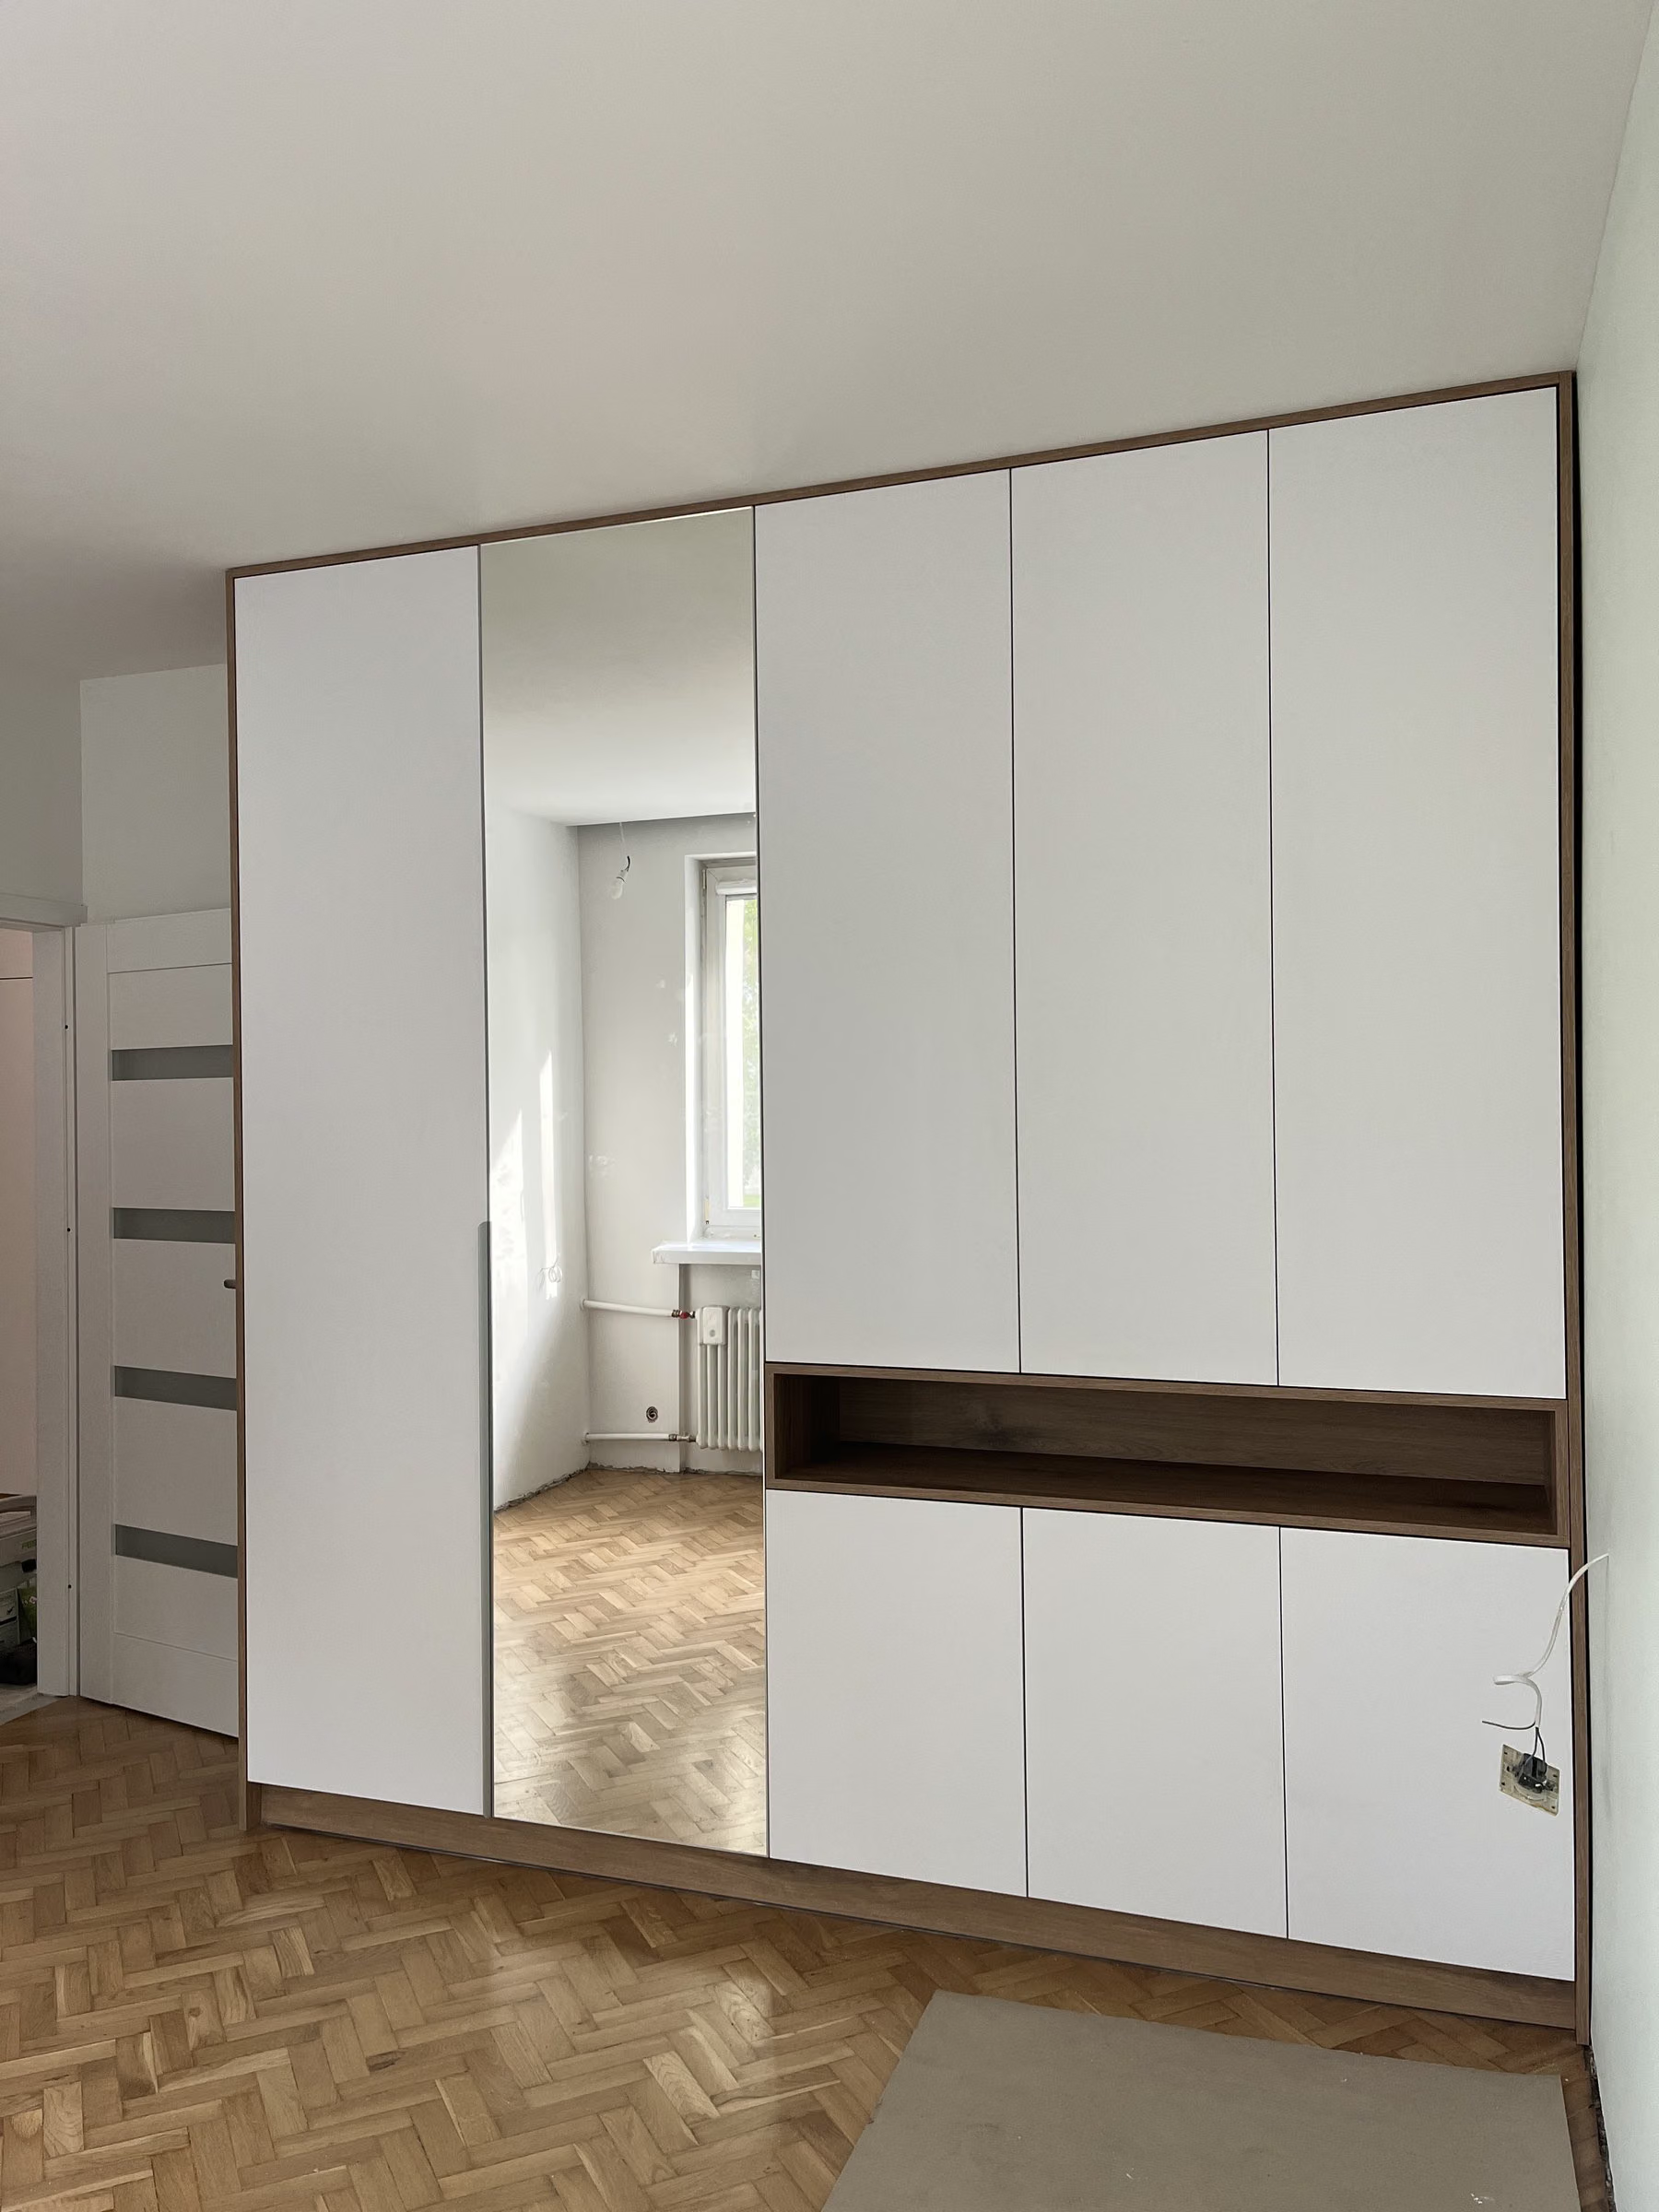
I drew the units for the carpenter to hold plenty — whoever lives there — and to mask the crooked walls. They also made room for a mirror and a lit shelf.

Full-wall white unit with a mirror and a wooden shelf.
005 — Made-to-measure wardrobes in the hall and rooms
  1. 06

    A bright base, wood and green

    White walls and fronts, greys, wood and green accents. Neutral for tenants, yet cosy for the owner.

06Materials

Materials and workmanship

What I chose, where it came from and what we kept.

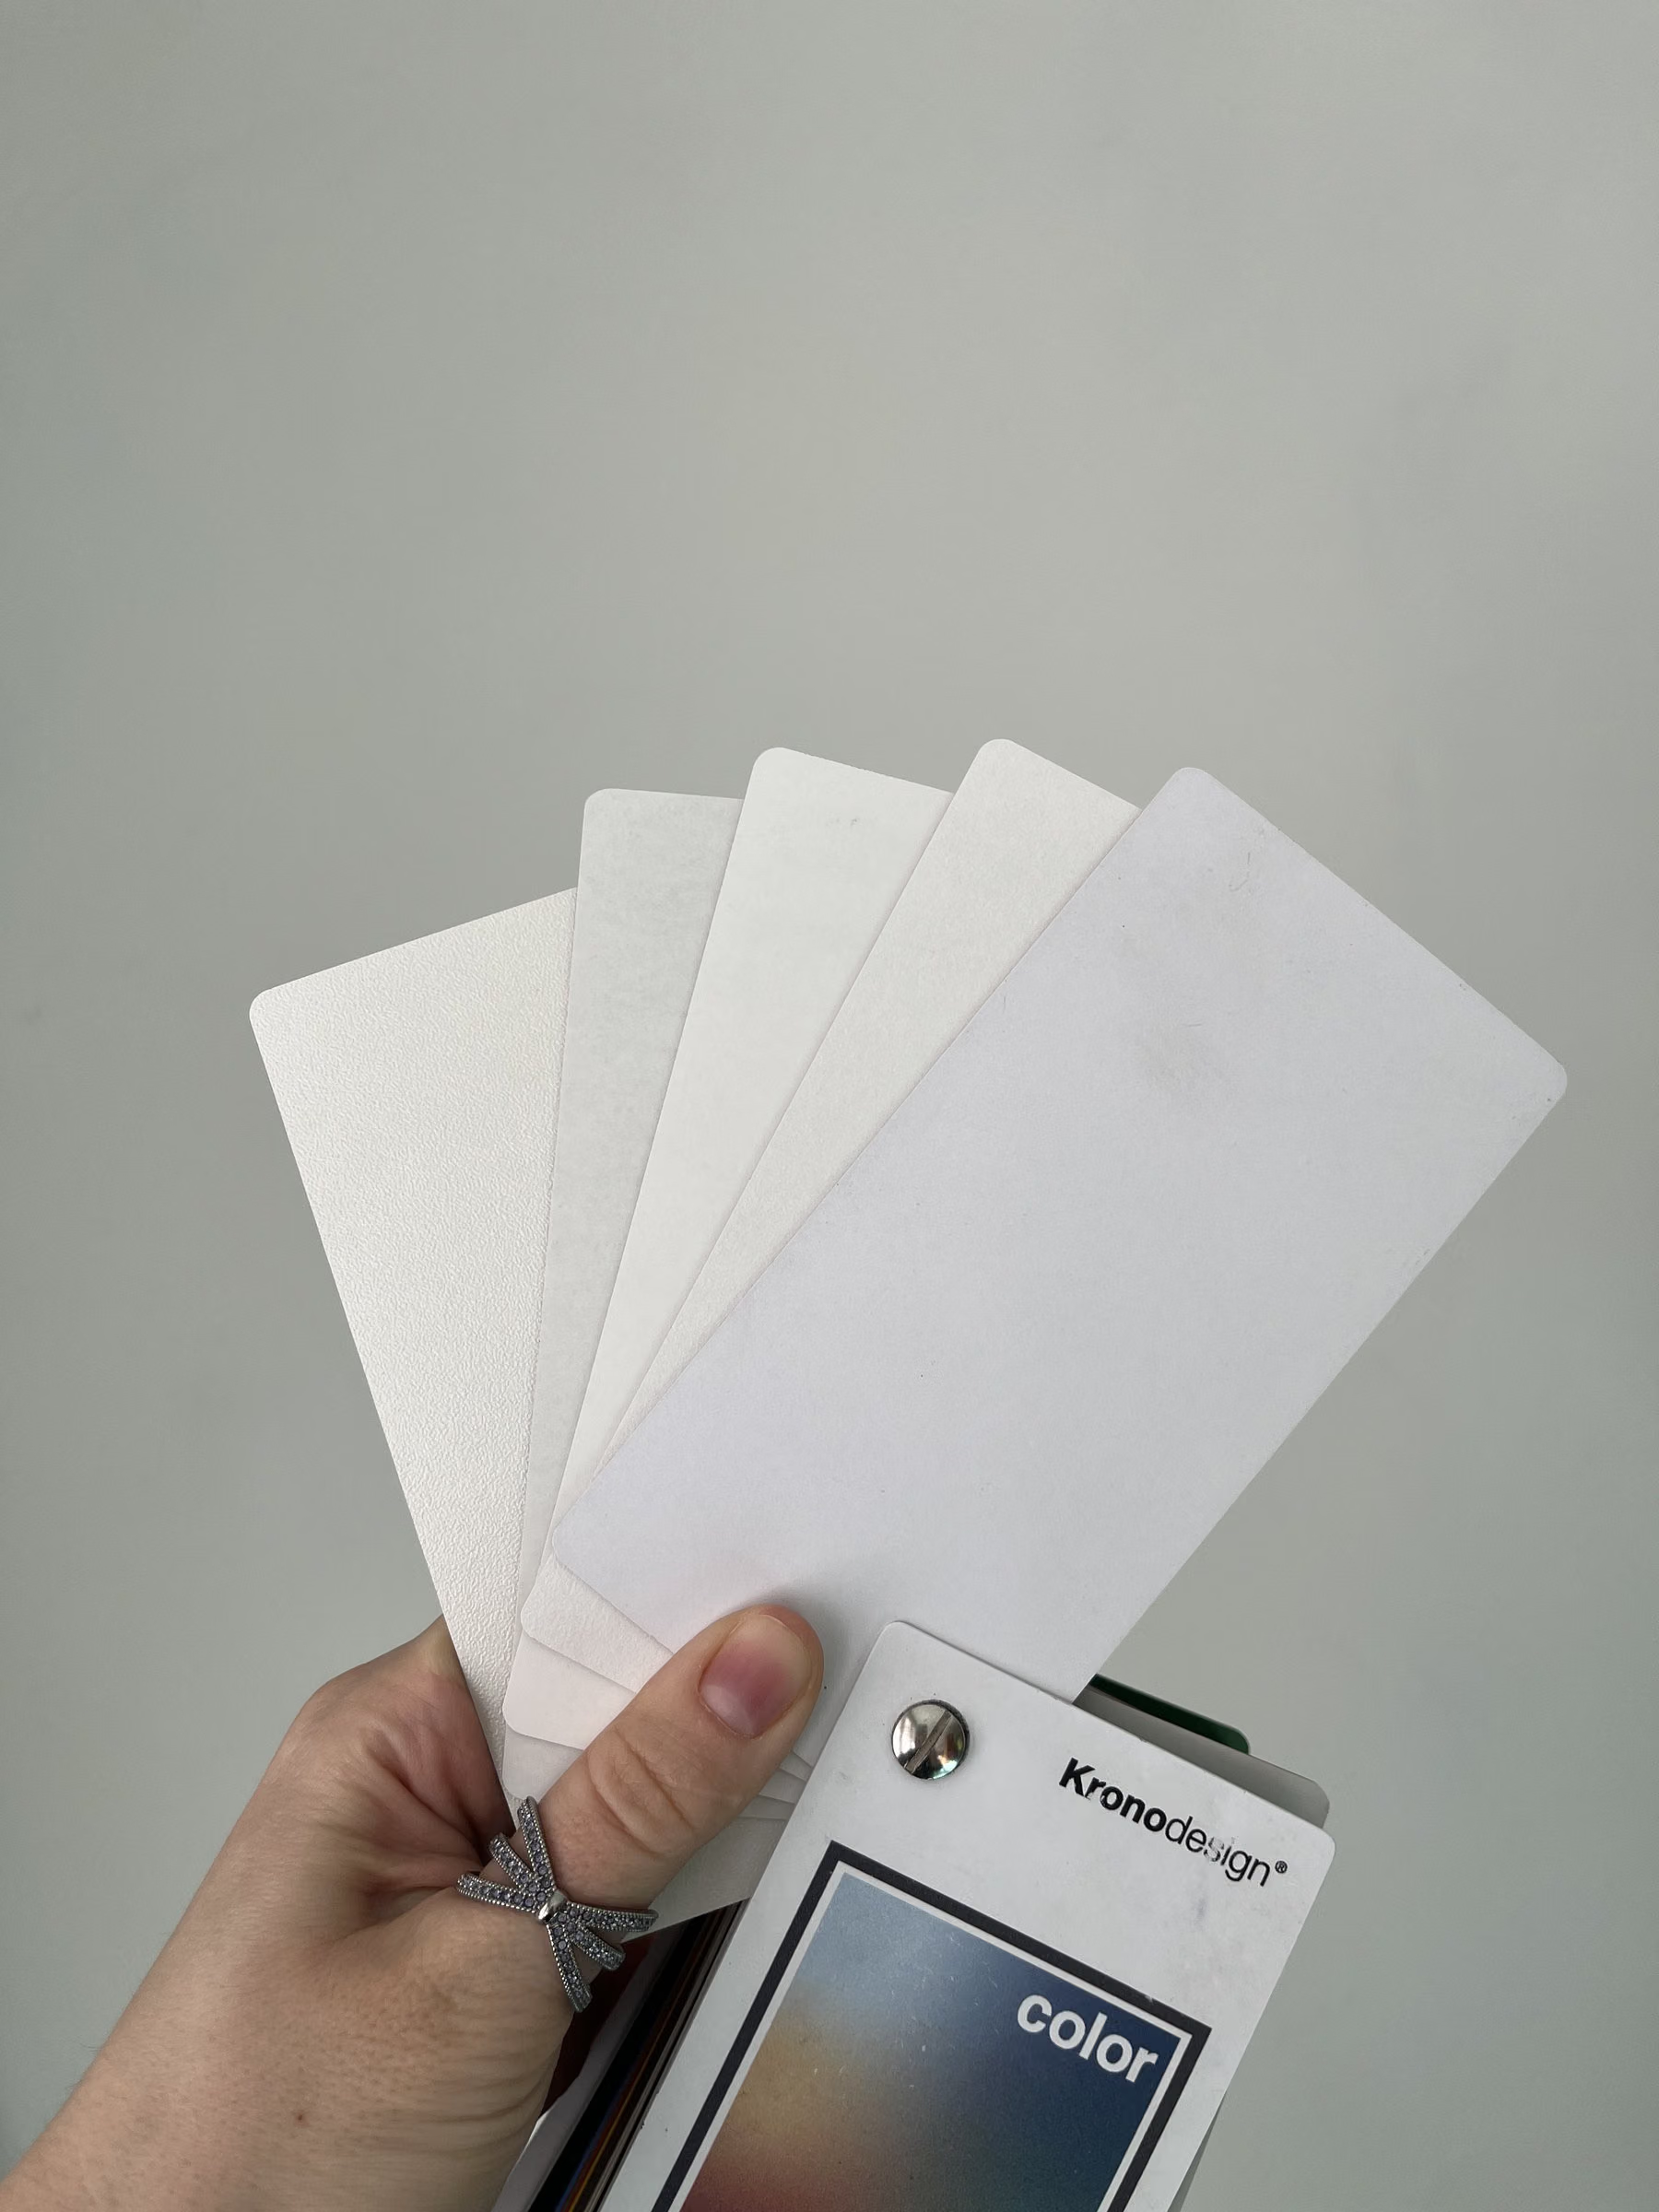
  • A hand holding a fan of white front samples.

    Fronts and veneers

    Chosen from real samples. Some items from chain stores where quality was good enough and the price fair; the units were made by a carpenter.

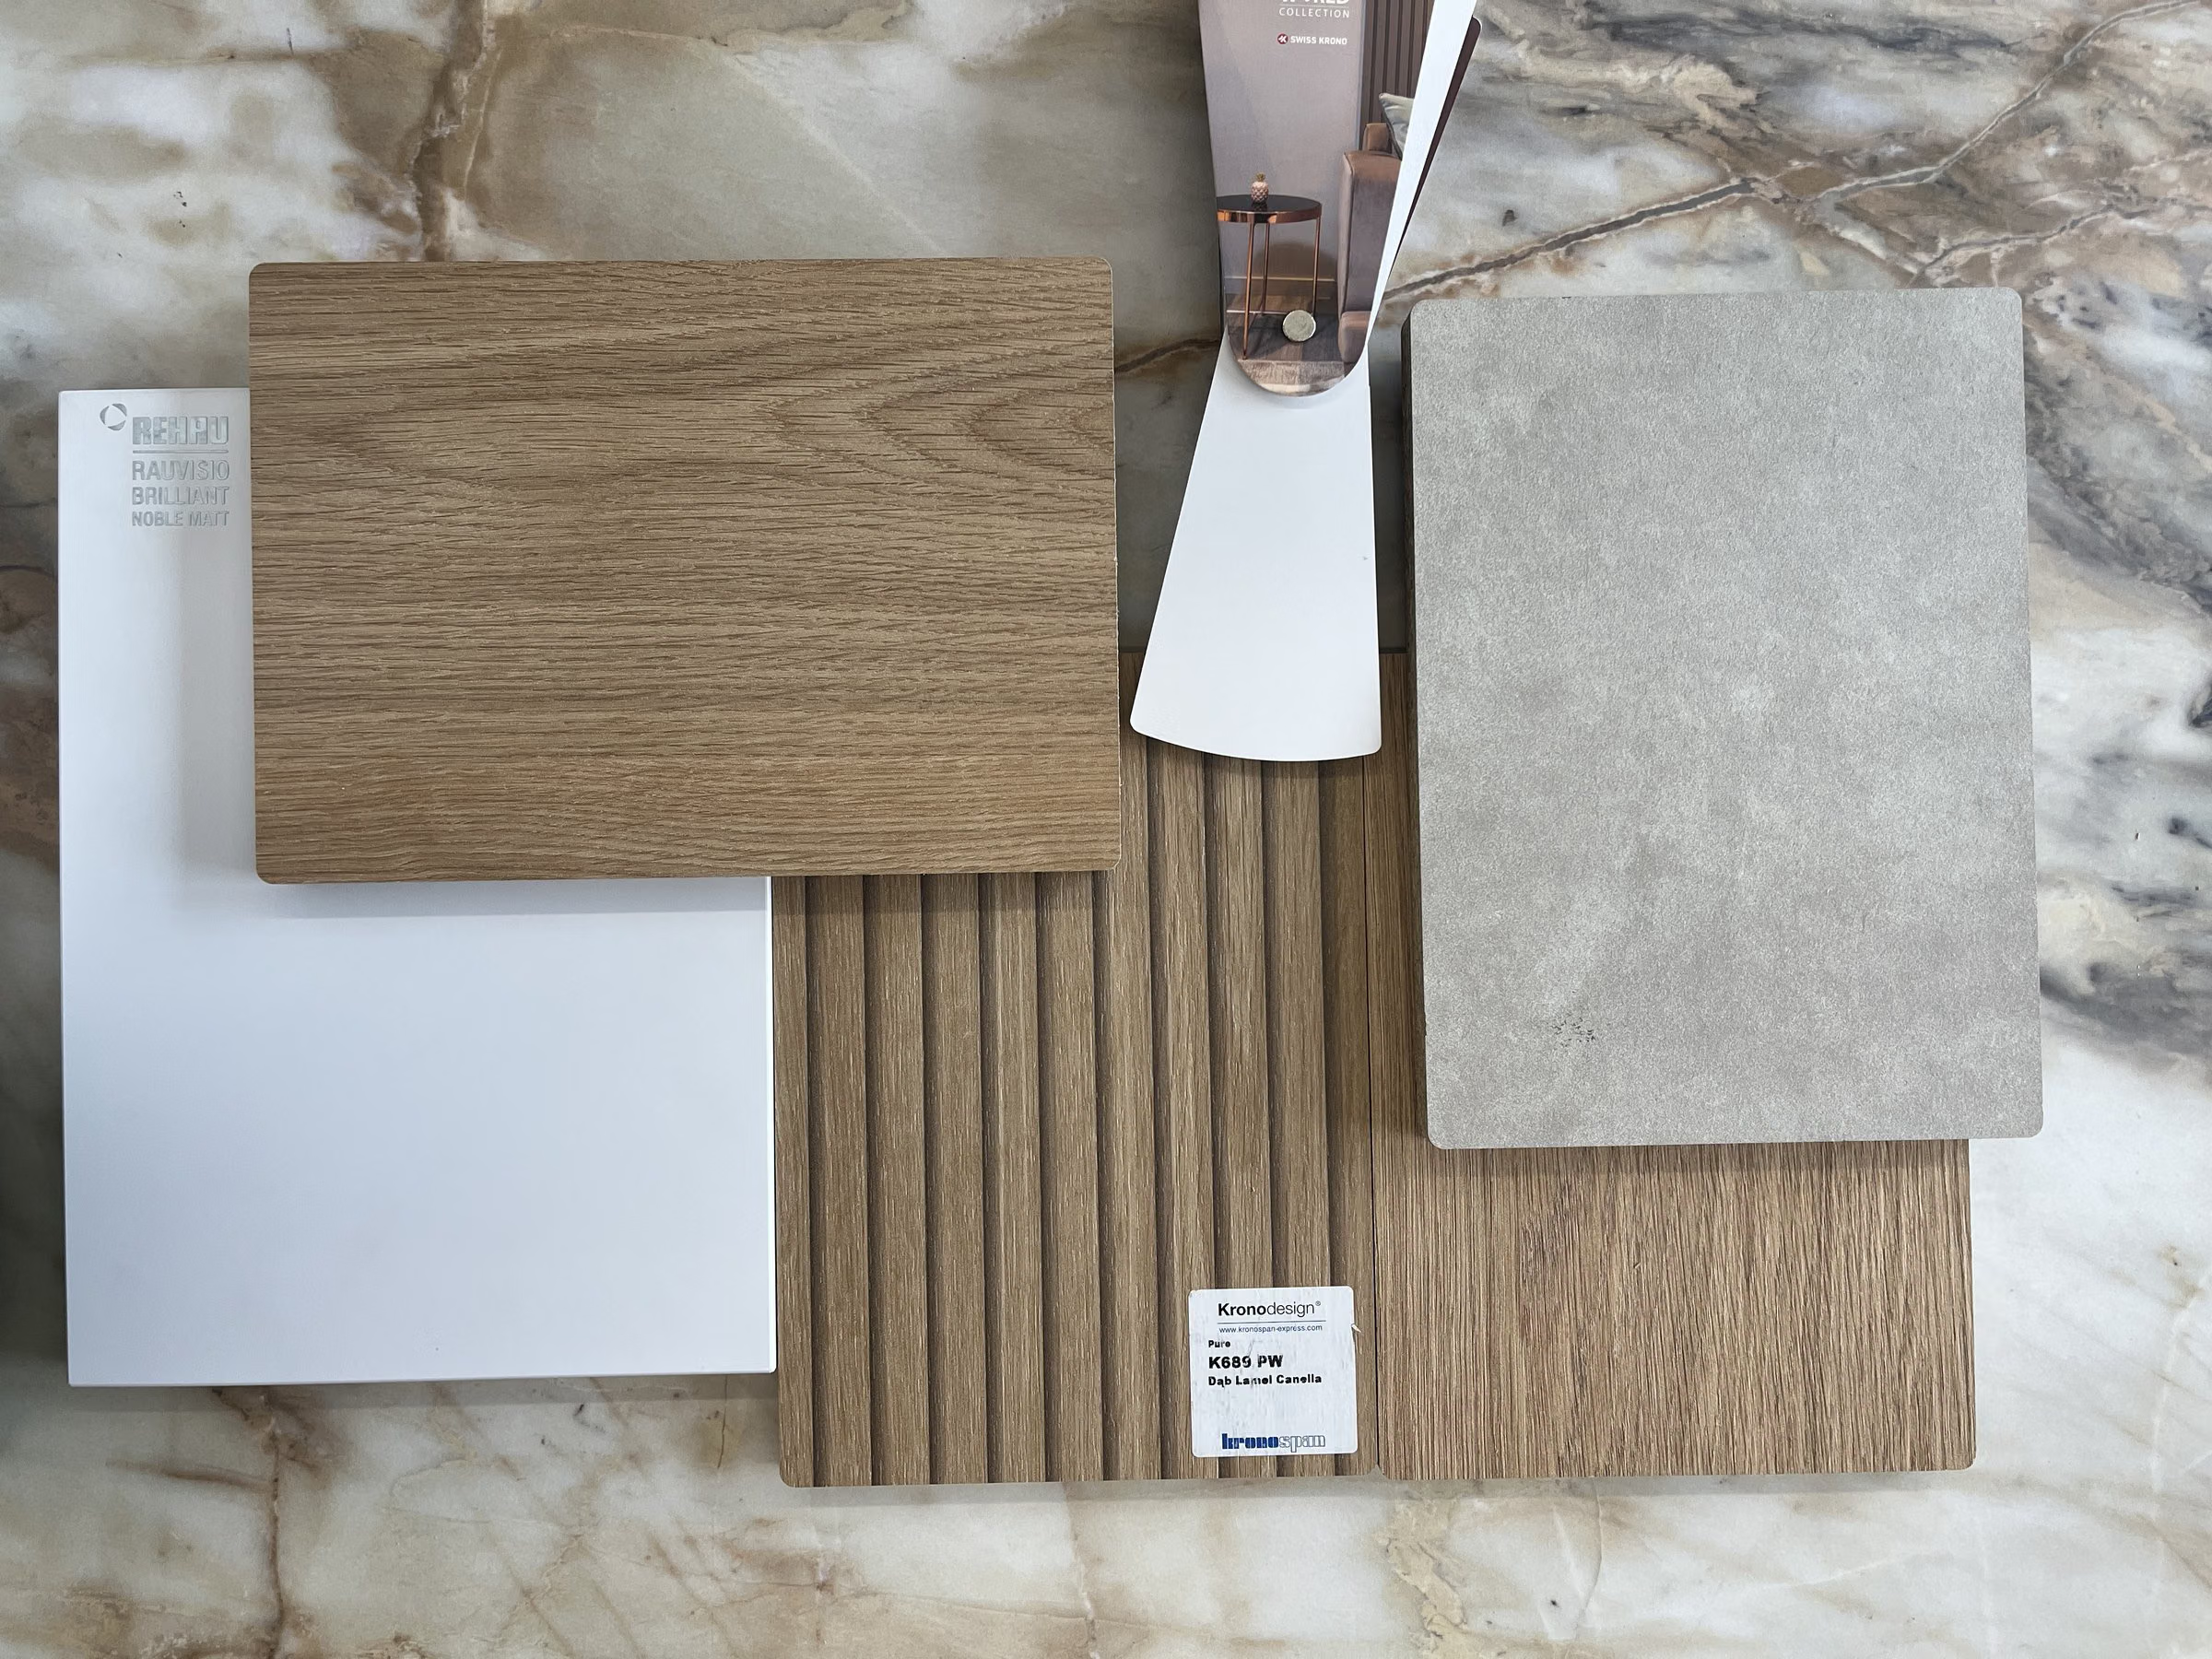
  • Wood veneer, slat and grey tile samples laid side by side.

    Veneer, slats and tile

    I laid the veneer, slat and tile samples side by side to judge the whole, not single pieces.

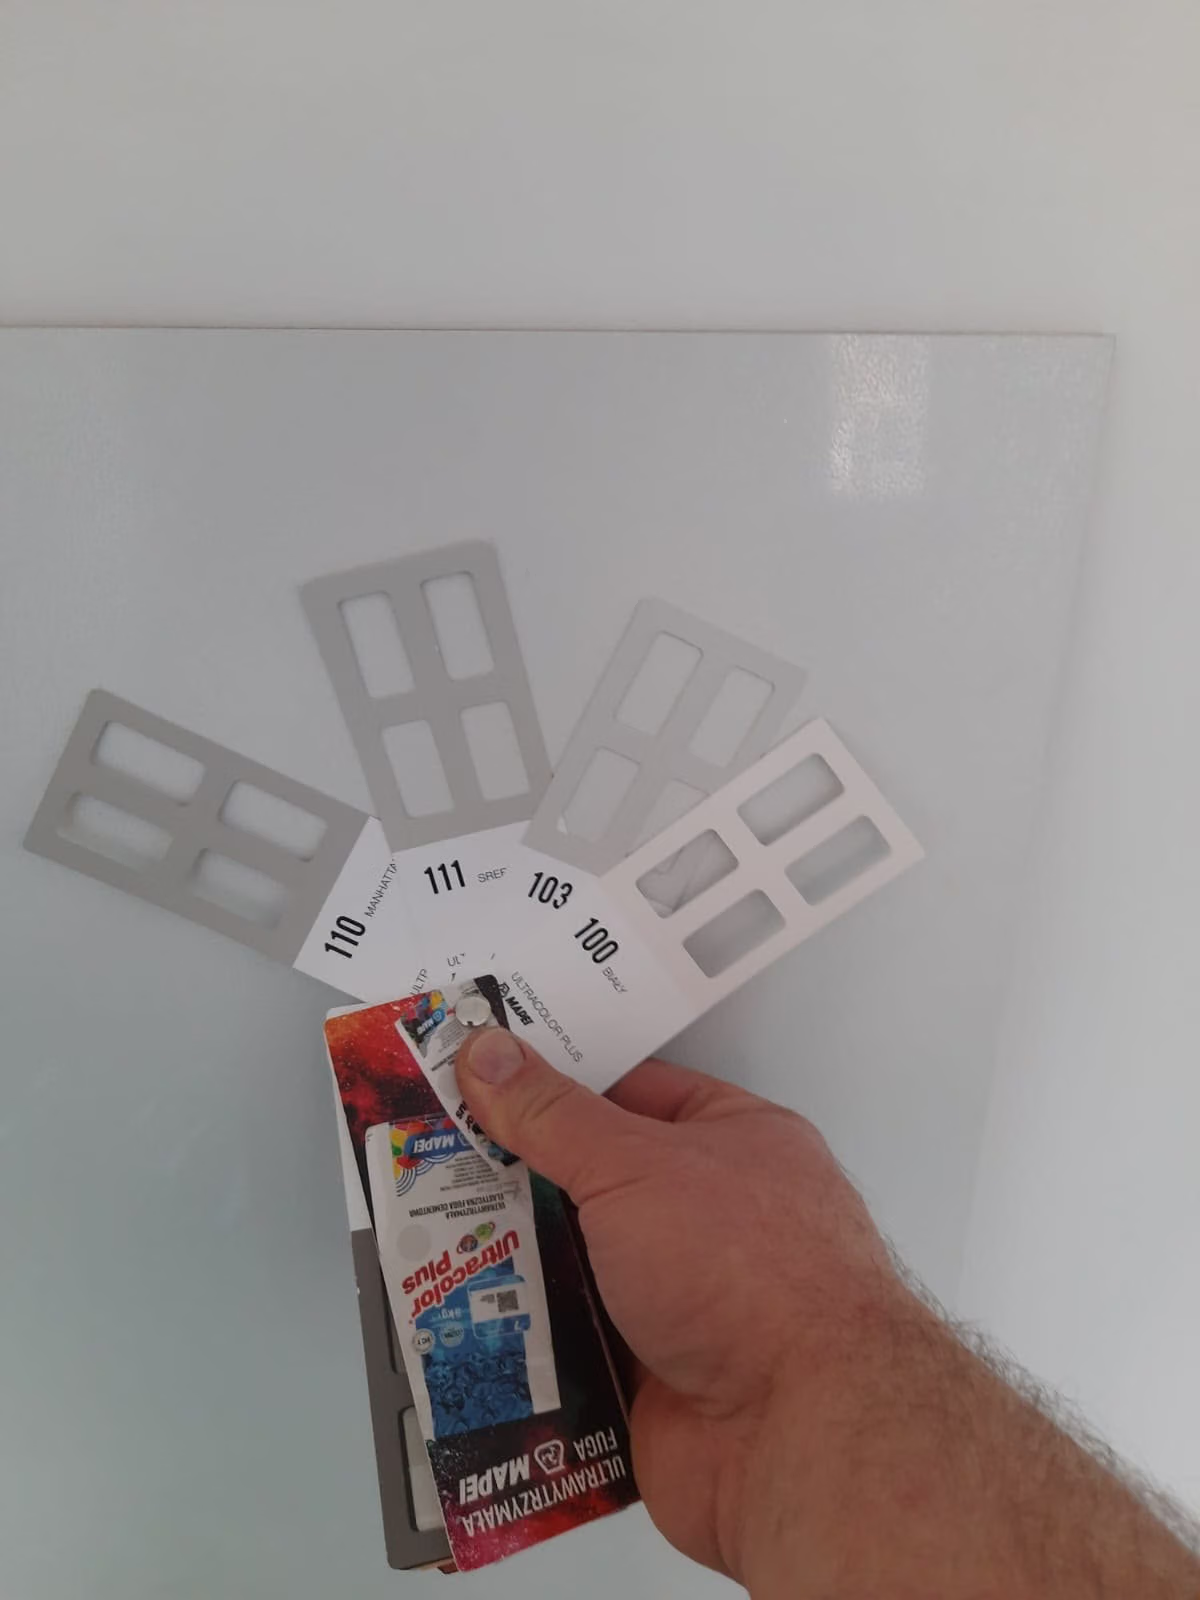
  • A hand holding a fan of paint swatches.

    Wall colours

    Paint shades checked on swatches in the flat's own light.

  • Bathroom with an onyx-pattern slab on the wall and a wooden top.

    Tiles

    Large-format onyx-pattern slabs — bought at an outlet.

  • Restored herringbone parquet in a bright room with a window.

    Floor

    The original parquet, sanded — kept and reused.

Worktops
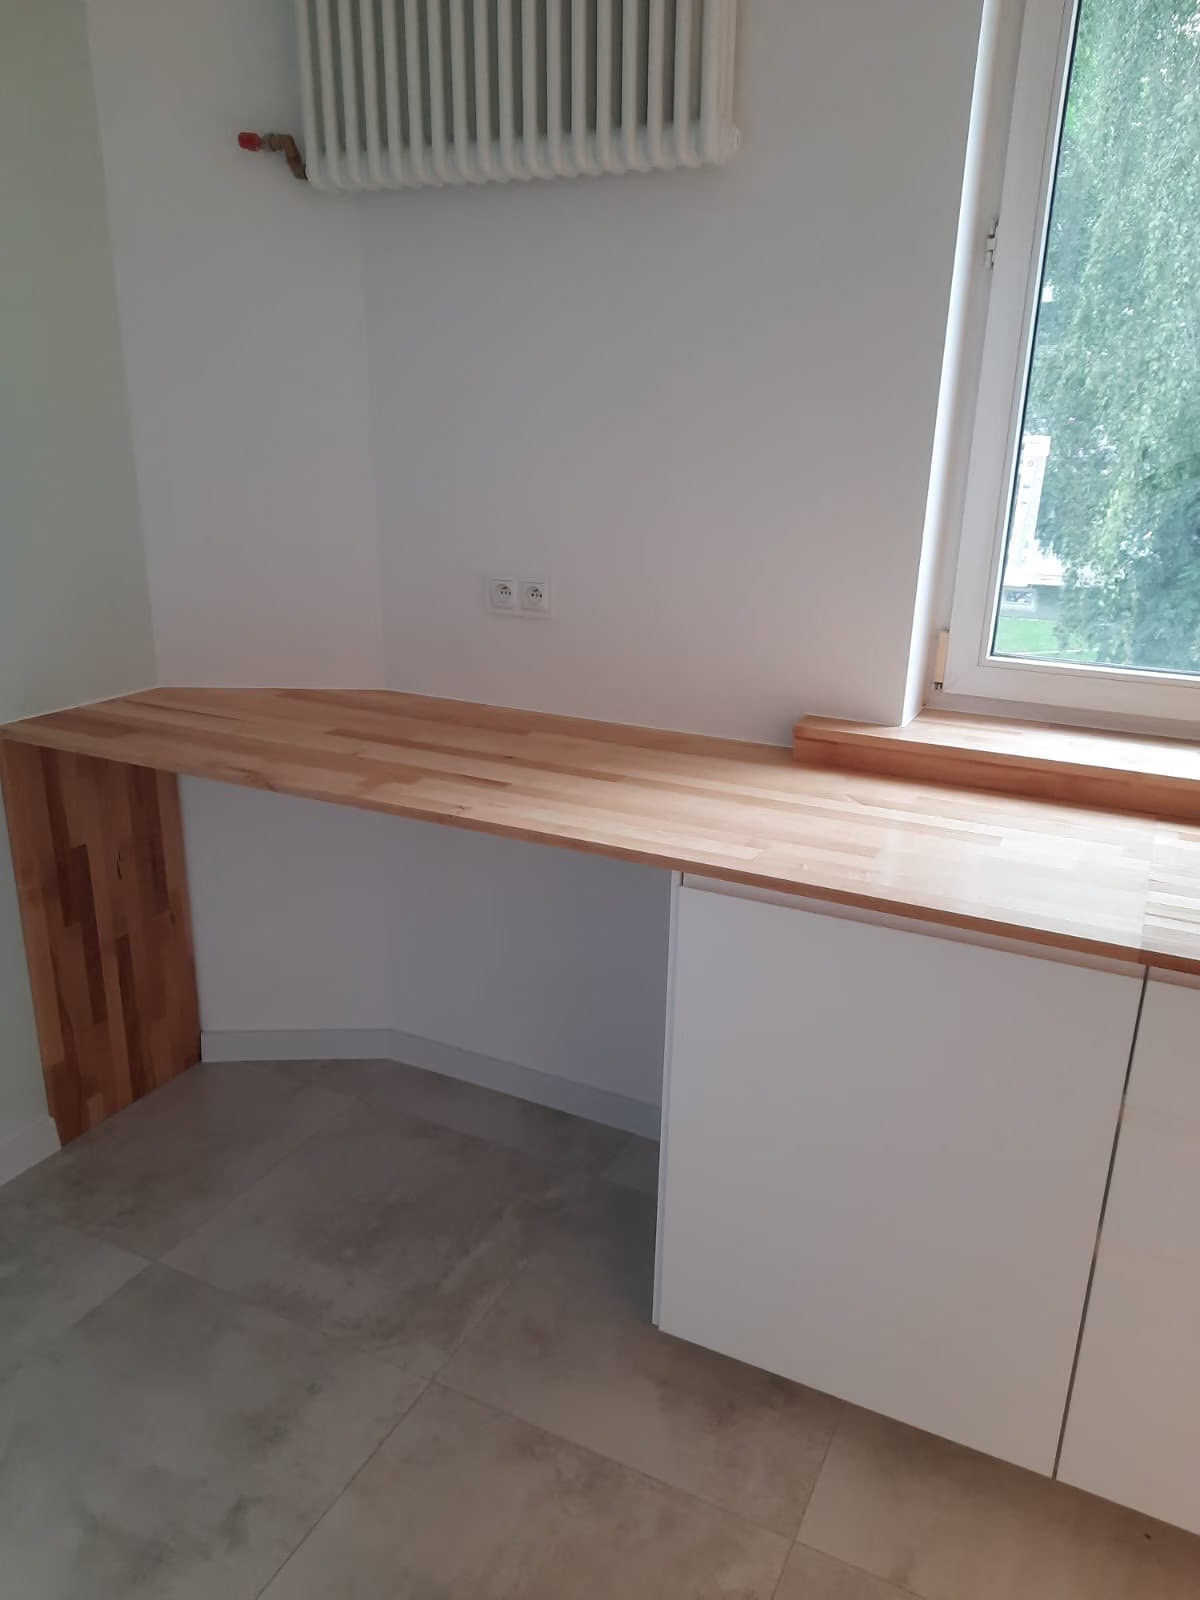
Wooden worktops in the kitchen, the bathroom and under the window.

The flat came to me clad in wooden panelling: in the hall, in the rooms and on the ceilings, with an arched-front kitchen and a bathroom with a bath boxed in wood. The biggest unknown was what lay underneath. It turned out there were three or four layers of old finishes and walls that were crumbling — so the renovation took in all 82 m², installations included.

The interior had to work both for renting out and for the owner, so I designed it to be universal: bright, easy to keep, with plenty of made-to-measure storage. Some materials I chose myself, some I left to the clients, so the budget and their taste shaped the result.

Have a flat in a block or a tenement in Łódź and don’t know where to start? Let’s start with a survey and a conversation.
Your project

Each of these projects started with a floor plan and a conversation

Send me your apartment's floor plan or tell me what you'd like to change. In 30 minutes we'll set the scope and I'll give you a quote — no obligation.

or call +48 455 447 586

← All case studies